
Direct-to-Film (DTF) Printing: A Beginner-Friendly Introduction
What Is This Article About?
Have you ever wanted to print your own t-shirt designs with ease? DTF printing might sound like a high-tech buzzword, but it’s actually an accessible and game-changing method for decorating garments.
The custom apparel industry is booming, with tens of thousands of print businesses in the US alone. Many are turning to Direct-to-Film (DTF) printing to meet the demand for vibrant and durable designs on all kinds of fabrics. DTF printing is revolutionizing textile customization – this innovative method offers excellent versatility, efficiency, and print quality, making it a favored choice for both small business owners and hobbyists. In this beginner-friendly guide, we'll explain what DTF printing is, how it works, what you need to get started, and why it's quickly becoming so popular.
What is Direct-to-Film (DTF) Printing?
Direct-to-Film (DTF) printing is a digital heat-transfer method for creating custom prints on textiles. Unlike traditional techniques that print directly onto a garment, DTF involves printing your artwork onto a special PET transfer film first, then using heat to transfer the design from film to fabric. The key is that the film is coated with an adhesive and printed with special textile inks (including white ink) so that when it's pressed onto a t-shirt, hoodie, or other item, the design adheres permanently to the material.
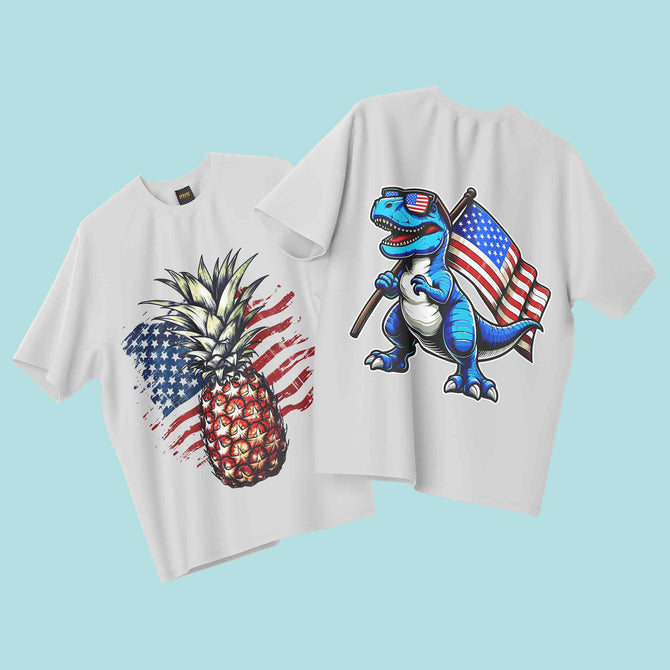
One major advantage of DTF is the inclusion of white ink in the process. DTF printers lay down a white ink layer beneath the colored inks, allowing designs to appear bright and opaque on any garment color. This means you can print full-color graphics that pop on black or dark fabrics just as easily as on light fabrics. DTF works on a wide variety of materials – cotton, polyester, blends, nylon, silk, denim, and more – materials that might be challenging for other printing methods. In short, DTF printing lets you create high-quality, multicolor prints on almost any fabric without being limited by fabric color or type.
How Does DTF Printing Work?
DTF printing involves a multi-step transfer process. Here's a step-by-step look at how it works from design to finished product:
-
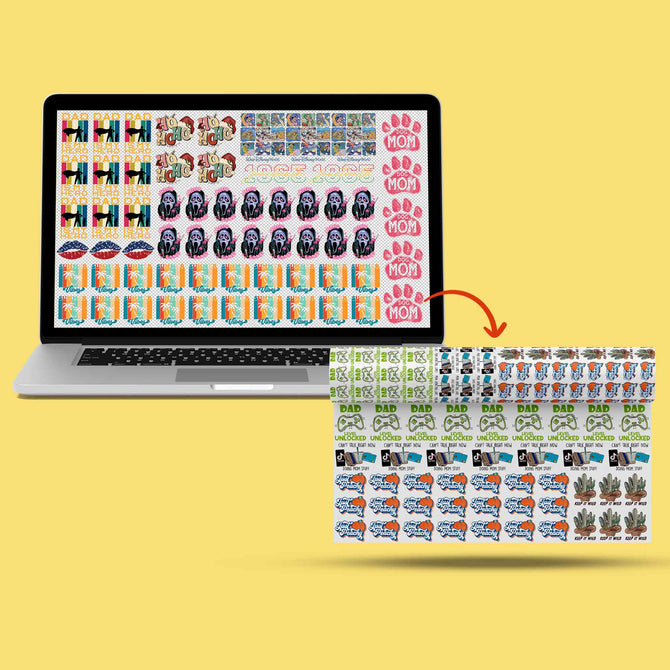
Design & Print on Film: Create or select your design and print it in mirror image onto a clear PET film using a DTF-compatible inkjet printer. The printer uses specialized DTF inks (CMYK colors plus white). It will typically print a layer of white ink behind the colored inks to act as a base. This white underbase ensures the colors remain vivid on the final garment.
-
Apply Adhesive Powder: While the printed design on the film is still wet, sprinkle a layer of hot-melt adhesive powder evenly across the print. This fine powder sticks to the wet ink. Any excess powder is gently shaken or brushed off, leaving an even coating only on the printed areas. The adhesive powder is what will later bond the ink design from the film to the fabric.
-
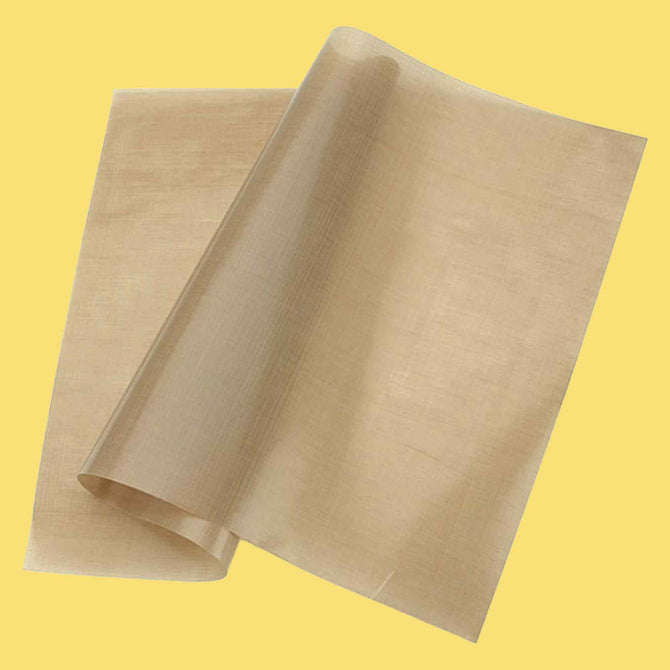
Cure the Transfer: Next, the powder-coated film is cured with heat. This can be done by hovering a heat press above the film or using a curing oven. The goal is to melt the adhesive powder just enough that it fuses with the ink on the film, without overcooking it. After curing, the printed design on the film becomes a dry, solid transfer that's ready to apply.
-
Heat Press onto Fabric: Place the cured film design-side down onto your target garment in the desired position. Using a heat press, press the film onto the fabric at the recommended temperature, pressure, and time. Under the heat and pressure, the melted adhesive and ink transfer from the film and bond permanently to the garment. This step is similar to applying a regular heat transfer—ensuring even pressure and correct heat is crucial for a successful print.
-
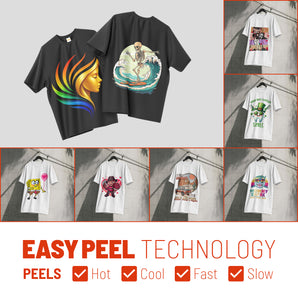
Peel Off the Film: Once the pressing is done, let the print cool for a moment (depending on your transfer film's instructions – some are hot-peel and others cold-peel). Then carefully peel away the PET film, and the ink design will remain on the fabric. You'll see your artwork now vividly printed on the garment. Many printers do a quick final press for 5-10 seconds with a protective sheet on top of the design after peeling; this second press helps improve durability and gives the print a softer feel.
After these steps, the garment is ready — the design will have strong adhesion and can stretch with the fabric. The result is a custom print that can withstand wear and washing as if it were printed directly onto the garment.
Key Benefits of DTF Printing
DTF printing has exploded in popularity because it offers several major benefits for creating custom apparel:
-
Versatile Fabric Compatibility: DTF can be used on almost any fabric type or color. You can print on cotton, polyester, cotton-poly blends, nylon, silk, canvas, and more – even on dark or vibrant-colored garments – with excellent results. There's no need to worry about whether a shirt is 100% cotton or high-poly; DTF handles them all, which is a huge advantage over methods like sublimation (polyester-only) or DTG (best on cotton).
-
No Pre-Treatment Needed: Unlike Direct-to-Garment (DTG) printing which requires pre-coating the fabric (especially dark shirts) with a pretreatment solution, DTF printing requires no fabric pre-treatment. You can print and transfer immediately. Skipping the messy, time-consuming pretreat step streamlines production and is very beginner-friendly.
-
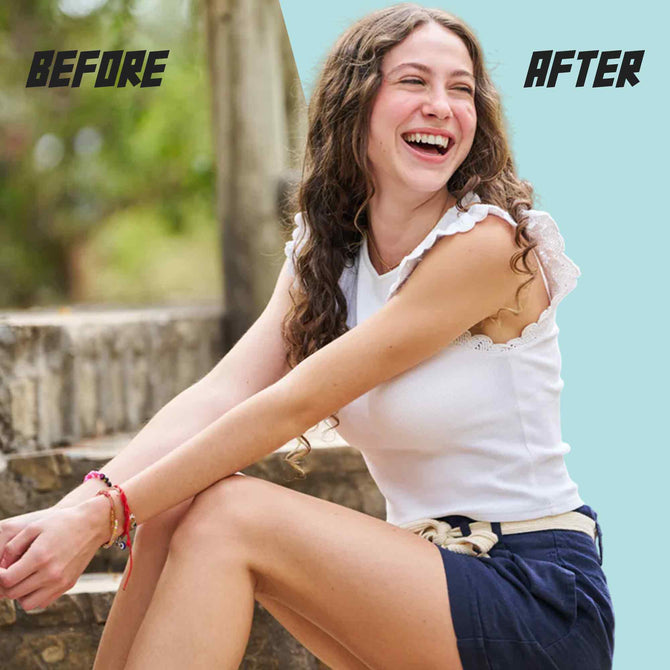
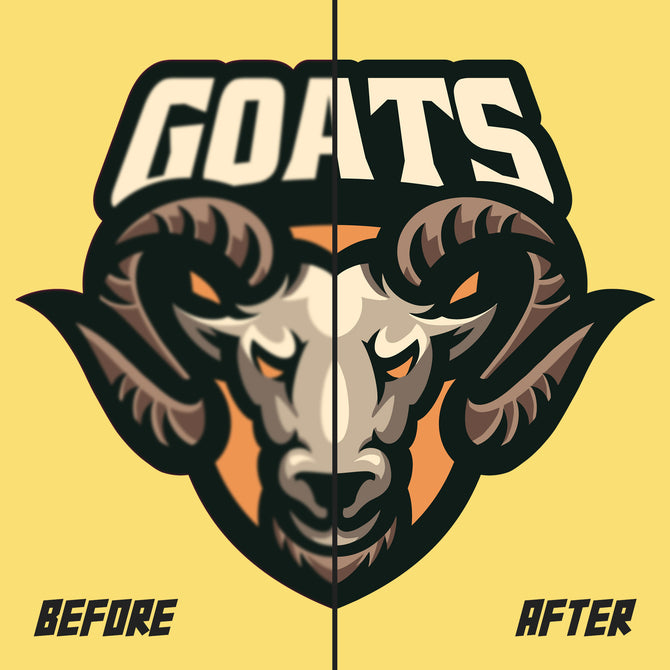
High Quality, Full-Color Prints: DTF produces vibrant, high-resolution images with fine detail. The colors come out rich and accurate thanks to the white underbase and high-quality inks. The finished transfers have excellent opacity on dark fabrics and can reproduce complex designs or photographs with ease. The prints are soft to the touch and integrate well with the garment, with a feel comparable to screen print transfers.
-
Durability and Wash Resistance: One big selling point of DTF is that the prints are extremely durable. When properly done, DTF designs won't crack, fade, or peel easily, even after many wash and wear cycles. The combination of the adhesive and ink creates a strong bond to the fabric. DTF prints also tend to have good stretch – they can flex with stretchy fabrics (like spandex blends) without splitting or losing adhesion. In fact, well-made DTF transfers have been shown to withstand 50+ wash cycles while maintaining color and integrity.
-
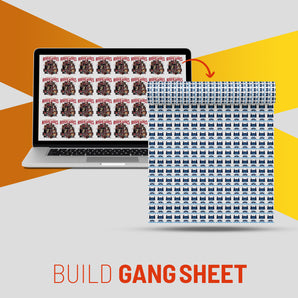
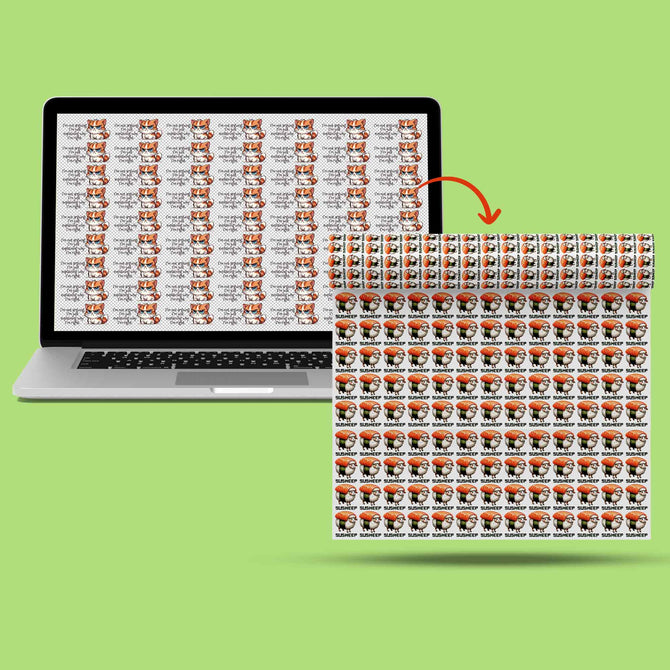
Cost-Effective for Short Runs: For small to medium production runs, DTF can be more cost-effective and efficient than methods like screen printing or DTG. There are minimal setup costs – you don't need to create screens or extensive prep for each design. This makes DTF economically friendly for one-off prints or short runs where screen printing would be too expensive. Compared to DTG, DTF printers and consumables often have a lower initial cost and the ability to print multiple transfers in one go (gang printing), which boosts productivity.
-
Lower Equipment Investment: Getting started with DTF generally requires a lower upfront investment than setting up a full screen printing shop or a high-end DTG printer. Many users begin by converting a relatively affordable desktop inkjet printer for DTF use or purchasing a small DTF printer, which can be cheaper than industrial DTG machines. This lower barrier to entry makes DTF attractive for start-ups and home-based businesses.
-
Ease of Use & Beginner-Friendly Process: Once you have your system set up and calibrated, the DTF workflow is quite straightforward. You print, powder, cure, and press – steps that can be learned with practice. You don't need years of printing experience or artistry to start producing good results. In fact, DTF is known for being accessible to newcomers because it doesn't require the meticulous weeding of vinyl or the deep expertise of traditional screen printing. With some basic training and routine maintenance, even a small operation or solo entrepreneur can start making professional-quality prints.
-
On-Demand Production & Transferability: DTF uniquely allows you to create transfers in advance and use or sell them later. Printed DTF transfer films can be stored for 6–12 months when kept in proper conditions (cool, dry, away from direct light) and still press beautifully when needed. This means you can produce popular designs in bulk and stock the transfers, or ship pre-printed transfers to customers/businesses who can heat press them on their own items. This on-demand flexibility is something neither DTG nor screen printing easily offer.
In summary, DTF printing combines the best of both worlds: the flexibility of digital printing (full color, no screens, print on demand) with the strong results of traditional heat transfers (vibrant and durable on many fabrics). These advantages make it an appealing method for anyone looking to print custom apparel, from home crafters and Etsy sellers up to busy print shops.
Equipment and Materials Needed for DTF Printing
Getting started with DTF printing does require some specific equipment and materials. Here's what a beginner will need to set up a basic DTF printing workflow:
-
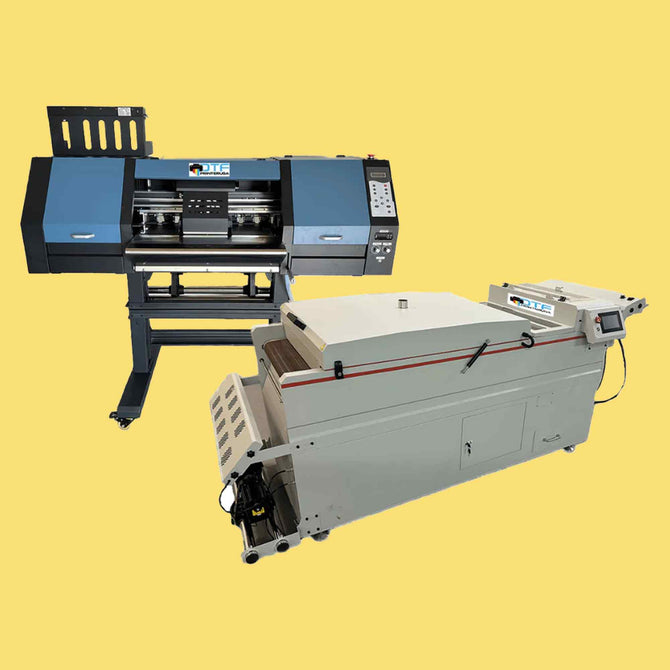
DTF Printer: This is typically a modified inkjet printer (often based on Epson models) or a dedicated DTF machine that is built to handle DTF inks. The printer needs to support white ink and have a feed mechanism for the PET film sheets or rolls. Many beginners start by converting a desktop inkjet printer to use DTF inks and films, while larger shops may invest in a professional DTF printer for greater speed and width.
-
DTF Inks (CMYK + White): DTF uses specialized pigment inks that come in the standard process colors (Cyan, Magenta, Yellow, Black) plus White ink. The white ink is essential for printing an opaque base layer on the film. DTF inks are formulated to be printable on film and to remain stable through the heat transfer. They are usually water-based and designed to adhere to the adhesive powder during curing.
-
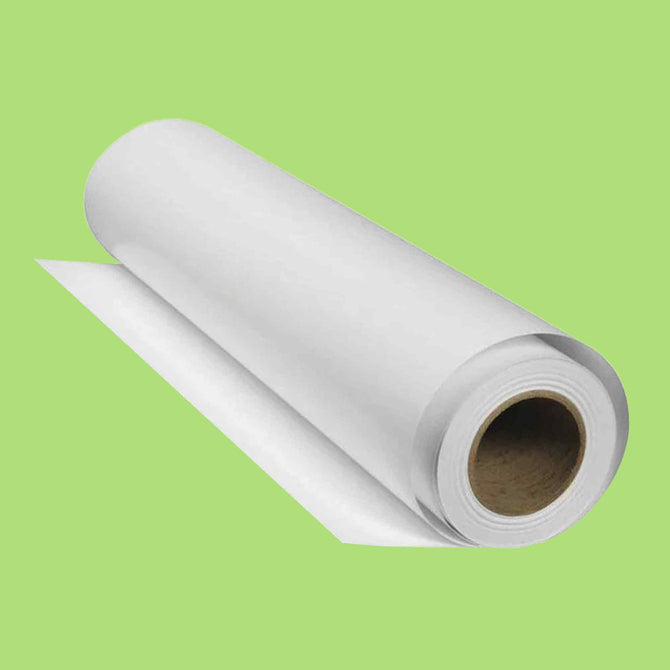
PET Transfer Film: A glossy or matte PET (polyethylene terephthalate) film is used as the transfer sheet. These films are usually either clear or translucent and come with a special coating to accept the DTF ink. They can be purchased in cut sheets (often A3, A4 sizes) or as rolls for larger format printers. The designs are printed onto this film, and later the film is pressed to the fabric to release the ink. (Films are sometimes rated as "hot peel" or "cold peel", indicating whether you should remove them while hot or wait until cool. Always follow the manufacturer's guidance for best results.)
-
Hot-Melt Adhesive Powder: This is a finely ground thermoplastic polymer powder (often white or transparent) that acts as the glue for the transfer. After printing, you coat the wet ink on the film with this powder. When heated, the powder melts and binds the ink to the fabric. DTF adhesive powder is available in different grades (for example, fine or coarse, for different textures or uses) but generally it looks like a white granular powder similar to powdered sugar. Good quality powder is important for wash durability and a soft feel of the print.
-
Heat Press: A quality heat press machine is essential for transferring the design from film to garment. You'll need a press that can reach around 300–325°F (150–160°C) and apply firm, even pressure. A standard clamshell or swing-away heat press used for vinyl or sublimation will usually work for DTF. The press is used both for curing the powder on the film (often by hovering above the film or pressing lightly with a gap) and for the final application onto the garment. Precise temperature and pressure control will help ensure consistent results.
-
Curing Device: If you have a larger setup, you might use a curing oven or heat tunnel specifically to melt the adhesive powder on the prints. Many small-scale users simply use their heat press (hovering it or using a baking sheet under it) to cure the powder on the film. Either way, you need a method to evenly heat the printed transfer to melt the powder without smudging the ink.
-
Powder Shaker (Optional): For manual DTF printing, you can apply powder by hand. But in a higher-production environment, an automatic powder shaker machine can automate the process of applying the adhesive powder and shaking off the excess, then even pre-curing the transfer. This can save time and ensure very even powder distribution, but it's an optional investment for later scaling up.
-
RIP Software: DTF printing is typically done through a RIP (Raster Image Processor) software which is crucial for handling the white ink channel and color profiles. The RIP software lets you set up your design with the proper color management, ink levels, and it tells the printer where to lay down white ink behind your image. It's an important piece of the workflow to get opaque whites and correct color output. Some popular RIP software for DTF include AcroRip, EKPrint, Cadlink Digital Factory, etc., and often they come with the printer or can be purchased separately.
-
Design Software: In addition to the RIP, you'll need some software for creating or preparing your artwork. This could be graphic design programs (like Adobe Illustrator, Photoshop, CorelDRAW, or free alternatives) to make your designs. Ensure your final artwork is high-resolution and mirrored (flipped horizontally) before printing, so it appears correctly when transferred. Learn more about artwork preparation for DTF.
-
Workspace Needs: Setting up a DTF workspace also means having adequate ventilation (melting adhesive powder can produce mild fumes, so a ventilated area or filtration is good for safety) and a clean, low-humidity environment to store your films and powders. You'll want stable tables for your printer and heat press, and storage for films to keep them dust-free. Learn more about ideal DTF workspace setup, humidity control, and safety.
With the above equipment and materials, you can begin doing DTF printing. Many vendors offer DTF starter kits that bundle inks, film sheets, powder, and sometimes a small converted printer, which can simplify gathering supplies for a beginner. Always use the recommended combinations of film, ink, and powder from reputable suppliers to ensure compatibility and quality results. Explore DTF supplies and equipment options at Iris DTF.
DTF Printing vs. Other Garment Printing Methods
You might be wondering how DTF compares to more established techniques like screen printing, direct-to-garment (DTG), sublimation, or heat transfer vinyl (HTV). Each method has its place, but DTF brings a unique mix of capabilities that often make it the most flexible choice for modern custom apparel:
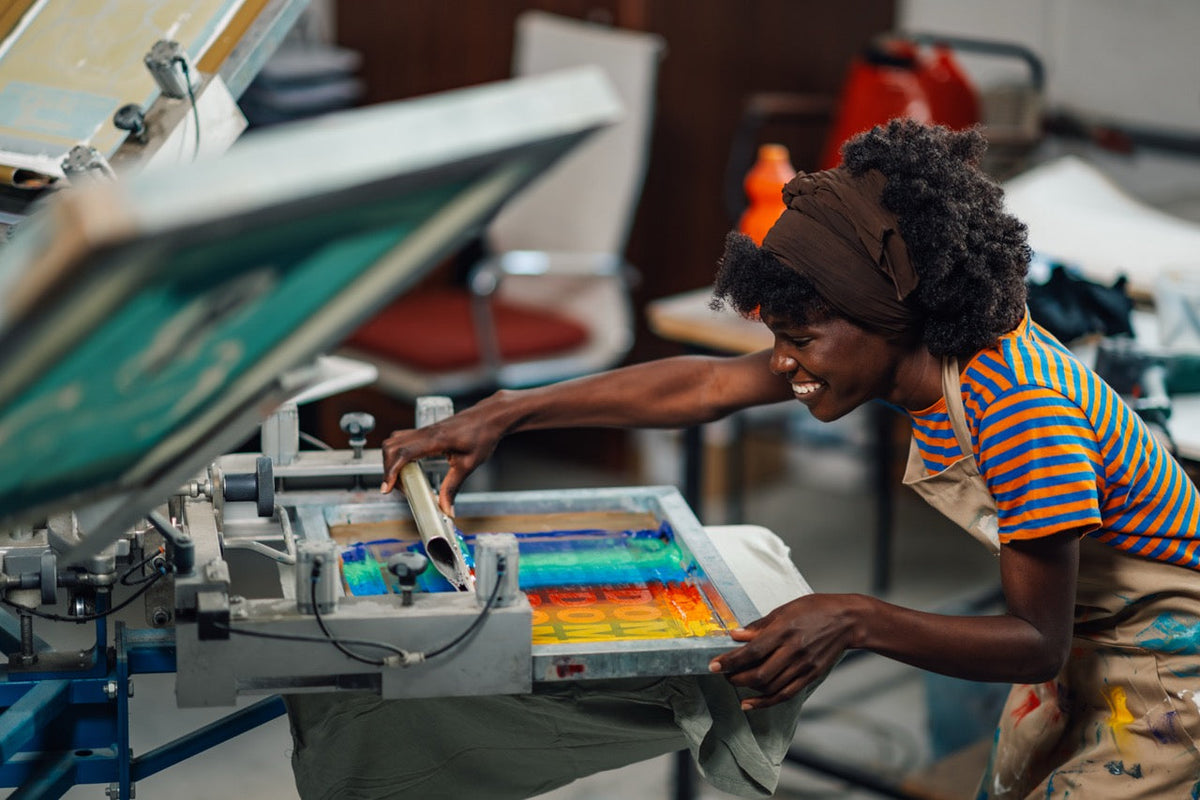
DTF vs. Screen Printing
Traditional screen printing is great for bulk orders and still widely used for high-volume runs of simple designs. However, it has a high setup cost and effort – you must create screens for each color, mix inks, and do test runs. This makes small orders or multi-color photorealistic designs more expensive per unit with screen printing. DTF, by contrast, requires no screens and minimal setup for each design. You can print full-color detailed images in one go. Screen prints lay down thicker ink layers and may feel heavier on the shirt, whereas DTF transfers have a thinner, more uniform feel even on detailed designs. For a business that wants to handle orders of all sizes (from one-offs to hundreds), DTF offers great flexibility. Screen printing still edges out in cost per print for very large runs of a single design, but DTF is often more cost-effective and time-efficient for anything less than mass production.
DTF vs. Direct-to-Garment (DTG)
DTG inkjet printing also allows full-color designs directly on fabric, but DTG is mostly ideal for cotton and requires pre-treating dark garments. DTF can achieve similar or even better color vibrancy on any fabric content (cotton, poly, etc.) and doesn't need pre-treatment. DTG prints have an excellent soft hand-feel because the ink goes right into the fibers, whereas DTF prints create a slight film on top of the fabric. This means DTG might feel a bit softer or more "in the fabric," and DTF might feel slightly less integrated – some describe a DTF print's feel as similar to a very light screen transfer or vinyl, especially before the first wash. However, the difference is minor and DTF prints do soften after a few wash cycles. In terms of equipment, DTF is generally cheaper to start with; DTG machines and inks are often more expensive, and DTG requires more maintenance (pre-treating, cleaning print heads frequently, etc.). DTF maintenance mostly revolves around keeping the printer (especially the white ink) in good condition, which is manageable with regular use and shaking the inks. For many small businesses, DTF offers a more versatile and lower-cost alternative to DTG for multi-fabric printing, at a slight trade-off in initial print feel.
DTF vs. Sublimation
Dye-sublimation is a fantastic method for certain applications (like printing on polyester shirts, mugs, and hard goods), but it has a big limitation: substrate requirements. Sublimation only works on polyester or specially coated substrates, and generally only on light/white colored surfaces (since the inks are translucent). In apparel, that means you can't sublimate a 100% cotton shirt or a dark-colored shirt. DTF has no such restriction – you can put a DTF transfer on a cotton tee, a black hoodie, a canvas tote bag, etc., with equal ease. Sublimation ink actually dyes the fabric fibers (so there's zero hand-feel), whereas DTF ink sticks to the surface via the adhesive. So sublimation prints feel like part of the fabric but DTF prints will have that thin transferable layer feel. Both methods yield vibrant colors, but DTF's ability to work on all fabric types and colors gives it a huge advantage for general apparel printing. Sublimation remains superior for hard items (mugs, metal prints) which DTF can't do, and for all-over edge-to-edge prints which are easier with pre-sewn sublimation blanks. For everyday custom T-shirts and varied garments, DTF is usually the go-to choice over sublimation unless you specifically need the unique aspects of sublimation.
DTF vs. Heat Transfer Vinyl (HTV)
Heat transfer vinyl is the older cousin to DTF in the heat-applied graphics world. With HTV, you cut out designs from colored vinyl sheets or rolls, weed (remove) the excess vinyl, and heat press the cut design onto fabric. It's great for simple text, numbers, and basic shapes, and for special effect materials (like glitter or foil vinyl). However, HTV is labor-intensive for detailed or multi-color designs – you would have to layer vinyl or print and contour-cut it, and weeding tiny details is painstaking. DTF completely skips that: there's no weeding required at all, and you can print intricate full-color images as easily as a single-color logo. DTF also results in a thinner, more flexible design on the shirt compared to vinyl, which can feel heavy or rubbery in large solid areas. Vinyl might have an edge for certain textures or effects (e.g. true metallic gold vinyl has a shine that DTF ink can't replicate perfectly), but for most cases, DTF is more efficient and offers a softer, longer-lasting result. In terms of durability, high-quality vinyl can last well, but it may eventually crack or peel, especially if not applied perfectly. DTF transfers, when applied correctly, have excellent wash and wear resistance without the risk of edges peeling up. For anyone used to vinyl, trying DTF can feel like a magical experience – you can output complex prints in minutes without the tedious prep work.
In summary, DTF printing stands out by combining versatility with quality. It doesn't necessarily replace every other method (for instance, embroidery or screen printing still have their own strengths, and sublimation/UV have niche uses), but DTF can tackle a wide range of jobs with fewer limitations. For a startup custom apparel business in 2025, DTF is often the recommended printing technology to invest in, given its ability to handle most common orders (from one-off full-color prints to small batch runs on various fabric types) efficiently. Read our comprehensive guide on comparing DTF vs. screen printing, DTG, sublimation, and vinyl to help you choose the right method for specific needs.
Tips for Beginners to Succeed in DTF Printing
Getting great results with DTF printing involves a bit of a learning curve. Here are some beginner-friendly tips and best practices to help you avoid common pitfalls and make high-quality transfers from the start:
-
Use High Quality Artwork and Mirror It: Start with the best quality image or design you can – ideally 300 DPI resolution for printing. Any imperfections in the artwork (blurriness, low resolution) will show up in the transfer. Also, remember to flip your design horizontally (mirror image) before printing, especially if it contains text or directional elements, so that it appears correctly when transferred. Learn more about DTF artwork preparation.
-
Optimize Your Printer Settings and RIP: Take time to calibrate your printer and configure the RIP software. This means setting the correct ink output levels, enabling the white underprint where needed, and using the appropriate color profiles or ICC profiles for your ink/film combination. Proper settings ensure vibrant colors and prevent issues like bleeding or insufficient white coverage. Most RIPs for DTF have presets – use those as a starting point and adjust if needed.
-
Even Powder Application: When applying the adhesive powder, make sure to cover the printed areas evenly and shake off excess powder thoroughly. Clumps or uneven powder can cause inconsistent adhesion (some spots might not stick, and others might leave a rough texture). A thin, uniform coating of powder is ideal for a soft feel and solid bonding. Work in a relatively dry space, since high humidity can make the powder clump or not melt properly.
-
Proper Curing is Crucial: Under-curing or over-curing the powder can both cause problems. If you don't heat it enough, the powder won't fully melt and the transfer may not stick well or could wash off. If you heat it too much or too long, the ink can scorch or the adhesive can become less effective. Follow recommended curing temperature/time closely (often around 230-250°F for around 2 minutes if using an oven, or hovering a heat press for 2-3 minutes – but this varies by product). The cured film should have a slightly glossy, crystalline look where the powder has melted. Experiment on test prints to dial in the perfect curing time for your setup.
-
Heat Press Settings Matter: Always press with the correct temperature, time, and pressure for your DTF transfers. Typically, DTF transfers apply at around 300°F (149°C) for 10-15 seconds, with firm pressure, but check the recommendations for your particular film and powder. Inadequate pressure or too short a press can lead to partial adhesion (design might peel or wash off), while too much heat can dull the colors. Use a reliable heat press and consider using a temperature gun or heat strips to verify your press's accuracy. Read our complete guide to heat press settings.
-
Peel Carefully (Hot or Cold): Whether your transfer film is hot-peel or cold-peel, be consistent in your peeling technique. If hot-peel, remove the film immediately and smoothly while it's hot – this usually yields a matte finish. If cold-peel, wait until the print cools down completely before peeling, which often gives a slightly glossier finish. Peeling too fast or at the wrong temperature can cause the design to lift off the garment or distort. If you ever see a bit of design lifting with the film, stop – press again for a few more seconds, let cool, and then peel.
-
Finish with a Second Press: A pro-tip is to cover the transferred design with a parchment paper or Teflon sheet and press it one more time for 5-10 seconds. This second press (post-peel) can help ensure the design is fully embedded in the fabric fibers and improve the feel and durability of the print. It can reduce any slight "halo" of adhesive and make the print surface more matte.
-
Routine Printer Maintenance: DTF printers (especially converted models) need regular care. White ink in particular is prone to settling and clogging. To keep your printer happy, gently agitate or shake your white ink cartridges/tanks daily (if the printer is idle) to prevent pigment separation. It's wise to run a small nozzle check or test print at least a few times a week – printing something every day or two keeps the print heads from clogging. Have cleaning solution and cleaning swabs on hand for periodic maintenance. By maintaining the printer, you'll avoid downtime and defects in prints. Learn more about DTF printer maintenance.
-
Test Prints and Trials: Don't jump straight into a large batch of customer shirts without testing. Always do a test print and transfer on a sample fabric (an old T-shirt or scrap material) when using a new batch of film, powder, or trying a new artwork. This lets you check color accuracy, adhesion, and washability before you commit. It's better to catch any issues on a test than after you've made 50 defective transfers.
-
Work Safely: While DTF is relatively safe, do work in a ventilated area or use an extractor fan especially when curing powder – the fumes can be unpleasant. Avoid directly touching the hot melted powder (it can stick to skin). And use normal precautions with the heat press (it gets extremely hot!). Keep your workspace organized to handle prints and powders cleanly – contamination of dust or fibers onto the film before pressing can show up in the final print. Read our guide on DTF workspace safety.
By following these tips, beginners can significantly flatten the learning curve and start producing great results from the outset. The DTF community is very active online, so consider joining forums or social media groups where users share experiences and advice. Troubleshooting is a normal part of the process, but with time you'll dial in the perfect settings and workflow. Check out Iris Academy for more resources and tutorials.
Conclusion
Direct-to-Film printing is a game-changer in custom apparel production. It offers incredible versatility – allowing you to print on almost any fabric with superb full-color detail – and produces durable, high-quality prints that satisfy both business and consumer needs. For beginners and small businesses, DTF printing opens the door to creating professional, long-lasting designs on T-shirts, hoodies, bags, and more without the massive investment or specialized skills that some other methods require.
DTF technology in 2025 has matured, with improved printers, better inks, and refined processes that make it more accessible than ever. While there is a learning curve (as with any print process), the effort is well worth it. You can start relatively small and scale up as your skills and business grow, thanks to DTF's flexibility and moderate startup costs. By understanding the fundamentals of how DTF works and following best practices, even a newcomer can achieve results on par with big print shops.
As you dive into DTF printing, remember that this method is continually evolving – new products like enhanced films, specialty inks, and advanced printers are coming out each year. With DTF printing, the possibilities for customizing apparel are virtually endless, making it an exciting and rewarding skill to master. Whether you're looking to start a profitable custom merch business or just level up your creative hobby, DTF printing is a beginner-friendly path to achieving vibrant, lasting prints on fabric.
Ready to get started? Explore DTF transfers and equipment options at Iris DTF, or learn more with our comprehensive guides at Iris Academy. Happy printing!
For additional learning, check out these industry resources: PRINTING United Alliance for industry standards and best practices, and Roland DGA's blog for equipment insights and printing techniques.