
DTF Printing Resolution Guide: Recommended DPI, PNG, and File Setup

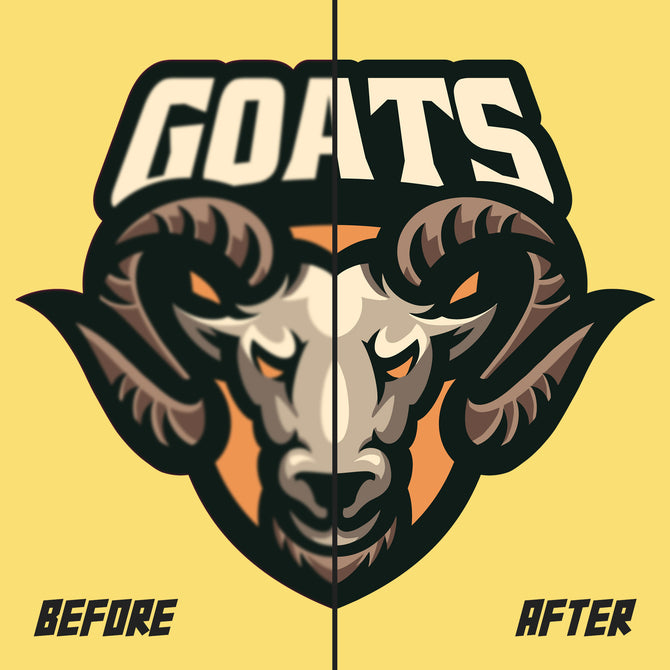
Blurry edges, pixelated logos, and washed-out gradients almost always trace back to one thing: the file that got uploaded wasn't built for print. Since DTF transfers reproduce whatever detail is in your source file, getting the resolution and format right before you order is the single easiest way to guarantee sharp, professional-looking DTF prints.
Why Resolution Matters More for DTF Printing
A screen looks sharp at 72 DPI because your monitor is only showing a small physical area. Printing works differently. DTF printing reproduces your file at real-world size, so a logo that looks crisp on-screen can turn soft and blocky the moment it's blown up to six inches wide on film. The fix is simple: build or export your file at print resolution from the start, not after you've already designed it small.
What DPI Should You Use for DTF Transfers?
For most custom DTF transfers, 300 DPI at the final print size is the standard to aim for. That means if your design will print at 10 inches wide, the file itself needs enough pixels to stay sharp at that width, not just look fine cropped down in a preview window.
Designs with fine text, thin outlines, or small details benefit from staying as close to 300 DPI as possible. Bigger, simpler graphics like a bold logo on a gang sheet backdrop can tolerate slightly lower resolution without a visible quality drop, but 300 DPI remains the safe target across the board.

Vector Artwork and Why Embedding Matters
If your logo or design started as vector art, keep it that way for as long as possible in your workflow. Vector files are built from mathematical paths rather than pixels, so they scale to any size, from a two-inch patch to a full gang sheet, without losing sharpness.
Just as important is making sure everything in your file is embedded rather than linked. If an image or design element isn't embedded, the file only points to it on your computer, so it can look different, or be missing entirely, when the file is opened on another device. Embedding everything before you export keeps the design exactly the same wherever it's opened, including on our end once it reaches production.
PNG vs. Other Formats
Whenever possible, upload your artwork as a PNG or PDF. Both are less prone to embedding and compatibility issues than working files like SVG or AI, which can open differently depending on the software or computer being used.
PNG is the go-to for raster artwork because it supports a transparent background, which matters enormously for DTF printing: most designs need to press cleanly onto a garment without a visible white box around them.
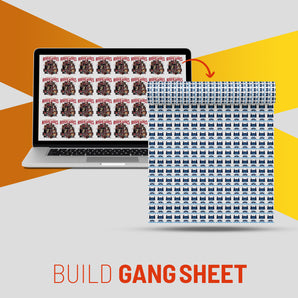
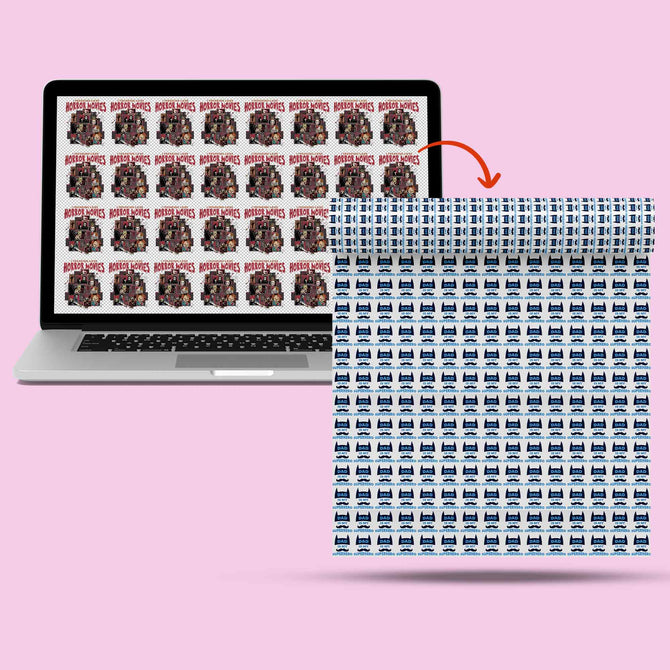
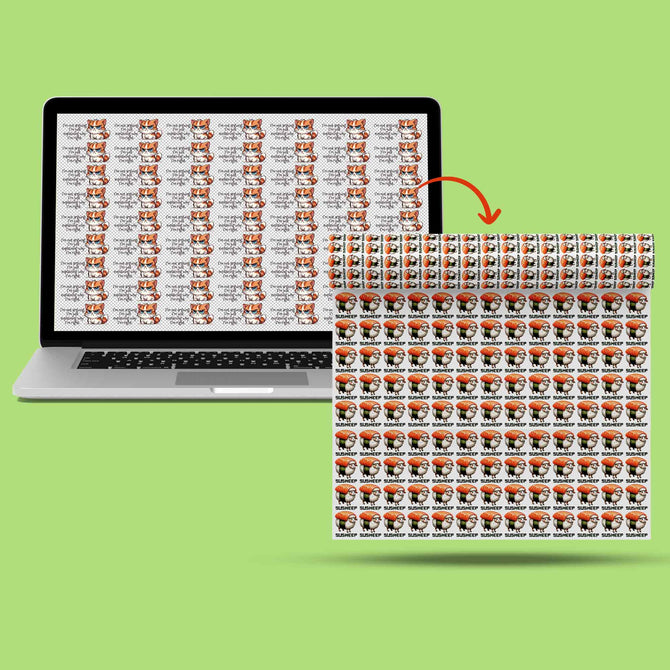
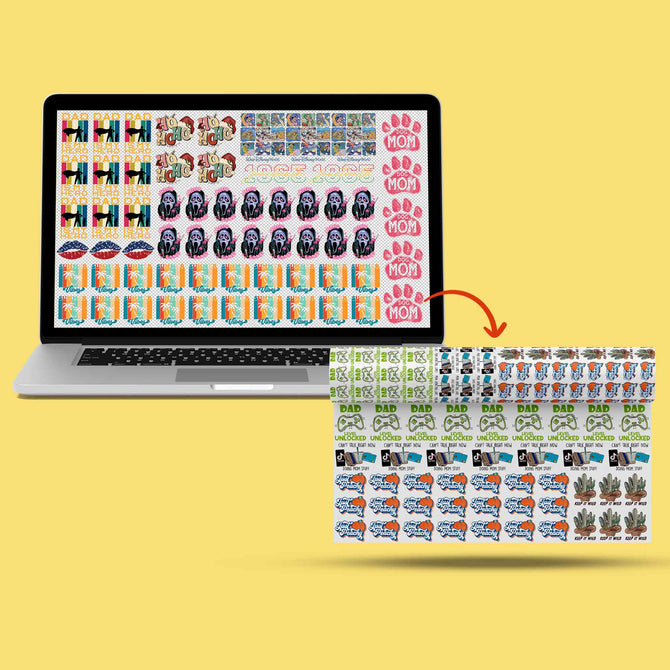
PDF is the best way to deliver vector artwork, since it keeps the sharpness of your vector design along with any raster elements in one self-contained file. That makes it especially useful for gang sheets that combine several designs.
JPG files, by contrast, don't support transparency and tend to compress detail in ways that can show up as visible artifacts once printed.
If your design software exports to PDF as well, that's a solid backup option, especially for gang sheets combining several designs, since PDF preserves both vector and raster elements cleanly in one file.
DTF Transfers
Choose the right option for your artwork


Common Resolution Mistakes to Avoid
Pulling an image straight from a website is one of the most frequent mistakes we see. Web images are compressed and low resolution by design, built to load fast, not to print large. Screenshotting a logo has the same problem, it locks in whatever resolution the screen happened to display at that moment, which is rarely print quality.
Another common issue is scaling a small file up in size without adding real resolution. Stretching a 2-inch logo file to fill an 8-inch space doesn't add missing detail, it just makes the existing pixels bigger and softer. If a design needs to print large, start with a file that was built or exported at that size.
Getting It Right Before You Order
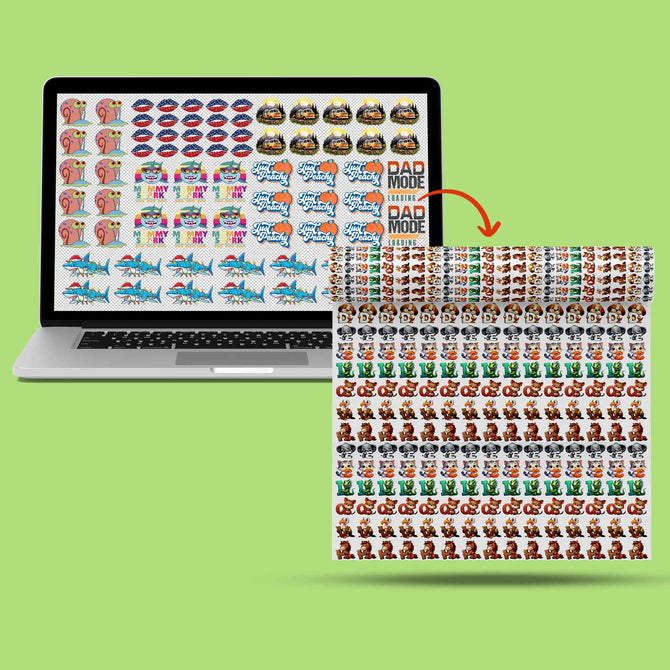
A quick resolution check takes far less time than reprinting a batch of DTF transfers that came out blurry. Before uploading, confirm your file is at least 300 DPI at final print size, saved as a PNG with transparency or a PDF with everything embedded, and hasn't been resized up from something smaller.
Getting the file right the first time means the DTF transfer you receive matches exactly what you designed, sharp edges, clean color, and detail that holds up once it's pressed. When in doubt, send us the file, checking resolution before printing costs nothing and saves everyone a reprint.
A Quick Pre-Upload Checklist
Before you submit artwork for DTF printing, run through a short checklist: confirm the file is at least 300 DPI at final print size, upload it as a PNG with a transparent background or a PDF with all images embedded, and avoid resizing a small file up rather than starting from one built at the right dimensions.
Following these three steps alone prevents the vast majority of blurry or pixelated DTF prints we see, and it takes far less time than waiting on a reprint after a batch comes back looking soft. Once your file passes this checklist, you're ready to upload it directly on our DTF Transfers page.
Ready to Print?
Premium DTF transfers. Same-day printing. Free shipping on orders over $100.