
How to Apply UV DTF Stickers: A Complete Guide for Every Surface

UV DTF stickers are built to be simple: no heat press, no weeding, just peel and stick. But "simple" and "foolproof" aren't quite the same thing, and the difference between a clean, bubble-free decal and one that lifts at the edges usually comes down to a handful of small details in how it's applied.
This guide walks through the full process, how it changes depending on the surface, and how to avoid the most common mistakes.
What You'll Need
Applying a UV DTF sticker doesn't take much equipment, which is part of the appeal. Before you start, have on hand:
- Isopropyl alcohol (70%+) or a mild glass cleaner, for prepping the surface
- A lint-free cloth, to clean and dry without leaving fibers behind
- A squeegee, old gift card, or credit card, to press out air as you go
- A fine sewing needle or pin, kept on hand in case a stray bubble needs releasing
- The UV DTF sticker itself, ordered as a single design by size or as part of a larger sheet
The Universal Application Method
Regardless of the surface, the core process stays the same:
- Clean the surface. Wipe it down with isopropyl alcohol and let it air-dry fully, ideally for a couple of minutes. Skipping this step is the single biggest cause of bubbling and early lifting.
- Peel off the A film. Lift the backing slowly from one corner rather than pulling straight up, so the design stays attached to the clear top film and the adhesive side stays away from your fingers.
- Hinge it into place. For anything bigger than a small logo, set one edge down first, then lower the rest of the sticker slowly instead of dropping it flat all at once. This single habit prevents more bubbles than almost anything else on this list.
- Squeegee from the center out. Rub over the clear film in short, firm strokes, pushing air toward the nearest edge rather than trapping it in the middle.
- Peel off the clear top film. Once the design is fully pressed down, remove the B film slowly at a low angle to reveal the finished sticker, checking that no part of the design lifts with it.
- Give it time to bond, then hand-wash only. The sticker holds right away, but wait 24 hours before washing it so the adhesive can reach full strength. From then on, hand-wash only and keep it out of the dishwasher to help the design last longer.
UV DTF Stickers
Choose the right option for your order


The universal application method works across most surfaces, but the shape, finish, and material of the surface can change how you should approach the application.
Surface-by-Surface Notes
| Surface | What's Different | Tip |
|---|---|---|
| Tumblers & mugs | Curved, so air has room to hide under the design | Work in small sections and press with the curve, not across it. |
| Laptops & phone cases | Flat but often has a textured or soft-touch coating | Test a corner first, as some coatings resist adhesion. |
| Car windows & bumpers | Larger surface area, more room for misalignment | Use the hinge method and a second set of hands for bigger decals. |
| Wood & painted signs | Porous or uneven texture depending on the finish | Make sure paint or sealant is fully cured before applying. |
| Plastic & coolers | Often has mold lines or slight curves | Clean extra carefully, as oils from manufacturing can linger on new plastic. |
| Glass & bottles | Smooth but often curved, and the most detailed use case | Take extra care with positioning and gradual application on curved areas. |
Preventing (and Fixing) Air Bubbles
Bubbles are the most common issue people run into, and almost always trace back to one of four causes: leftover moisture, dust or oil on the surface, uneven pressure while pressing, or peeling too quickly.
The fix for most of them starts before you ever touch the sticker to the surface. A clean, fully dry surface and a slow, deliberate hinge-and-press motion prevent the majority of bubbles from forming in the first place.
If one shows up anyway, it's usually fixable without starting over:
- Small bubble near an edge: Use the squeegee in short strokes to push the air toward the closest edge and out.
- Bubble trapped in the middle of the design: Use a fine needle to prick a tiny hole at its edge, then squeegee the air out through the hole. On a printed area, this is nearly invisible once flattened.
- Whole section lifting: Gently lift the loose part just enough to re-squeegee from the center out, rather than pulling the entire sticker off and starting over.
Working with Curved or Large Surfaces
Anything with a curve, a tumbler, a car window, a rounded bottle, benefits from the same principle: work in smaller passes instead of trying to press the whole design down in one motion.
Applying firm, even pressure section by section lets the sticker flex into the curve gradually. Pressing it all at once is where most curved-surface bubbles come from.
Cold surfaces make the adhesive less forgiving too, so if you're applying outdoors or in a cold shop, let both the sticker and the surface come up to room temperature first.
Ordering More Than One Design? Use a Gang Sheet
If you're applying stickers to more than one item, a UV DTF gang sheet is worth setting up before you print rather than after.
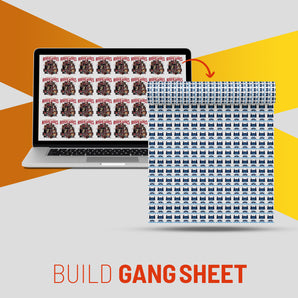
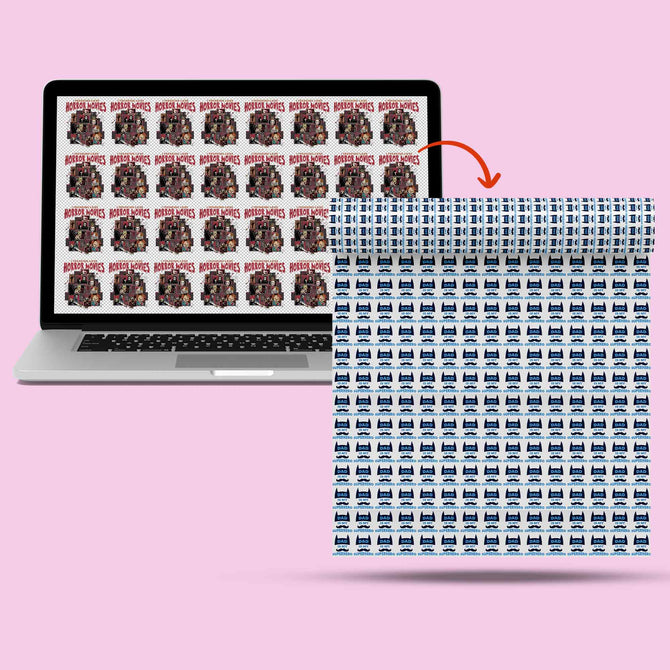
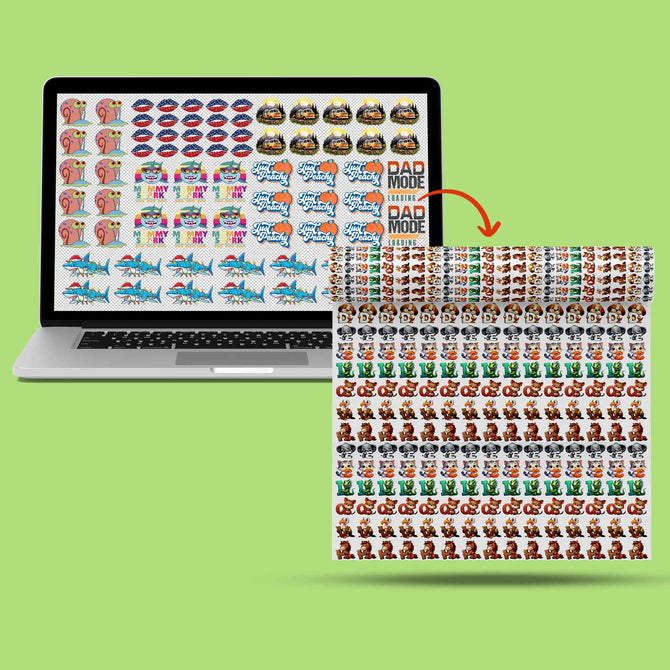
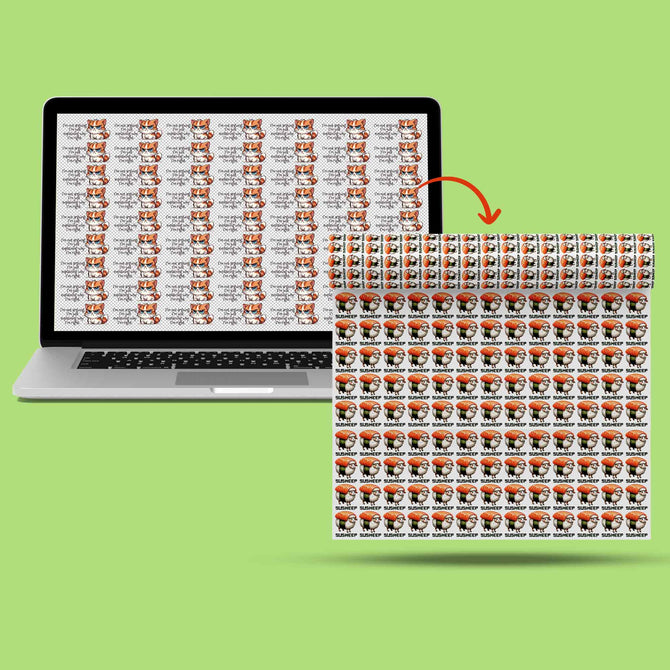
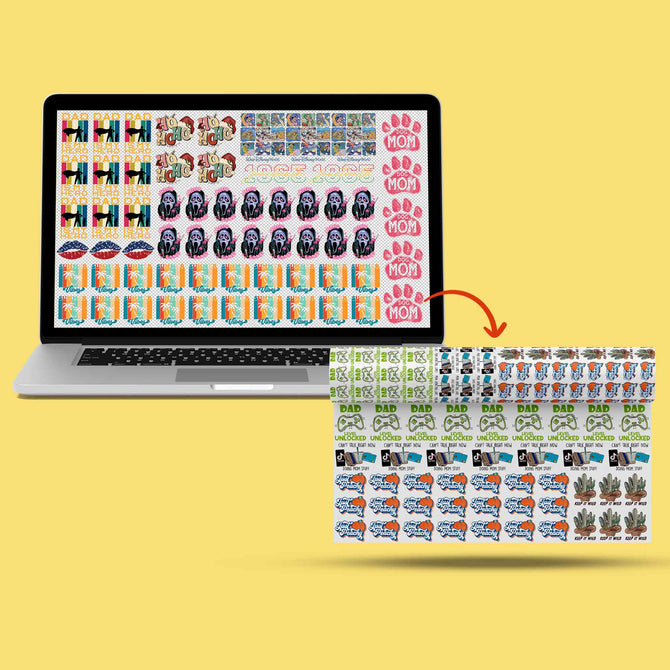
Instead of ordering each design separately, a gang sheet combines multiple stickers onto one sheet of film, priced by the square inch rather than by design count, which brings the per-sticker cost down as the order grows.
Our UV gang sheet builder lays everything out on a sized canvas, so there's no separate design software needed before you order.
Applying UV DTF Stickers at Scale (Wholesale)
The application steps above don't change much whether you're doing one tumbler or a hundred, but the workflow does.
Shops running UV DTF stickers wholesale usually keep a dedicated prep station with alcohol, lint-free cloths, and squeegees, and apply in batches by surface type.
Cleaning and hinging a full tray of tumblers before squeegeeing any of them, rather than finishing one at a time from start to finish, can make the workflow more efficient and help avoid production bottlenecks.
Quick UV DTF Application Checklist
- Clean and completely dry the surface.
- Peel the A film slowly.
- Use the hinge method for larger designs.
- Press from the center toward the edges.
- Peel the B film slowly at a low angle.
- Wait 24 hours before washing.
- Hand-wash and avoid the dishwasher.
The Bottom Line
Applying a UV DTF sticker comes down to the same few habits regardless of the surface: clean thoroughly, hinge before you press, work the air out from the center, peel off the clear top film slowly, and give the adhesive a day to set before hand-washing.
Get those right and the surface underneath, whether glass, plastic, wood, or metal, matters far less than most people expect.
Ready to put this into practice? Browse the full lineup of UV DTF stickers and get your first design printed and shipped.
Ready to Print?
Premium UV DTF stickers for tumblers, glass, bottles, laptops, and other hard surfaces.