


How to Apply DTF Transfers? A Guide to Get it Right Every Single Time!
What Is This Article About?
Master the art of applying DTF transfers with our comprehensive step-by-step guide. Learn exact temperature settings, pressing times, and professional techniques for cotton, polyester, and specialty fabrics. Includes troubleshooting tips and care instructions to ensure perfect, long-lasting transfers every time.
Applying DTF transfers incorrectly is the #1 reason for failed prints and unhappy customers.
Whether you're new to DTF printing or looking to perfect your technique, mastering how to apply DTF transfers is essential for professional results. If you're completely new to DTF, check out our beginner's introduction to DTF printing first and explore Iris Academy for comprehensive training. At IrisDTF, we've helped over 5,000 customers perfect their DTF application process, and we're sharing our complete DTF transfer instructions to guarantee your success.
Essential Equipment for DTF Transfer Application
Before learning how to apply DTF transfers, you need the right equipment. For a complete breakdown of DTF printing equipment, see our ultimate equipment guide. The DTF application process requires specific tools to ensure professional results every time.
Heat Press Requirements
Your heat press is the most critical tool for proper DTF heat press settings. Here's what you need:
- Minimum 15"x15" platen size - Provides adequate space for most designs
- Even pressure distribution - Ensures consistent transfer adhesion
- Digital temperature control - Accuracy within ±5°F is essential (consider using an infrared thermometer for verification)
- Timer function - Precise timing prevents over or under-pressing
For detailed heat press optimization techniques, check our advanced heat press guide.
Materials Checklist
To successfully apply DTF transfers, gather these materials:
- High-quality DTF transfer (we recommend IrisDTF transfers for guaranteed results)
- Clean garment or substrate
- Teflon sheet or parchment paper (protects transfer and garment)
- Lint roller (removes debris that causes imperfections)
- Heat press pillow (essential for uneven surfaces like seams)
Learn more about DTF consumables in our comprehensive consumables guide.
Workspace Preparation
Your DTF application process benefits from proper workspace setup. For complete workspace planning, see our DTF workspace setup guide:
- Clean, flat surface near your heat press
- Good ventilation to disperse any fumes
- Adequate lighting to check transfer quality
- Temperature-controlled environment (65-75°F) to prevent moisture issues
💡 Pro Tip: Invest in a quality heat press with accurate temperature control. Inconsistent heat is the leading cause of failed DTF transfers.
Preparing Your Garment for DTF Transfer Success
Proper preparation is crucial when learning how to apply DTF transfers. The DTF pre press time and preparation steps directly impact your final results.
Fabric Inspection
Before you apply DTF to cotton or apply DTF to polyester, inspect your fabric. For challenging materials, refer to our guide on difficult substrates:
- Check moisture content - Damp fabrics cause steam bubbles and poor adhesion
- Identify fabric composition - Different fabrics require different settings
- Look for sizing or coatings - Some new garments have chemicals that prevent adhesion
- Test heat sensitivity - Especially important for synthetic fabrics
Pre-Pressing Requirements
The DTF pre press time varies by fabric type. Following proper DTF transfer instructions for pre-pressing ensures success:
Cotton: 320°F for 5-7 seconds
Polyester: 280°F for 3-5 seconds
50/50 Blends: 300°F for 5 seconds
Pre-pressing removes moisture and wrinkles that interfere with the DTF application process. This step is non-negotiable for professional results.
Transfer Preparation
Before you begin how to apply DTF transfers, prepare the transfer itself. If you're creating your own transfers, review our artwork preparation guide:
- Inspect for defects - Check for incomplete printing or damage
- Trim excess film - Leave 1-2mm border around design
- Plan placement accurately - Measure and mark if needed
- Use heat tape for positioning - Optional but helpful for precise placement
Exact DTF Transfer Temperature and Time Settings
Getting your DTF heat press settings right is crucial. The correct DTF transfer temperature and DTF pressing time ensure vibrant, long-lasting transfers. For color accuracy in your transfers, see our color management guide.
Cotton Settings
When you apply DTF to cotton, use these precise DTF transfer temperature settings:
- Temperature: 320-325°F (160-163°C)
- Time: 15-20 seconds
- Pressure: Medium-firm (40-50 PSI)
- Peel: Hot or cold (cold recommended for best adhesion)
Polyester Settings
To successfully apply DTF to polyester, adjust your DTF heat press settings:
- Temperature: 280-300°F (138-149°C)
- Time: 10-15 seconds
- Pressure: Medium (35-40 PSI)
- Peel: Cold only (prevents stretching and distortion)
50/50 Blend Settings
Blended fabrics require balanced DTF pressing time and DTF transfer temperature:
- Temperature: 300-310°F (149-154°C)
- Time: 12-17 seconds
- Pressure: Medium (40 PSI)
- Peel: Cold recommended
Specialty Fabrics
The DTF application process varies for specialty materials:
Nylon: 275°F for 10 seconds (use protective sheet)
Leather: 280°F for 20 seconds (test on scrap first)
Denim: 330°F for 20 seconds (heavy pressure needed)
Canvas: 325°F for 18 seconds (pre-press essential)
For caps and hats specifically, see our DTF on caps and hats guide.
⚠️ Important: These are starting points. Always test on a sample piece first, as heat presses can vary by ±10-15°F from displayed temperature.
Complete DTF Transfer Application Tutorial
Follow these detailed DTF transfer instructions to master how to press DTF transfers perfectly every time. This step-by-step guide ensures professional results when you apply DTF transfers.
Step 1: Heat Press Setup
Proper DTF heat press settings start with correct setup:
- Set temperature according to fabric type (refer to settings chart above)
- Adjust pressure - Turn adjustment knob one quarter turn past initial contact
- Preheat press for 5 minutes - Ensures even temperature distribution
- Clean platen with alcohol wipe - Removes any residue that could affect transfer
Step 2: Garment Positioning
Correct positioning is crucial for how to apply DTF transfers properly:
- Center garment on press - Ensure design area is flat on platen
- Use heat press pillow - Place under garment for seams, zippers, or buttons
- Smooth out all wrinkles - Any creases will show in final transfer
- Mark placement - Use heat-erasable pen or measuring tape for accuracy
Step 3: Pre-Press
The DTF pre press time step is essential:
- Cover garment with Teflon sheet
- Press for 3-7 seconds (based on fabric type)
- Remove moisture and wrinkles
- Let garment cool 2-3 seconds before applying transfer
Step 4: Transfer Placement
Accurate placement ensures professional DTF transfer instructions results:
- Position transfer print-side down - The printed side faces the garment
- Ensure complete coverage - All edges should be on flat fabric
- No overhanging edges - Transfer should not extend beyond garment
- Tape corners if needed - Heat-resistant tape prevents shifting
Step 5: First Press
This is where you actually press DTF transfers with the correct DTF pressing time:
- Cover with Teflon sheet or parchment paper
- Close press with even, firm pressure
- Press for recommended time (see settings chart)
- Don't over-press - Excessive time causes yellowing and stiffness
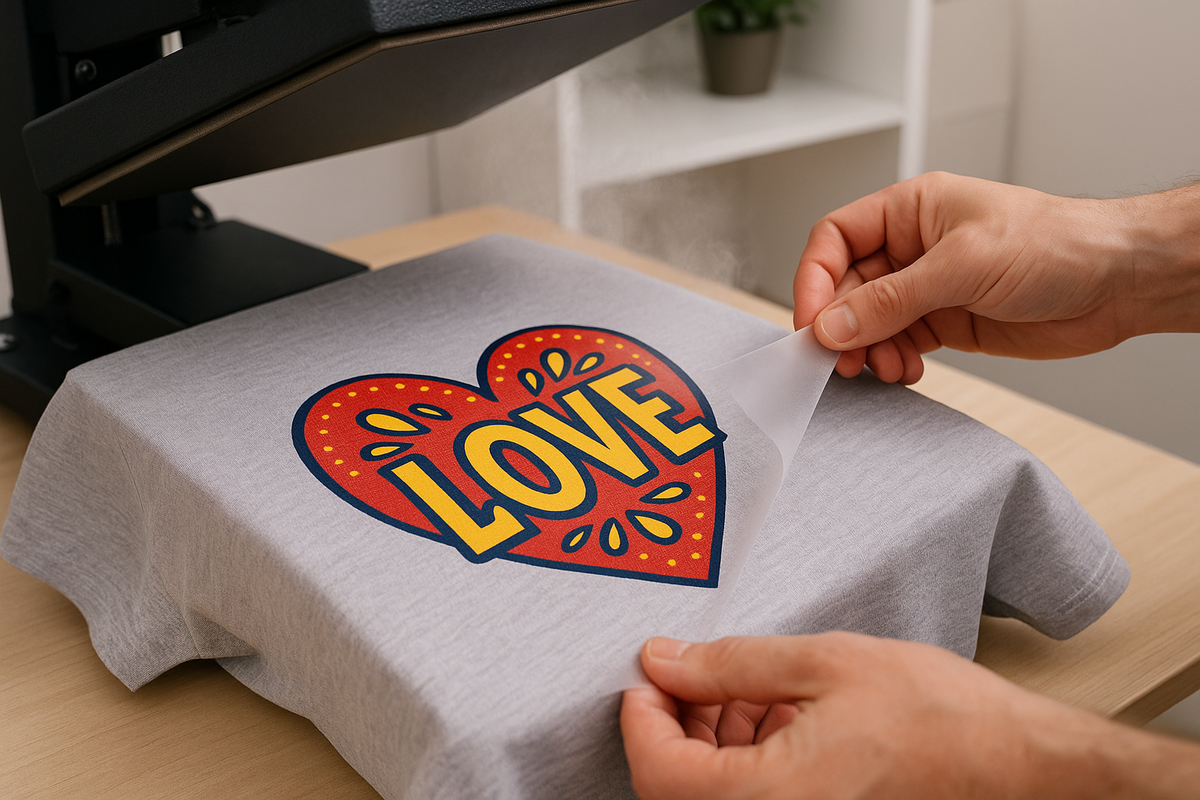
Step 6: Peeling Process
Understanding hot peel vs cold peel DTF is critical. Learn more about film types in our DTF film selection guide:
- Hot Peel: Remove film immediately at 45° angle in one smooth motion
- Cold Peel: Wait 10-15 seconds until cool to touch, then peel slowly
- Check edges for complete transfer
- Note any problem areas for troubleshooting
Step 7: Second Press (Finishing)
The DTF second press ensures durability:
- Cover transfer area with Teflon sheet
- Press for 5-7 seconds at same temperature
- This step ensures maximum durability
- Creates a smooth, professional finish
Choosing Between Hot Peel and Cold Peel DTF
Understanding hot peel vs cold peel DTF methods helps prevent DTF peeling problems and ensures optimal results for different production needs.
Hot Peel Method
The hot peel vs cold peel DTF debate often depends on your priorities:
- When to use: Production speed is priority
- Best for: Cotton, canvas, denim, thick fabrics
- Advantages: Faster production, immediate quality check
- Technique: Peel at 45° angle immediately after pressing
- Temperature consideration: Works best at higher temperatures (320°F+)
Cold Peel Method
Cold peel prevents many DTF peeling problems:
- When to use: Maximum durability and detail needed
- Best for: Polyester, stretchy fabrics, detailed designs
- Advantages: Better adhesion, less stretch distortion, finer detail retention
- Technique: Wait 10-15 seconds until cool, peel slowly and steadily
- Temperature consideration: Essential for low-temp fabrics
Quick Comparison
Hot Peel: Faster production, good for cotton, immediate quality check
Cold Peel: Better adhesion, ideal for polyester, preserves fine details
Fixing Common DTF Transfer Application Issues
Even with perfect DTF transfer instructions, problems can occur. For comprehensive troubleshooting, see our complete troubleshooting guide. Here's how to fix common issues when your DTF transfer not sticking or experiencing other DTF peeling problems.
Transfer Not Sticking
When your DTF transfer not sticking, consider these solutions:
- Cause: Insufficient heat, pressure, or time
- Solution: Increase temperature by 10°F, add 5 seconds to press time
- Prevention: Always pre-press garment, calibrate heat press monthly
- Quick fix: Re-press with film still attached for additional 5-10 seconds
Peeling or Cracking After Washing
Address DTF peeling problems with these fixes:
- Cause: Incorrect temperature, insufficient pressure, or skipped second press
- Solution: Ensure proper settings for fabric type, always do second press
- Prevention: Follow fabric-specific guidelines exactly
- Testing tip: Wash test one garment before full production run
Wrinkled or Bubbled Transfer
Fix DTF transfer wrinkled issues:
- Cause: Moisture in fabric, uneven pressure, or wrinkled film
- Solution: Increase pre-press time, use heat press pillow for even pressure
- Prevention: Store transfers flat, control workspace humidity (40-50%)
- Emergency fix: Cover with parchment and re-press affected area
Color Changes or Yellowing
Prevent discoloration with proper DTF transfer temperature:
- Cause: Excessive heat or extended press time
- Solution: Reduce temperature by 20°F, shorten press time
- Prevention: Use Teflon sheet, never exceed recommended settings
- Note: White and light colors most susceptible to yellowing
Expert Tips from 10,000+ Successful Applications
Master the DTF application process with these professional insights on how to apply DTF transfers efficiently and consistently. For quality control in your production, review our quality control checklist.
Production Efficiency Tips
Streamline your DTF application process. For scaling production, see our production scaling guide:
- Batch similar fabrics together - Minimize temperature adjustments
- Pre-heat multiple garments - Stack and rotate for continuous production
- Use production line setup - Designate stations for prep, press, and finishing
- Keep temperature log - Document successful settings for each fabric/color combo
- Invest in multiple Teflon sheets - Rotate while cooling for faster production
Quality Assurance Methods
Ensure consistent results with proper DTF transfer instructions:
- Test press on sample fabric - Always test new fabric/transfer combinations
- Document successful settings - Create reference chart for your team
- Perform wash tests - Test one piece from each batch
- Check edge adhesion - Edges fail first if settings are incorrect
- Use infrared thermometer - Verify actual platen temperature
Storage and Handling Best Practices
Protect transfers before you apply DTF transfers. Learn about proper powder application in our adhesive powder guide:
- Store transfers flat - Never roll or fold DTF transfers
- Control humidity (40-50%) - Use dehumidifier in storage area
- Keep away from direct heat - Store below 75°F
- Use within 6 months - Adhesive quality degrades over time
- Handle by edges - Fingerprints can affect adhesion
Ensuring Long-Lasting DTF Transfers
Following proper care instructions after DTF transfer instructions application ensures maximum durability and customer satisfaction. For handling returns and customer service, see our customer service guide.
First 24 Hours After Application
- Wait 24 hours before first wash - Allows adhesive to fully cure
- Keep away from water/moisture - Don't wear in rain immediately
- Avoid stretching or folding - Let transfer fully set
- Store in cool, dry place - Room temperature is ideal
Washing Guidelines for DTF Transfers
- Turn garment inside out - Protects transfer from friction
- Use cold water (under 80°F) - Hot water weakens adhesive
- Select gentle cycle - Reduces mechanical stress
- No fabric softener - Chemicals can break down adhesive
- Air dry or low heat tumble - High heat can cause cracking
- No dry cleaning - Chemicals damage DTF transfers
Long-Term Care Tips
- Iron inside-out only - Never iron directly on transfer
- Fold carefully - Avoid creasing transfer area
- Store properly - Hang or fold with transfer facing out
Frequently Asked Questions About DTF Transfer Application
What temperature do I use for DTF transfers?
DTF transfer temperature varies by fabric: Cotton needs 320-325°F, polyester needs 280-300°F, and blends need 300-310°F. Always refer to your specific fabric type and test first.
How long do I press DTF transfers?
DTF pressing time ranges from 10-20 seconds depending on fabric. Cotton takes 15-20 seconds, polyester 10-15 seconds. The key is consistent pressure and accurate temperature.
Should I use hot peel or cold peel?
Hot peel vs cold peel DTF depends on your priority. Hot peel is faster for production, while cold peel provides better adhesion for stretchy fabrics and fine details.
Why is my DTF transfer not sticking?
When your DTF transfer not sticking, it usually means insufficient heat, pressure, or time. Increase temperature by 10°F and add 5 seconds pressing time. Also ensure you're pre-pressing to remove moisture.
Do I need to pre-press the garment?
Yes, DTF pre press time of 3-7 seconds removes moisture and wrinkles for better adhesion. This step is essential for professional results.
Can I apply DTF to any fabric?
You can apply DTF to cotton, apply DTF to polyester, blends, leather, nylon, and more. Each fabric requires specific settings for optimal results.
How do I fix a wrinkled DTF transfer?
If your DTF transfer wrinkled, cover with parchment paper and re-press the affected area for 5 seconds. Prevent this by storing transfers flat and controlling humidity.
What's the purpose of the second press?
The DTF second press for 5-7 seconds ensures maximum durability and creates a smooth finish. This step significantly improves wash resistance.
How do I know if my heat press temperature is accurate?
Use an infrared thermometer to verify your DTF heat press settings. Many heat presses can be off by 10-15°F from the displayed temperature. Regular maintenance and calibration is essential.
Can I layer DTF transfers?
Yes, but each layer requires proper DTF transfer instructions. Apply and press each layer separately, allowing cooling between applications. For advanced techniques, see our advanced finishing techniques guide.
Master DTF Transfer Application Today
You now have comprehensive knowledge of how to apply DTF transfers like a professional. Following these detailed DTF transfer instructions ensures vibrant, durable results every time.
Key Takeaways:
- Proper DTF heat press settings are crucial for success - always match temperature to fabric type
- Following exact DTF transfer instructions ensures durability and professional quality
- Pre-pressing and second pressing make the difference between amateur and professional results
- Document what works for your specific equipment and materials
Ready to Create Professional DTF Transfers?
Shop our collection of high-quality DTF transfers with guaranteed adhesion. Our transfers are optimized for easy application following these exact instructions.
Use code FIRSTPRESS for 15% off your first order!
Join 5,000+ customers who've mastered DTF application with our transfers and guides. Start creating professional custom apparel today! For industry standards and best practices, consult organizations like SGIA, FESPA, and Printing Industries of America.


