How to Make a Gang Sheet in Photoshop: A Professional 2026 Guide

What Is This Article About?
Precision in your Photoshop document setup is the only way to guarantee industrial-grade DTF results and eliminate wasted film margins. You've likely felt the frustration of a rejected file or the disappointment of a low-resolution print that ruins a perfectly good garment. It's a common hurdle that slows down production and eats into your profit. Learning how to make a gang sheet in photoshop the right way ensures every linear foot of film is optimized for your success.
This professional 2026 guide helps you master the technical steps to create high-resolution, cost-effective DTF gang sheets in Adobe Photoshop 27.7. We'll show you how to set up your canvas for maximum density, maintain color accuracy, and export a perfectly sized PNG file ready for immediate upload. You'll gain the exact blueprint for crisp, professional results that your heat press and your customers demand. Let's get to work on maximizing your efficiency and print quality.
Key Takeaways
- Learn why professional printers prefer Photoshop for superior raster control and how to set up your canvas with a transparent background at a fixed 22-inch width.
- Master the exact technical workflow for how to make a gang sheet in photoshop by utilizing Smart Objects to preserve every pixel of your high-resolution designs.
- Maximize your print area and slash costs by strategically arranging multiple designs with the recommended 0.25-inch buffer for easy cutting.
- Eliminate file rejections by following precise export settings for transparent PNGs that guarantee crisp, industrial-grade results on your heat press.
- Streamline your fulfillment by uploading print-ready files to Iris DTF and leveraging same-day local pickup for Richardson, Plano, and Frisco brands.
Why Photoshop is the Industry Standard for DTF Gang Sheets
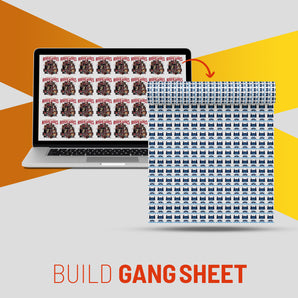
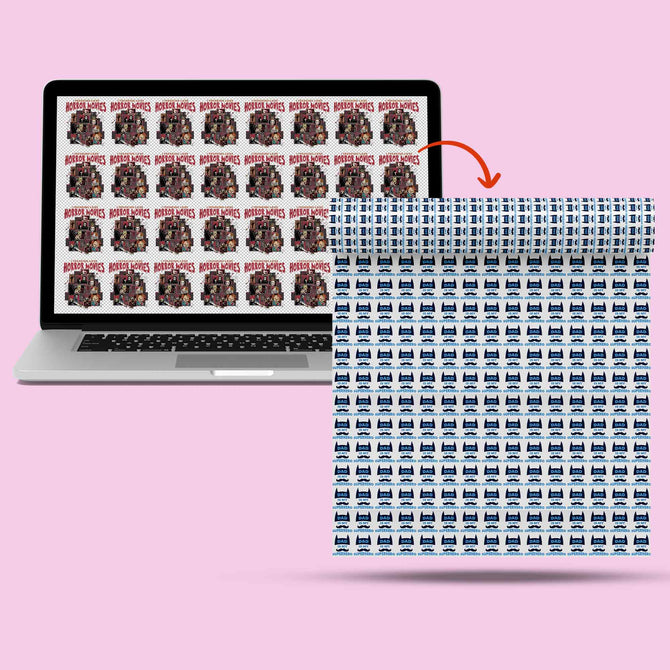
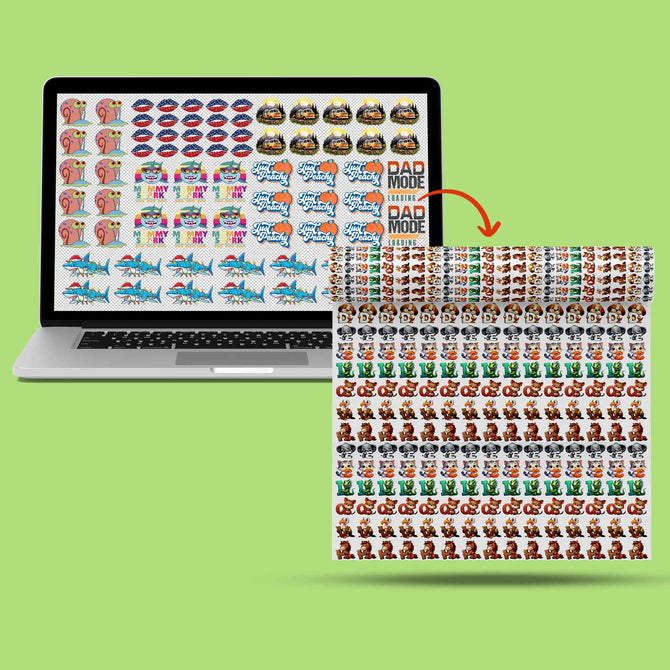
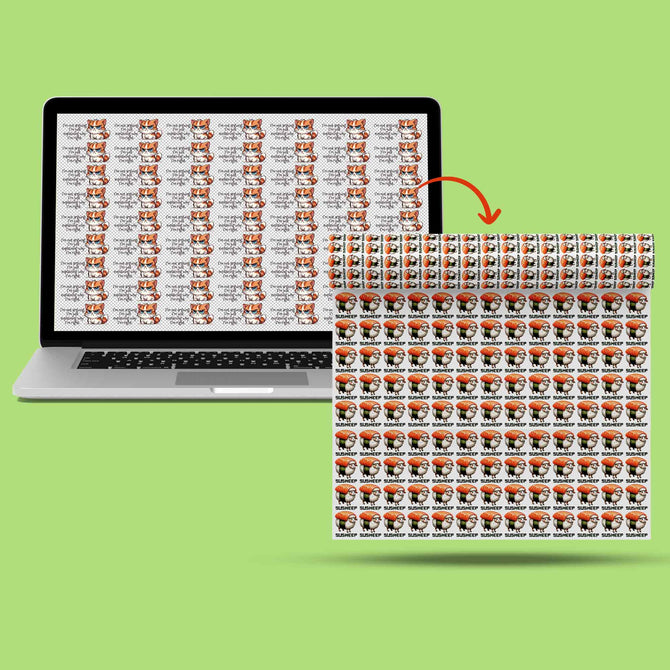
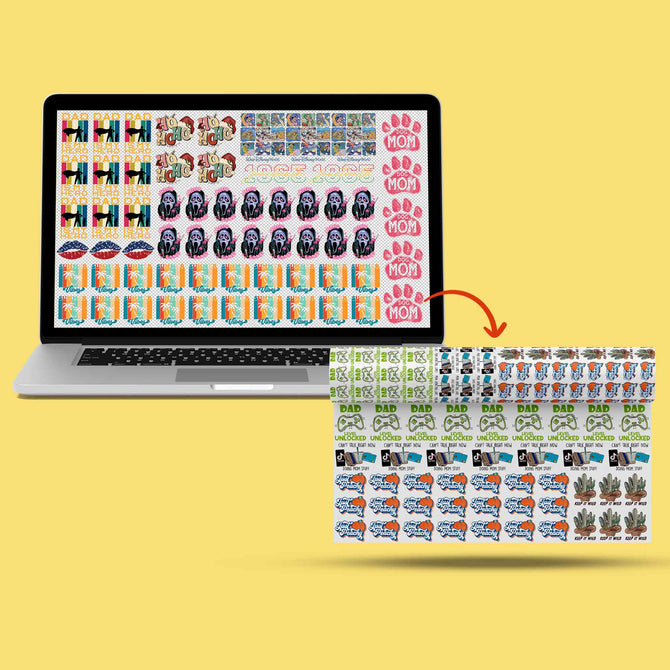
A gang sheet is a single digital file containing multiple designs, logos, or graphics arranged to maximize the total print area. This method is based on the traditional concept of gang run printing, which combines multiple jobs on one sheet to reduce setup costs and material waste. For apparel decorators, it's the ultimate way to get more for less. Photoshop stands as the industry benchmark because it provides absolute control over every pixel. While other tools might simplify the process, they often sacrifice the high-bit depth and transparency handling required for professional output. Learning how to make a gang sheet in photoshop ensures your custom DTF transfers maintain 100% resolution without the blurry edges or artifacts common in lower-end software. It's about precision and reliability from the first click to the final press.
The Cost-Efficiency of Ganging Your Designs
Richardson businesses thrive on efficiency. Most professional DTF providers, including our team at Iris DTF, price gang sheets per linear foot. This means you pay for the length of the film used, not the number of individual designs. If you print ten logos separately, you'll pay a premium for each individual setup. By ganging those same ten logos into one Photoshop file, you slash your costs significantly. We reward prepared, print-ready files with faster turnaround times because a well-built Photoshop file moves straight to production without delays. It's the fastest way to scale your brand while keeping your margins healthy.
Photoshop vs. Online Gang Sheet Builders
Browser-based tools often struggle with the massive file sizes required for high-resolution printing. A 22-inch by 60-inch canvas at 300 DPI creates a heavy data load that can crash online builders or force them to compress your images. Photoshop handles this RAM-intensive work with ease. It also offers superior color management, ensuring the vibrant reds or deep blues you see on your screen actually appear on the fabric. One of the biggest advantages is the use of Smart Objects. These allow you to resize and rotate your logos repeatedly without losing a single drop of quality. Online builders often rasterize images immediately, leading to permanent pixelation if you decide to scale a design up later in the process. Photoshop keeps your assets crisp, professional, and ready for the heat press.
Setting Up Your Photoshop Canvas for DTF Success
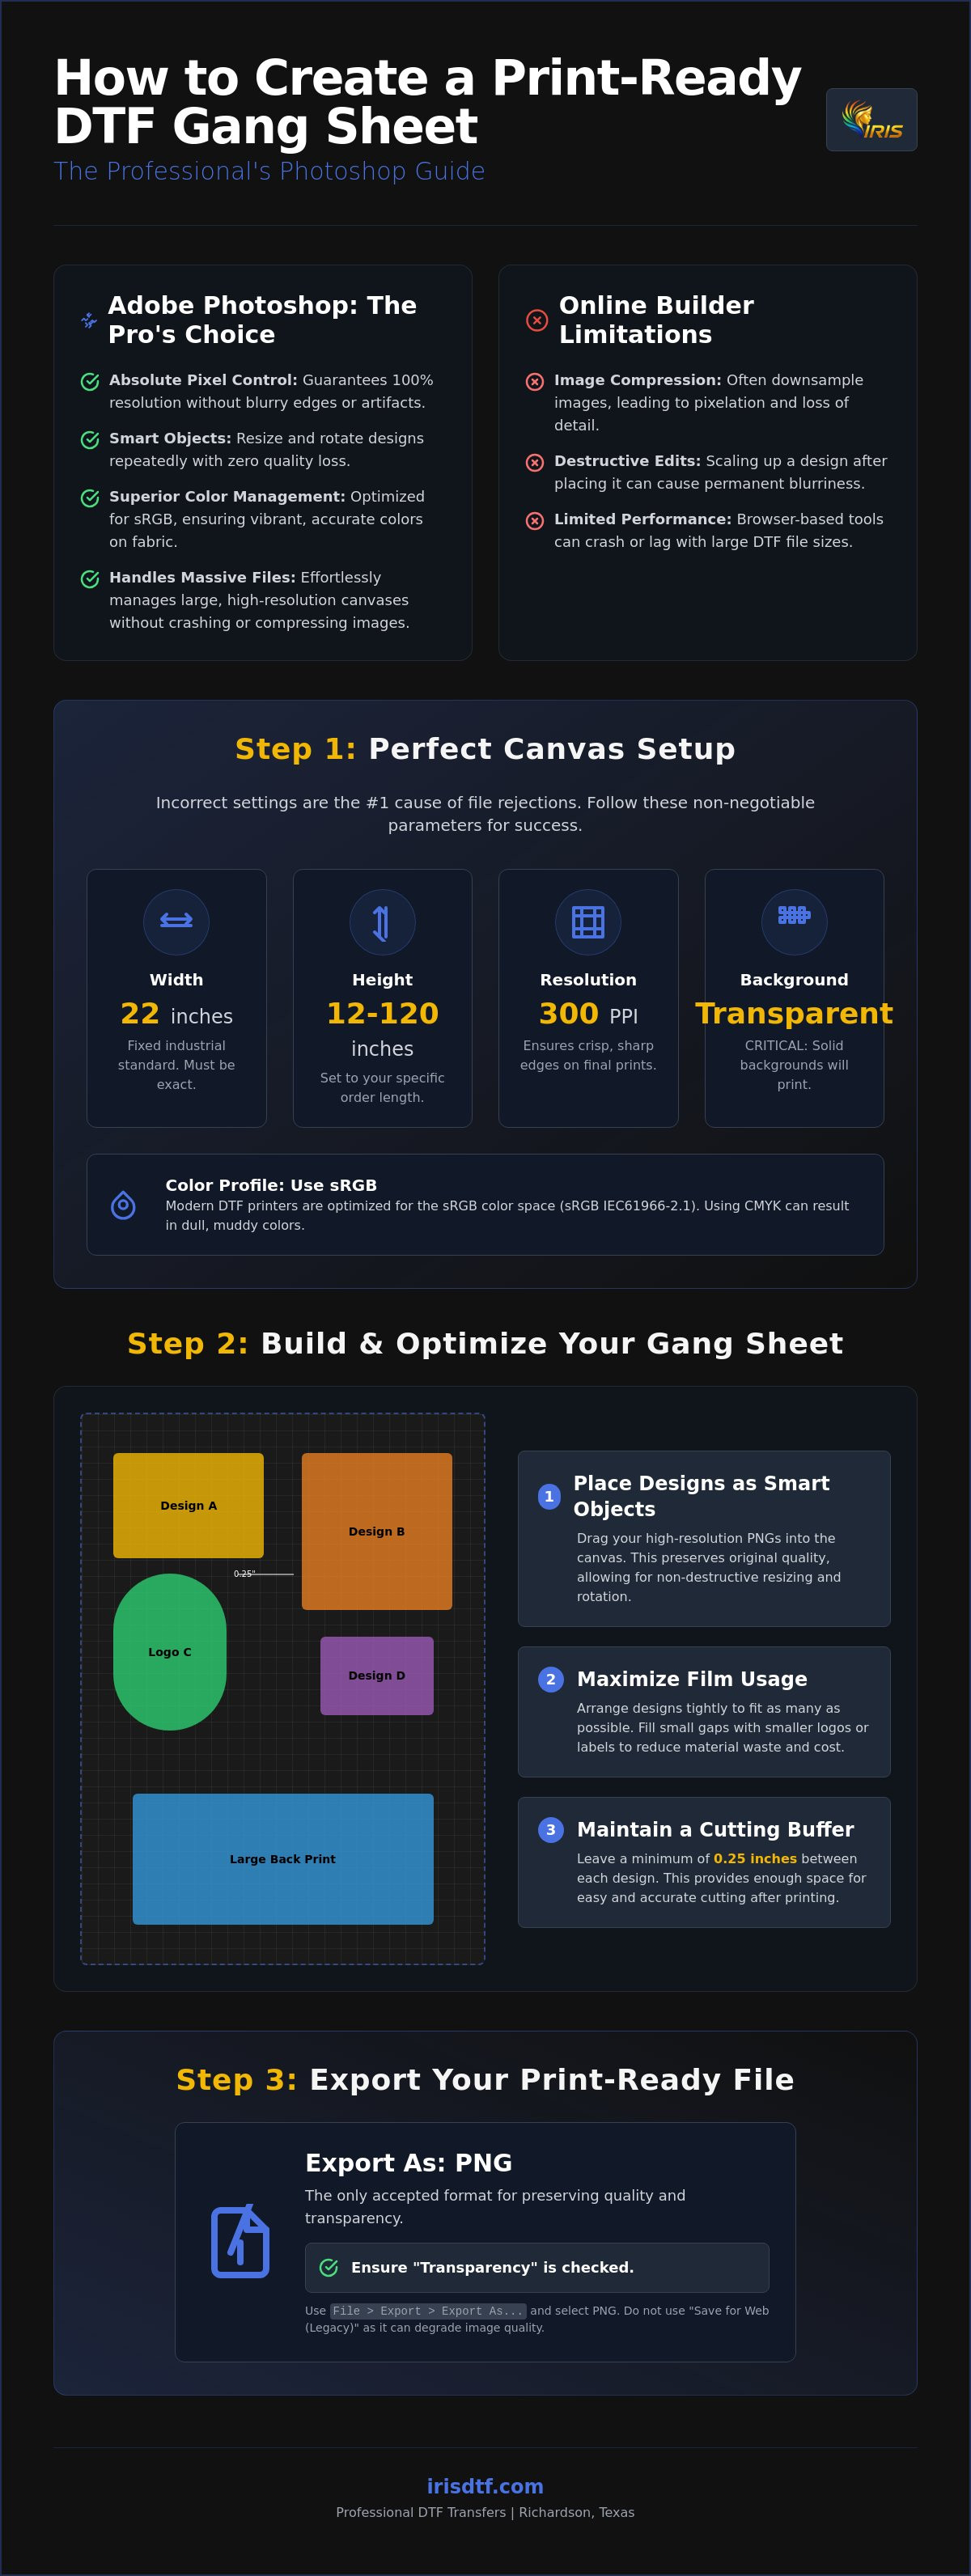
The foundation of a professional print starts at the "New Document" screen. Understanding the exact technical parameters for how to make a gang sheet in photoshop is the only way to avoid file rejections and wasted material. Accuracy at this stage guarantees that your designs translate perfectly from the digital workspace to the heat press. You must begin with a transparent background. Never use white or solid colors; DTF printers interpret white pixels as white ink. If your background isn't transparent, the printer will lay down a solid block of white ink behind your entire sheet, ruining the transfer and wasting expensive supplies.
When you open the "New Document" window, set your units to inches immediately. This prevents scaling errors that occur when working with pixels alone. While you're organizing your workspace, you might find it helpful to look into creating print mockups in Photoshop to visualize how your various logos will look on a finished garment before you commit them to the gang sheet. This level of preparation is what separates hobbyists from industry leaders.
The Perfect Dimensions for Iris DTF
Industrial DTF film rolls are standardized at a 22-inch width. Your Photoshop canvas must reflect this exactly. Set your width to 22 inches and your height to the specific length you plan to order, whether that is 12 inches or 120 inches. To calculate your required height, arrange your largest designs first and measure the total vertical space they occupy. 300 Pixels/Inch is the absolute, non-negotiable resolution standard required to ensure your apparel prints have crisp, sharp edges without any visible pixelation.
Color Profiles: RGB vs. CMYK for Direct-to-Film
Most modern DTF RIP (Raster Image Processor) software is optimized for the sRGB color space. While traditional offset printing relies on CMYK, DTF technology uses a wider color gamut that RGB profiles capture more effectively. Using a CMYK profile often results in "muddy" or dull colors that lack the vibrancy your customers expect. We recommend using the sRGB IEC61966-2.1 profile for maximum pop. You can verify your settings by navigating to Edit > Assign Profile. Ensuring your colors are dialed in correctly from the start makes it easy to order professional DTF gang sheets that match your brand's vision perfectly. If you see a mismatch, convert the profile before you start placing your artwork to maintain consistency across the entire sheet.
Step-by-Step: Building Your Layout in Photoshop
Building your layout is where your technical preparation pays off. This stage requires a methodical approach to ensure every design remains crisp and every inch of film is utilized. If you are learning how to make a gang sheet in photoshop for the first time, the most important rule is to avoid copy-pasting. Dragging an image directly from a web browser or another document often results in low-resolution output that fails at the press. Instead, use "File > Place Embedded" to bring in your high-resolution PNG or SVG files. This ensures your artwork enters the canvas at its original quality without unwanted compression.
Once your art is on the canvas, immediately convert every layer to a Smart Object. Right-click the layer and select "Convert to Smart Object." This is a critical step that many generic guides overlook. Smart Objects protect your image data; they allow you to scale, rotate, and reposition your designs without any loss of quality. If you need to duplicate a logo, simply hold Alt (or Option on Mac) and drag the design to a new spot. It's fast, efficient, and keeps your workflow moving at a professional pace.
- Align Tools: Perfectly center or edge-align designs to keep your sheet organized.
- Distribute Spacing: Ensure equal gaps between repeated logos automatically to simplify cutting.
- Smart Objects: Lock in your resolution so scaling your art doesn't cause blurriness or jagged edges.
Importing High-Resolution Artwork
High-quality transfers start with high-quality source files. Copy-pasting from the web is a recipe for disaster because those images are typically compressed for screen viewing, not industrial apparel printing. Always verify that your imported art has a 100% transparent background. If you spot stray white pixels or a faint halo around the edges, use the "Magic Wand" or the "Remove Background" tool in the Properties panel for quick fixes. Clean edges are essential for a professional finish that won't show unwanted white outlines on dark garments.
Maximizing Film Real Estate
Think of your gang sheet as a high-stakes puzzle. To maximize your investment, rotate designs 90 degrees to fit them into tight spaces. This "nesting" technique allows you to squeeze small neck labels or chest hits into the gaps left by large back prints. Don't guess the size of your prints. Press Cmd + R (or Ctrl + R) to bring up your Rulers. This allows you to verify the physical dimensions in inches, ensuring your designs fit the intended garments perfectly. Using the "Align" and "Distribute" tools in the top toolbar keeps your layout professional and prevents overlapping, which makes cutting your finished transfers much easier.
Pro Tips for Spacing, Margins, and Final Export
Your layout is built. Now, the final technical details determine whether your production run is a breeze or a nightmare. Learning how to make a gang sheet in photoshop involves more than just dragging images; you must account for the physical reality of the cutting table. Leave at least 0.25 to 0.5 inches of buffer between every design. This dead space is your insurance policy. Without it, you risk nicking a nearby graphic while cutting, which leads to ruined shirts and lost profit. Also, keep your art away from the extreme edges of the 22-inch canvas. Most industrial printers need a small margin to ensure the film feeds correctly without clipping your designs. Precision here prevents wasted film and ensures your transfers arrive ready for the press.
The "Cutting Room" Rule
Tight spacing is the enemy of high-volume fulfillment. If you are processing dozens of orders, you don't have time for surgical precision with a pair of scissors. Group similar designs together to streamline your workflow. This allows for long, straight cuts that speed up your post-press processing significantly. Visualize a "Safe Zone" on your canvas that stays 0.125 inches away from your 22-inch boundaries. This small adjustment prevents head strikes and ensures every transfer is perfectly preserved. It is a simple step that guarantees a professional, clean result for every project.
Final Quality Check and Export Settings
Before you save, check for stray pixels. These invisible artifacts are often left behind by background removal tools and will appear as tiny, unwanted white ink dots on your finished product. Add a "Threshold" adjustment layer temporarily to make these hidden spots pop against the transparency. Once clean, delete the adjustment layer and export your file as a PNG-24 with the "Transparency" box checked. While dtf gang sheets can become quite large, aim to keep your file size under 500MB for the fastest upload speeds. We recommend using the "Export As" menu over "Save for Web" for the most reliable color data in 2026.
Ready to see your precision work in print? Upload your finished gang sheet to Iris DTF for professional-grade transfers delivered with speed and accuracy.
From File to Fabric: Ordering with Iris DTF in Richardson
Mastering how to make a gang sheet in photoshop is only half the battle. The other half is partnering with a high-capacity production house that respects your technical precision. At Iris DTF, we turn your digital layouts into industrial-grade transfers with unmatched speed. You've done the hard work of optimizing your canvas and protecting your resolution. Now, simply upload your print-ready Photoshop PNG directly to our portal. We handle the heavy lifting of industrial printing so you can focus entirely on your heat press and growing your brand. Our Richardson-based production facility is built for volume. We understand the urgency of your deadlines. We treat every file with the accuracy it deserves.
Our commitment to quality is backed by 10 years of industry expertise. We don't just print files; we provide the engine for your creative or commercial success. By following the professional 2026 standards for how to make a gang sheet in photoshop, you ensure that our printers receive the best possible data. This collaboration results in transfers that are vibrant, durable, and ready for immediate application. We are your behind-the-scenes partner, equally comfortable handling massive commercial demands and small-scale individual projects with a "ready-to-work" attitude.
Local DFW Pickup vs. Shipping
Richardson-based clothing brands have a distinct competitive advantage. Instead of waiting for national carriers, you can select "Local Pickup" at our Richardson facility. This service is a game-changer for businesses in Dallas, Plano, and Frisco. We serve the entire DFW metroplex, from Allen to Mesquite, providing a reliable hub for high-volume fulfillment. Local pickup means zero shipping damage and no transit delays. It's the fastest way to get your designs from the screen to the street. You save on shipping costs. You eliminate the risk of lost packages. You get your product the moment it's ready for you.
What Happens After You Upload?
Every file undergoes our automated pre-flight check to verify resolution and transparency. This system catches common errors before they hit the film, ensuring your 300 DPI settings are maintained. We ensure your colors pop on every garment type, maintaining the high-bit depth you worked hard to preserve in Photoshop. While we finalize your transfers, your next step is preparing your blank apparel for the application process. Our transfers are tested to withstand over 100 wash cycles without fading or cracking. Your creative vision deserves a professional engine. Let's get your first sheet on the printer today.
Scale Your Production with Precision DTF Transfers
You now have the technical blueprint to dominate the apparel market. By mastering how to make a gang sheet in photoshop, you've eliminated the guesswork that leads to wasted film and rejected files. You understand the necessity of the 22-inch width standard. You know how to use Smart Objects to protect every pixel. These professional steps ensure your designs translate perfectly from the digital canvas to the finished garment. High-resolution files are the foundation of high-durability results. Precision is your competitive edge.
Don't let your hard work sit on a hard drive. Our Richardson-based professional facility is ready to turn your layouts into reality. With 10+ years of printing expertise and our high-durability DTF technology, we provide the industrial power your brand deserves. Accuracy is guaranteed. Speed is standard. Upload Your Print-Ready Gang Sheet to Iris DTF Now and experience the difference of a professional partnership. Your creative success starts with a single click. Let's get to work.
Frequently Asked Questions
What resolution should my gang sheet be in Photoshop?
Your resolution must be set to exactly 300 Pixels/Inch. This is the non-negotiable industry standard for professional apparel printing. Setting it lower will cause blurry edges and visible pixelation on your finished garments. While 72 DPI works for screens, it fails at the heat press. High-resolution files ensure your fine details and small text remain sharp. Always verify this setting in the "New Document" window before you start your layout.
Can I use RGB color mode for my DTF gang sheet?
Yes, using the sRGB color mode is actually preferred for modern DTF printing. Most RIP software is designed to handle RGB data to achieve a wider color gamut. This results in more vibrant, punchy colors compared to traditional CMYK profiles. If you use CMYK, your prints might appear dull or muddy after the curing process. Stick with sRGB IEC61966-2.1 for the most accurate and high-energy results on fabric.
How much space should I leave between designs on a gang sheet?
Leave a minimum of 0.25 inches between every design, though 0.5 inches is safer for high-volume work. This buffer provides the necessary room for manual or machine cutting. Without this space, you risk accidentally nicking a neighboring graphic during the finishing stage. It is a small adjustment in Photoshop that saves you from ruined transfers and wasted shirts later. Grouping similar designs can also speed up your post-press processing.
Why does my gang sheet have a white box around the designs?
A white box appears because your background is not transparent. DTF printers interpret every white pixel as a command to lay down white ink. If your canvas has a solid white background layer, the printer will create a solid block of ink behind your entire sheet. Always delete your background layer or set it to transparent. This is a common mistake for those learning how to make a gang sheet in photoshop for the first time.
What is the maximum width for a DTF gang sheet?
The maximum width for a standard DTF gang sheet is 22 inches. This dimension is fixed by the width of industrial film rolls used in professional printers. While the width is set, your height can vary based on your specific order length. Always set your canvas to exactly 22 inches wide in Photoshop. This prevents scaling issues and ensures your designs fit perfectly on the film roll during the production run.
Can I save my gang sheet as a JPEG instead of a PNG?
No, you must never save your gang sheet as a JPEG. JPEGs do not support transparency and will automatically fill your background with solid white. This causes the printer to create a giant white rectangle around your art, ruining the transfer. Always export your final file as a PNG-24. Ensure the "Transparency" checkbox is selected in the export menu. This is the only way to guarantee a print-ready file for professional output.
How do I check if my Photoshop file has a transparent background?
Check for the standard gray and white checkerboard pattern on your canvas. If you see a solid color, your background is not transparent. Look at your Layers panel; a transparent file will not have a locked layer named Background. You can also add a temporary bright-colored layer underneath your art to spot any stray white pixels. Verifying transparency is a vital step in how to make a gang sheet in photoshop.
Does Iris DTF offer local pickup in the Dallas area?
Yes, Iris DTF offers convenient local pickup at our Richardson-based production facility. This service is a major benefit for clothing brands in Plano, Frisco, and the surrounding Dallas area. Local pickup eliminates shipping wait times and prevents potential transit damage. It is the fastest way to get your professional transfers into production immediately. Just select the local pickup option during the checkout process on our website for maximum efficiency.