
Master Your DTF Gang Sheet Layout: 7 Pro Tips to Maximize Profit in 2026

What Is This Article About?
Your DTF gang sheet isn't just a digital file. It's a strategic map of your business's profitability. You've likely felt the sting of wasted film space or the frustration of a print coming out blurry because the resolution wasn't quite right. It's exhausting to watch your margins shrink because of simple layout errors that could've been avoided with the right setup.
We're here to fix that. You'll learn the exact dtf gang sheet layout tips used by industry experts to pack more designs onto every inch of film while maintaining vibrant, high-resolution quality. Whether you're a local DFW brand or a high-volume commercial shop, these strategies ensure you get the most out of every print. We're stripping away the technical intimidation and replacing it with a streamlined, ready-to-work process.
We'll dive into the technical standards of 300 DPI files, the necessity of transparent PNG backgrounds, and the geometric secrets of nesting designs to eliminate waste. By the end of this guide, you'll be building optimized print files that lower your cost per transfer and deliver professional-grade results every single time your order leaves our Richardson facility.
Key Takeaways
- Learn how to maximize your print real estate and drastically reduce production costs per garment.
- Discover why 300 DPI and CMYK color spaces are non-negotiable for achieving sharp, retail-ready transfers.
- Implement pro-level dtf gang sheet layout tips like nesting small logos inside larger designs to eliminate wasted film space.
- Identify the critical design mistakes, from overlapping images to thin lines, that can ruin your entire print run.
- Get the local edge with Iris DTF’s Richardson facility, offering DFW brands high-volume capacity and fast pickup options.
The DTF Gang Sheet: Your Secret to Scaling Production
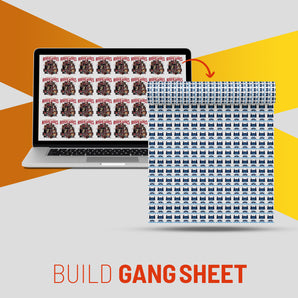
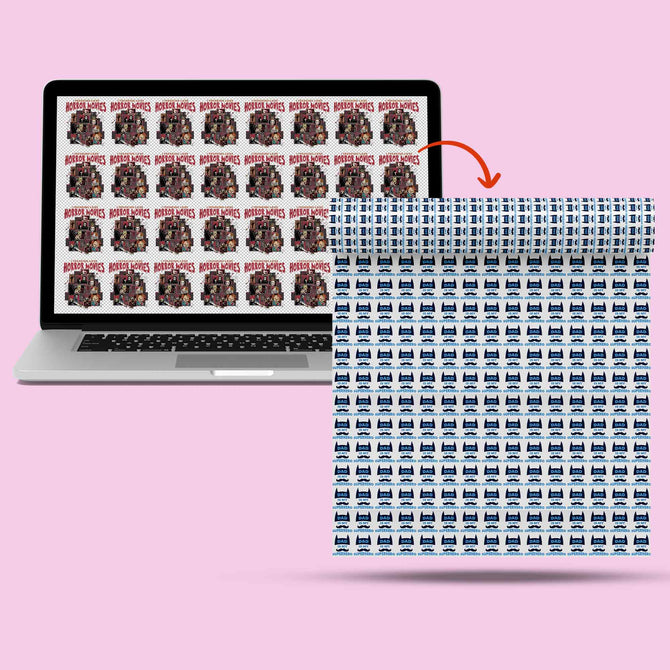
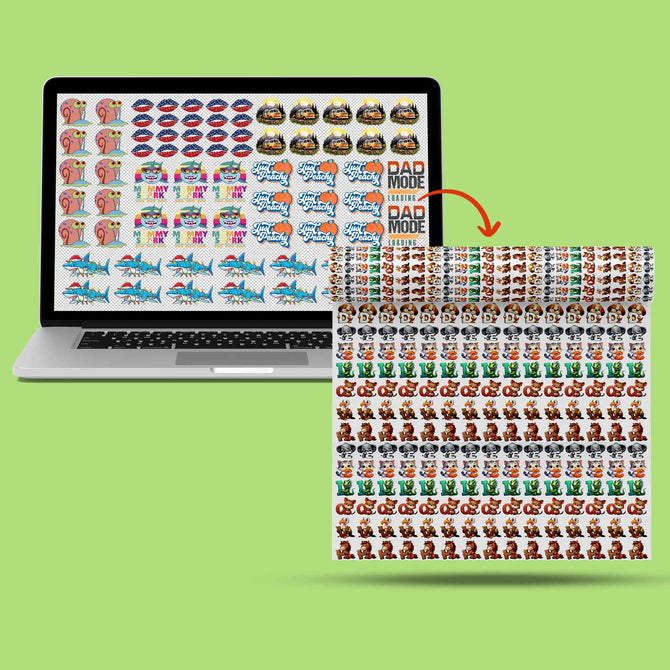
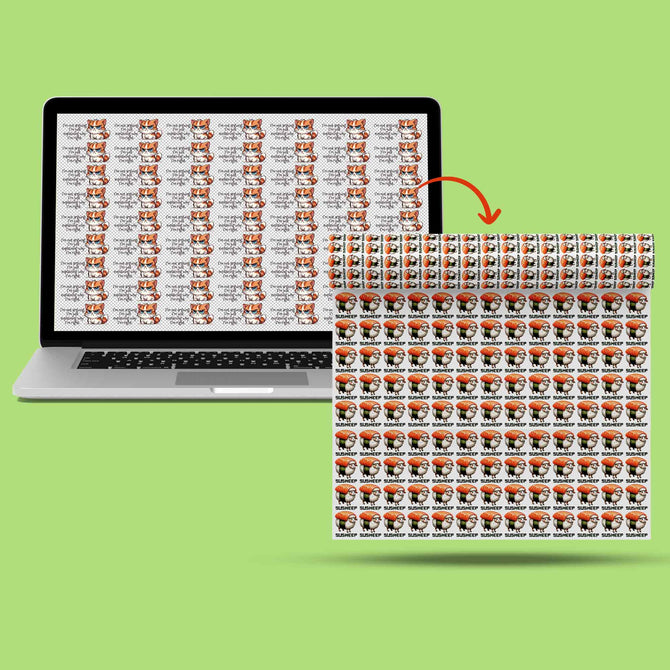
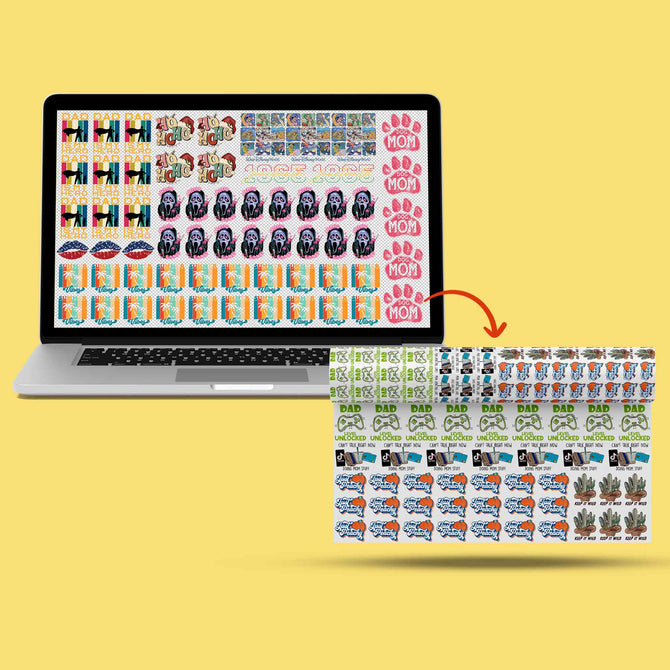
A DTF gang sheet is your ultimate production powerhouse. It's a single, continuous film roll containing multiple designs, sizes, and colors grouped together to maximize every square inch of print real estate. For Dallas clothing brands, this isn't just a digital file; it's a cost-saving engine. By consolidating your graphics onto one sheet, you drastically reduce the cost per garment. The Direct-to-film (DTF) printing process has evolved rapidly, and using professional-grade film from Iris DTF ensures your complex layouts stay crisp without any ink bleeding. You get the versatility to mix a massive back graphic with tiny sleeve logos and chest hits on one roll. It's fast. It's efficient. It's built for scale.
Why Layout Precision is Non-Negotiable
Precision is the difference between profit and waste. If your designs are too close, you'll likely damage the transfers during the cutting process. Crowded layouts make it nearly impossible to use a pair of shears or a rotary cutter without nicking a neighboring design. Successful Richardson pros organize their files to mirror their heat press workflow. Clean, logical spacing allows for rapid cutting and placement, which is essential when you're knocking out 50+ shirt runs. Mastering these dtf gang sheet layout tips ensures your production line never hits a bottleneck. It turns a chaotic stack of transfers into a streamlined assembly process.
The ROI of Strategic Gang Sheet Planning
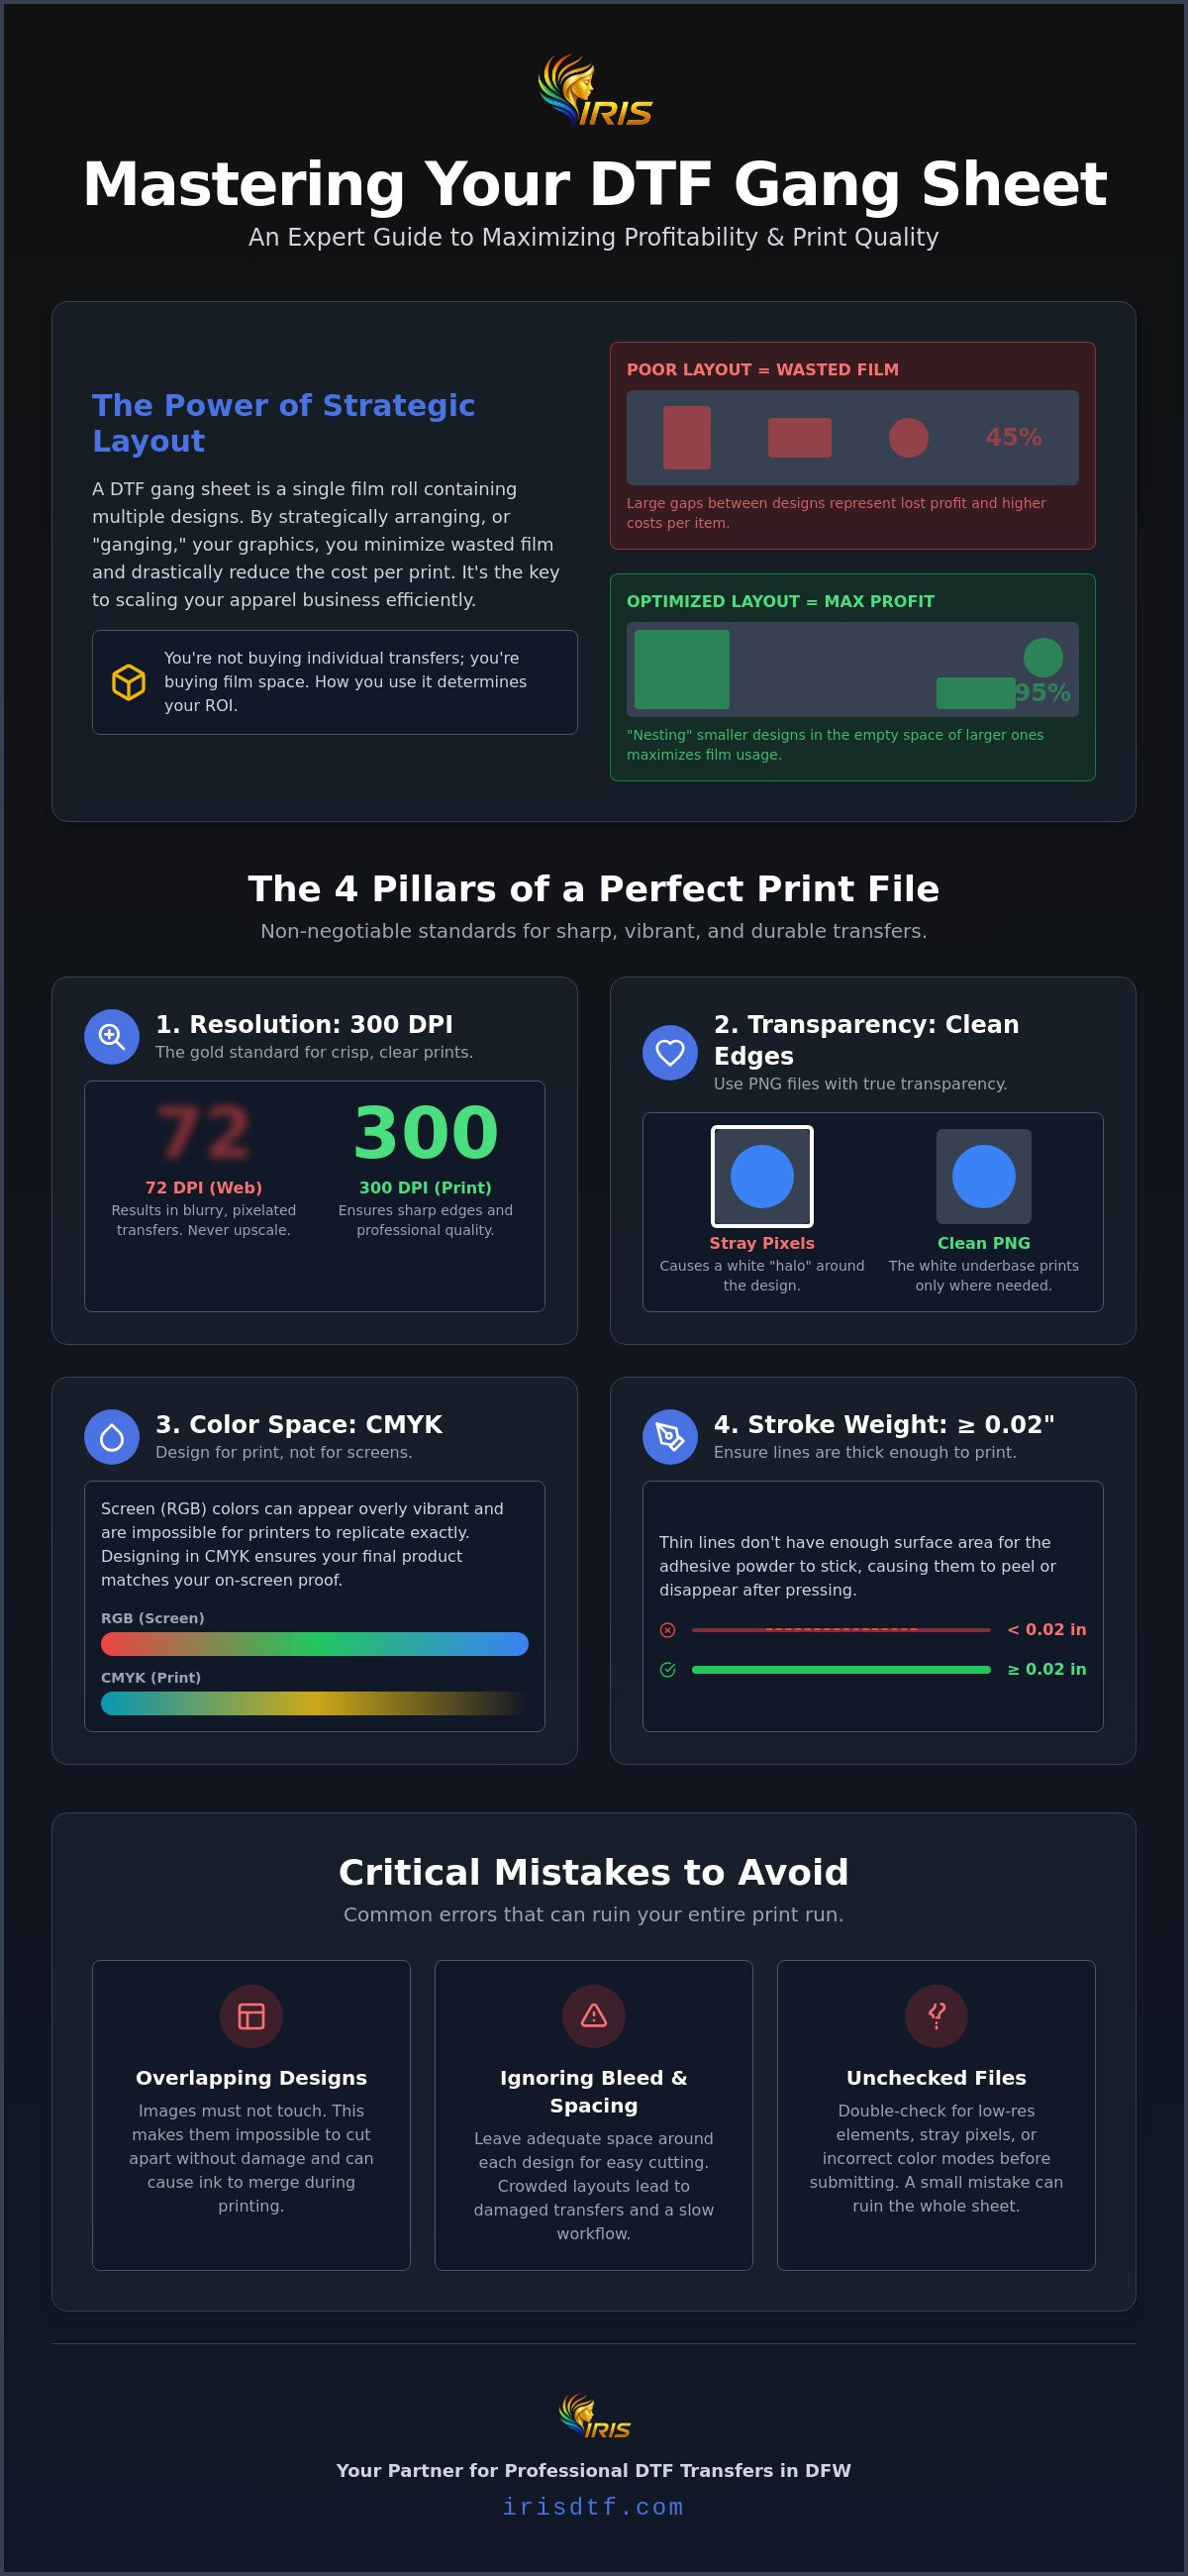
Stop paying for individual transfers. Strategic planning shifts your costs from a "per piece" model to a much more lucrative linear foot model. You're buying the space; how you use it determines your total ROI. Smart designers utilize "dead space", the gaps between large graphics, to tuck in neck labels, chest hits, or small branding stickers. This turns what would be scrap film into sellable products. It's a more sustainable way to run an apparel brand and keeps your margins high. By reducing waste and maximizing your film usage, you're directly increasing your bottom line. Using these dtf gang sheet layout tips turns your "extra" film into pure profit, allowing you to grow your brand without ballooning your overhead.
Technical Requirements for Sharp, Professional Transfers
Professional results start with technical precision. You can't expect a retail-ready finish if your source files are subpar. While many generic services claim you can "upload anything," industry leaders know that digital textile printing technologies demand specific file standards to perform. To get the most out of your dtf gang sheet layout tips, you must focus on four pillars: resolution, color space, transparency, and stroke weight. Neglecting these leads to blurry edges, muddy colors, and prints that peel after the first wash. We build our transfers to last, but that durability begins in your design software.
Color accuracy is equally vital. Always design in CMYK. Most screens display in RGB, which can make colors look neon or vibrant in ways that physical ink cannot replicate. Converting to CMYK early ensures what you see on your monitor actually matches the finished product. Additionally, pay close attention to your stroke weights. For the white ink base to adhere properly, every line in your design should be at least 0.02 inches thick. Anything thinner risks "disappearing" because there isn't enough surface area for the adhesive powder to grab. If you're unsure about your file's readiness, starting with high-quality custom DTF transfers from a reliable facility ensures your technical specs meet commercial standards every time.
Resolution Rules: Avoiding the "Blurry" Print
DPI, or Dots Per Inch, determines the density of ink saturation on the film. For DTF, 300 DPI is the non-negotiable gold standard. Never attempt to "upscale" a low-resolution 72 DPI web image in your layout tool. This doesn't add detail; it just makes the pixels larger and the print blurrier. Always check your design's resolution at its final print size before exporting. If your logo is 10 inches wide, it must be 300 DPI at that exact 10-inch scale to remain sharp.
Transparency and Clean Edges
Stray pixels are the enemy of a clean transfer. Semi-transparent "ghost" pixels around your design's edges will still receive a white ink underbase, resulting in a white haze or "halo" around your graphic. To prevent this, use a high-contrast background layer, like bright pink or neon green, while designing to spot and delete any lingering artifacts. When you're finished, export your file as a PNG-24 with transparency enabled. This format is the preferred choice for Iris DTF because it preserves the crisp, hard edges required for a professional-grade finish.
Pro Layout Strategies: Nesting and Spacing for Profit
Efficiency isn't just about speed; it's about spatial geometry. Your gang sheet is a puzzle where every empty pixel represents lost revenue. By mastering advanced dtf gang sheet layout tips, you turn that empty space into high-margin products. Orientation is your first tool. Don't be afraid to rotate designs 90 degrees to fit the specific width of the film roll. Grouping similar designs also pays off later. When your transfers are organized by garment type or placement, your heat press operator can find what they need in seconds. It creates a rhythm. It's about building a methodical workflow that starts in the design software and ends with a finished shirt on the rack.
Mastering the Art of Nesting
Think of your layout like a high-stakes game of Tetris. Nesting is the strategy of placing smaller items, such as neck labels or sleeve logos, inside the negative space of larger designs. Does your main graphic have a "U" or "O" shape? That's prime real estate. Tucking a small branding hit into that curve can save you up to 20% on your linear foot costs. You're effectively getting those extra transfers for free. This approach is a hallmark of professional-grade production. It ensures that every inch of film you pay for is working toward your bottom line. It's the easiest way to maximize your ROI without increasing your order size.
Bleeds and Cutting Margins
Packing designs tight is smart, but packing them too tight is a recipe for disaster. You must respect the 0.5-inch rule. A half-inch safety margin between designs is the absolute minimum for safe manual cutting. If you crowd your graphics, you'll inevitably nick a design with your shears or rotary cutter. This ruins the transfer and wastes the film you were trying to save. You don't want to explain to a client why their logo is missing a corner. Beyond cutting, you need to consider the heat press itself. Leaving adequate room ensures the platen edge doesn't interfere with neighboring designs during application. This is especially true for thick seams or pockets. For those looking to scale further, Mastering DTF Gang Sheets provides deeper insight into high-volume volume strategies. Smart spacing protects your investment and keeps your production moving without costly errors.
Critical Mistakes to Avoid in Your Gang Sheet Design
Overlapping designs are the fastest way to flush money down the drain. If two graphics share even a single pixel of space, they are both ruined. This often happens when designers try to nest items too tightly without zooming in to verify the boundaries. It sounds like a simple error, but in a crowded high-volume layout, it's a frequent mistake that leads to wasted film and lost profit. You must also avoid mirroring your own files. Most professional DFW printers handle mirroring automatically within their RIP software. If you mirror the design yourself, your final transfers will arrive backward and unusable. Save yourself the extra step. Keep your text and logos readable in the source file and let the equipment handle the technical flip.
The "Fine Line" Trap
Adhesive powder requires a physical surface to grab. When your design features lines thinner than 0.02 inches, there isn't enough ink density to hold the powder during the curing process. This leads to transfers that peel or simply fail to stick to your blank apparel. If you're working with delicate scripts or intricate illustrative details, add a small stroke to thicken the elements. Use the "0.25mm rule" as your benchmark for professional results. If a line is thinner than a quarter of a millimeter, it likely won't survive a standard wash cycle. Applying these dtf gang sheet layout tips ensures your designs stay durable and retail-ready for the long haul.
Color Profiles and RGB vs CMYK
Computer monitors use RGB light to display color, while DTF printers use CMYK ink. Neon greens and electric blues on your screen often look dull or muddy in print because they fall outside the printable gamut. CMYK is the required profile for DTF ink chemistry because it mirrors the physical mixing of pigments. Our Iris DTF RIP software handles color conversion for Plano and Dallas brands, but starting your project in the correct profile yields the most accurate results. Beware of "soft" glows or transparent fades at the edges of your graphics. DTF requires a solid white underbase to stay vibrant. Semi-transparent edges often result in a grainy, speckled finish that looks like a technical error rather than a design choice. Aim for hard, clean edges to maintain professional quality.
Ready to put these strategies into action? Order your custom DTF gang sheets from Iris DTF today and see the difference professional-grade printing makes for your brand.
Streamline Your Brand with Iris DTF’s Richardson Facility
Executing your dtf gang sheet layout tips requires more than just good software. It requires hardware and expertise that can keep up with your growth. At Iris DTF, our Richardson-based facility is built to handle the momentum of the DFW apparel market. We specialize in high-volume commercial demands, utilizing 22-inch rolls to ensure maximum output for your brand. Whether you're running a boutique in Plano or a massive distribution center in Dallas, we provide the industrial-grade capacity you need. We don't just hit print. Our team conducts a thorough quality assurance check on every file to verify resolution and transparency before production begins. This extra layer of protection keeps your costs low and your quality high.
Our versatility sets us apart. We aren't just an apparel printer. We offer UV DTF stickers for hard surfaces alongside our standard fabric transfers. This allows you to maintain brand consistency across t-shirts, tumblers, and promotional gear with a single production partner. It’s about efficiency. It’s about reliability. We act as the behind-the-scenes engine for your creative success, providing the tools and speed necessary to dominate your market. By combining professional printing with your optimized layouts, you ensure every transfer is retail-ready.
DFW Metroplex Support: Allen to Grand Prairie
Time is money in the custom apparel industry. Shipping delays can kill a deadline for a local event or a sudden viral drop. That’s why Richardson and Plano brands choose local pickup. We offer same-day or next-day options for Richardson pickups, effectively eliminating the wait times associated with traditional carriers. From Allen to Grand Prairie, local businesses rely on our speed to stay competitive. If you’re looking for a partner that understands the urgency of the Dallas market, check out our guide on DTF Near Me for more local service details. We’re here to ensure your transfers are ready when you are.
Ready to Scale? Upload Your Gang Sheet Today
Don't let technical hurdles slow you down. Our online gang sheet builder makes it simple to apply the dtf gang sheet layout tips you've mastered today. It's a one-step action to transform your designs into a professional print file. With 10 years of US-based printing expertise, we have the seasoned experience to handle complex commercial runs and small-scale projects with equal precision. We provide a "can-do" spirit that makes technical processes feel easy. Our Richardson facility is ready to work for you. Maximize your value; order your custom gang sheet from Iris DTF now!
Scale Your Brand with Optimized Print Strategies
Precision is the ultimate driver of profitability in the custom apparel world. By mastering these dtf gang sheet layout tips, you've moved beyond simple printing and into strategic production. You now know how to leverage 300 DPI resolution, utilize the "Tetris" approach to nesting, and avoid the fine-line errors that stall your workflow. These small technical adjustments lead to massive gains in your bottom line. Every inch of film is now working for you.
Iris DTF is ready to be your high-capacity partner. With over 10 years of US-based printing expertise and a local Richardson, TX facility for rapid pickup, we provide the stability your brand needs to scale. We offer no minimum order requirements on custom gang sheets. This ensures you can test new designs or fulfill massive commercial runs with equal ease. It's time to turn your optimized layouts into retail-ready reality. Build and Order Your Professional DTF Gang Sheet today and experience the speed and precision of a true industry pioneer. Your next big production run is just one upload away. Let's get to work.
Frequently Asked Questions
What is the best software for creating a DTF gang sheet?
Adobe Illustrator and Photoshop are the industry standards for professional-grade layout control. They allow for precise vector paths and high-resolution raster management. If you want a more streamlined experience, our integrated online builder helps you apply dtf gang sheet layout tips quickly without needing expensive design suites or advanced technical knowledge.
How many logos can I fit on a 22" x 60" gang sheet?
The total quantity depends on your specific design dimensions and the safety margins you leave for cutting. For a standard 10-inch chest graphic, you can typically fit 10 to 12 transfers on a 60-inch roll. If you utilize nesting strategies for smaller 3-inch neck labels or sleeve hits, you can significantly increase that number and maximize your ROI.
Do I need to mirror my images before uploading to Iris DTF?
No, you should upload your designs in a standard, right-reading orientation. Our professional RIP software automatically handles the mirroring process during production. If you mirror the file yourself, the final transfer will arrive backward and unusable. Keep your text readable in the source file and let our equipment manage the technical flip.
What is the minimum line thickness for a DTF transfer to print correctly?
Every element in your design must be at least 0.02 inches thick to ensure structural integrity. This thickness provides enough surface area for the adhesive powder to bond securely with the ink. Lines thinner than this benchmark likely won't hold the powder, resulting in designs that peel or fail to transfer to your apparel.
Can I mix UV DTF and standard DTF designs on the same gang sheet?
No, these two products use entirely different inks, films, and adhesive chemistries. Standard DTF is engineered for fabric and requires a heat press for application. UV DTF is designed for hard surfaces like glass or plastic and uses a pressure-sensitive adhesive. You must submit separate gang sheets for each product type to ensure correct production.
What file format should I use for my gang sheet layout?
A PNG-24 with a transparent background is the preferred format for professional results. This file type preserves crisp edges and prevents the "ghosting" effect caused by stray pixels. Ensure your file is exported at 300 DPI to maintain the high-resolution output required for retail-quality transfers.
How do I ensure my colors stay vibrant on dark-colored shirts?
Vibrancy on dark fabrics is achieved by using a dense white ink underbase and designing in the CMYK color space. Our high-capacity printers apply a solid white layer behind your design, which acts as a primer. This prevents the fabric color from dulling your graphics and ensures your prints remain bright and opaque after pressing.
What is the turnaround time for gang sheet orders in Richardson?
Most orders are processed and ready for local pickup within 24 to 48 hours. We prioritize speed and efficiency for our DFW partners, and same-day service is often available depending on our current production volume. You'll receive an immediate notification when your sheets are ready for pickup at our Richardson facility.