


DTF Transfer Troubleshooting: Fix Peeling, Lifting, and Pressing Fails

What Is This Article About?
You followed the instructions, set the timer, and pulled the lever, only to watch your premium hoodie turn into a scrap rag as the design peeled away. It is the ultimate production nightmare. Wasted blanks and inconsistent quality don't just eat your margins; they kill your confidence. You need transfers that stick, colors that pop, and a process that works every single time without the guesswork.
We understand the frustration of a failed press. After 10 years in the industry, we know that successful dtf transfer troubleshooting isn't about luck. It is about mastering the delicate balance of heat, pressure, and moisture. Whether you are dealing with lifting edges or dull finishes, the solution is usually a simple adjustment to your workflow. Most failures stem from incorrect temperature settings, which can vary across your heat press platen.
This guide identifies the most common DTF failures and provides expert solutions to ensure professional-grade results. We will break down exact settings like the 310°F sweet spot for cotton and the critical role of pre-pressing for moisture removal. Get ready to eliminate the "printer maintenance" headache and start producing durable, vibrant apparel with total certainty.
Key Takeaways
- Master heat press calibration to melt adhesive correctly without scorching fabric fibers or ruining your blanks.
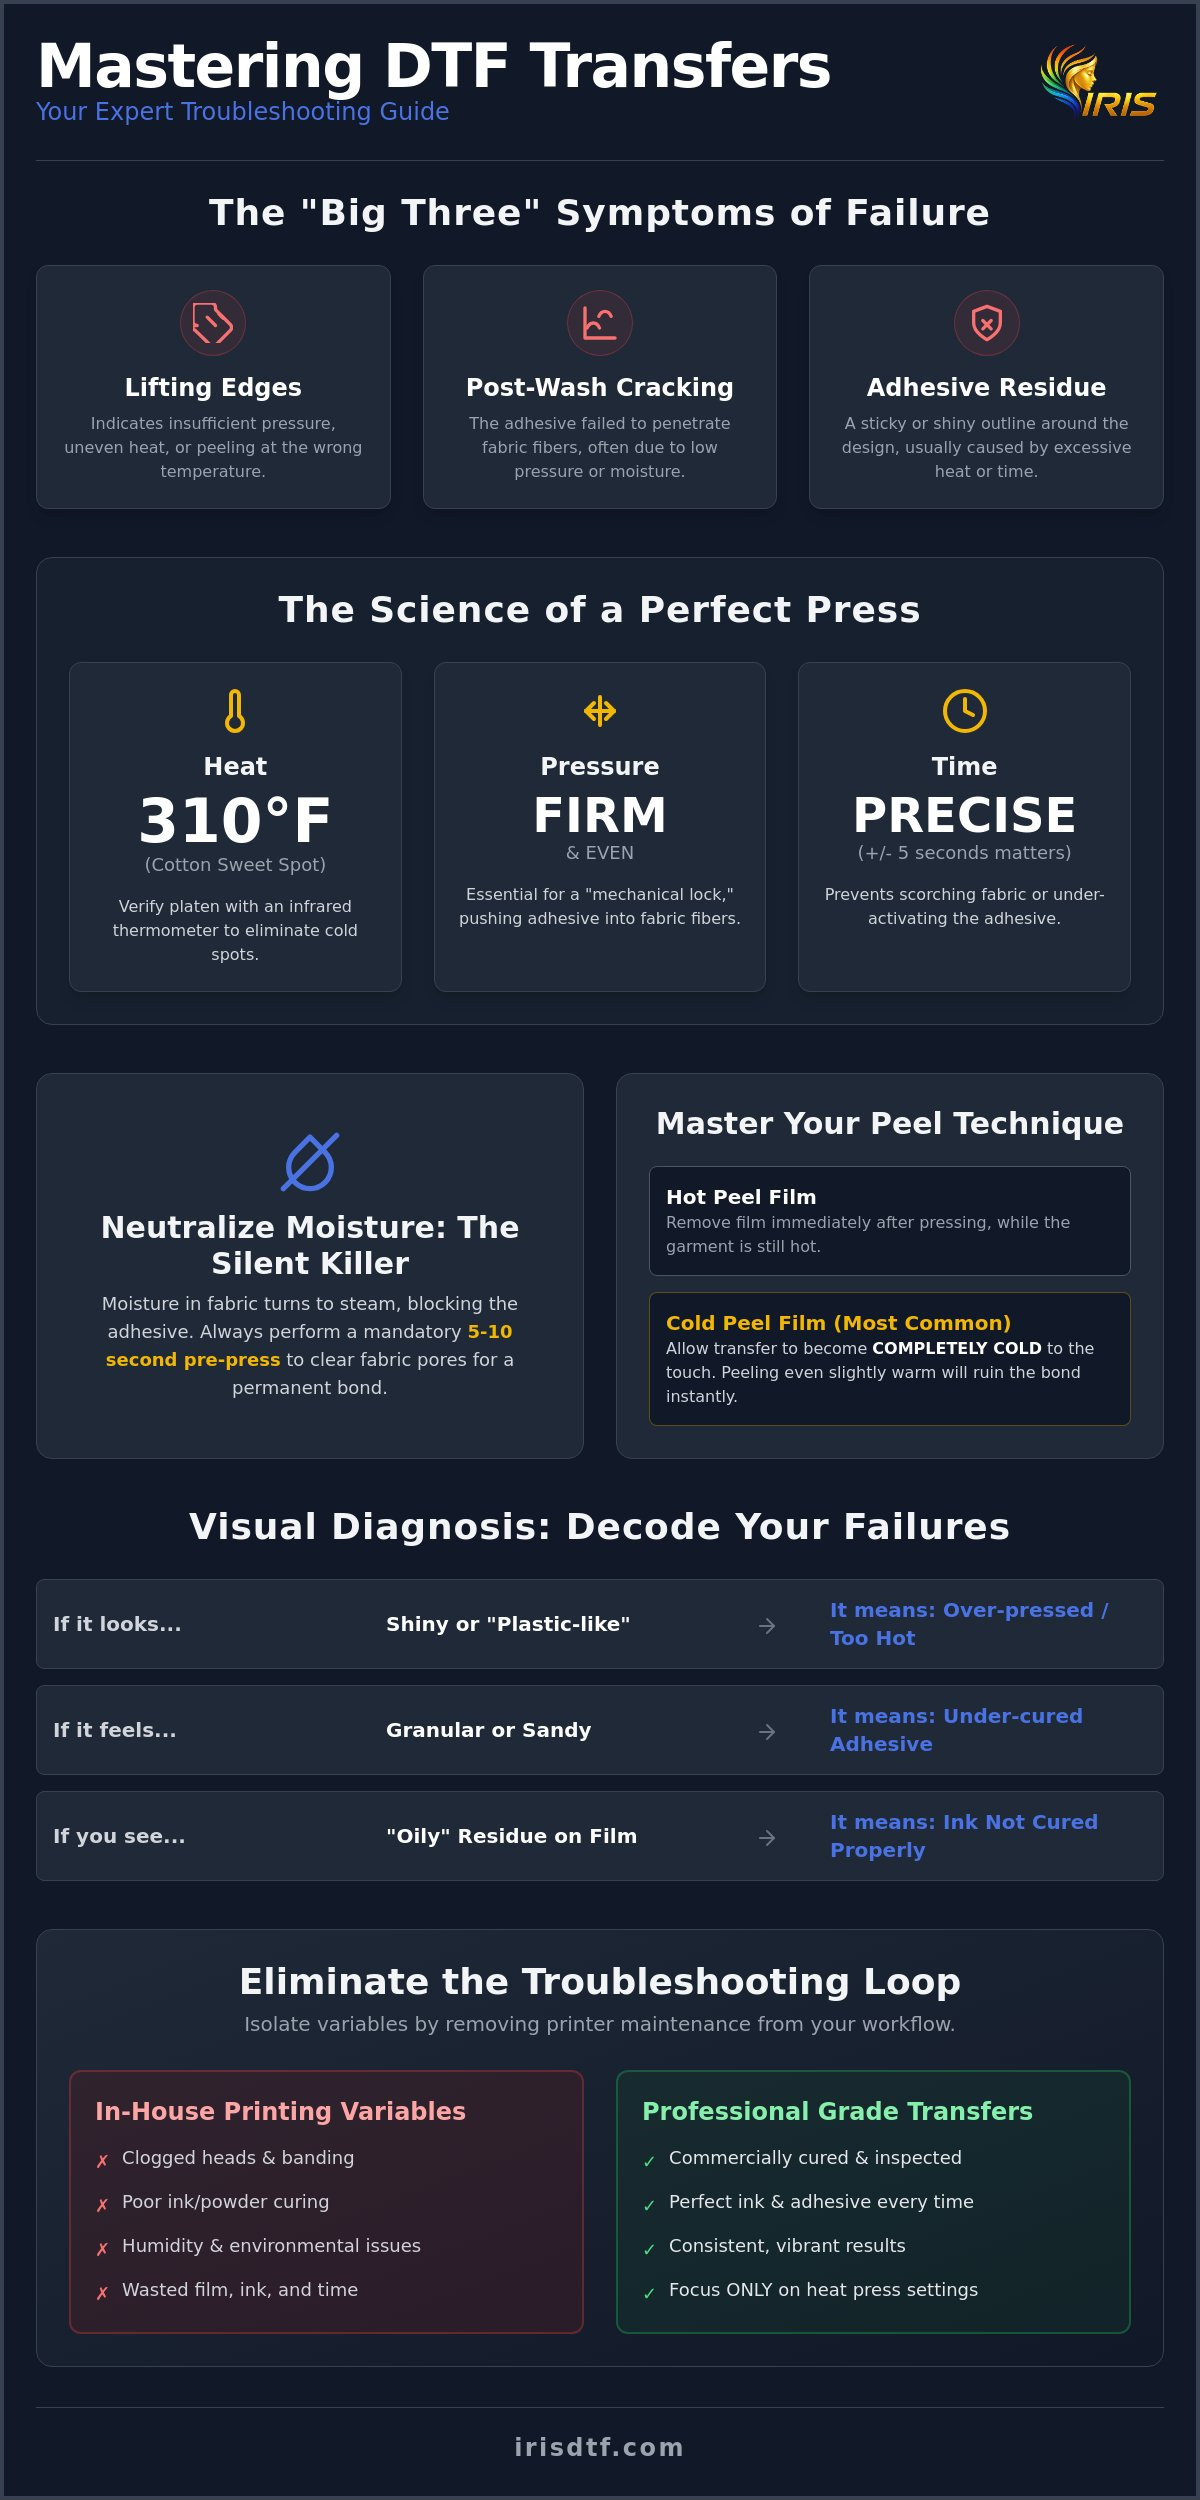
- Simplify your dtf transfer troubleshooting by identifying the "Big Three" symptoms: lifting edges, post-wash cracking, and adhesive residue.
- Learn the critical distinction between hot and cold peel films to prevent design damage during the removal process.
- Neutralize moisture, the "silent killer" of transfers, by using a mandatory pre-press step to clear fabric pores for a permanent bond.
- Remove the printer maintenance variable from your workflow by switching to professional-grade gang sheets cured in commercial ovens.
Identifying Common DTF Transfer Failures
A DTF transfer failure occurs when the chemical bond between the ink, the adhesive powder, and the fabric substrate fails to form or hold. It is more than just a cosmetic flaw. It is a structural breakdown of the garment's design. To fix these issues, you must view dtf transfer troubleshooting as the systematic process of isolating variables in the heat transfer cycle to identify exactly where the chain broke.
Most failures manifest as the "Big Three" symptoms: lifting edges, cracking after a single wash, and sticky adhesive residue around the design. These signs tell a story about your production environment. To understand these failures, you first need to understand the Direct-to-film (DTF) printing process and how thermoplastic polyurethane adhesive interacts with specific heat and pressure levels. If you don't master the chemistry, you can't master the result.
You must also distinguish between printing errors and application errors. If your colors look muddy or the white ink is thin before you even touch the heat press, you have a printer-side issue like clogged heads or poor ink flow. However, if the design looks perfect on the film but fails on the shirt, your heat press is the culprit. Identifying this distinction early saves you from wasting expensive blank apparel while you chase the wrong solution.
Visual Cues: What Your Failed Transfer is Telling You
Your failed transfers are full of data. A shiny or "plastic" look usually means you have over-pressed the garment or used excessive heat, causing the adhesive to liquefy and spread too thin. Conversely, a granular or sandy texture on the back of a peeled design indicates under-cured adhesive powder. The powder didn't reach its melting point, so it never anchored into the fabric. If you see lifting edges, you are likely dealing with insufficient pressure or an incorrect peel temperature. Remember, "cold peel" means cold. Peeling while even slightly warm can ruin the bond instantly.
Isolating the Variable: Film, Powder, or Press?
Before you blame your heat press, check your film. A properly cured transfer should feel slightly tacky but not wet. If you notice an "oily" residue on the back of the film, your ink hasn't been cured long enough, or your humidity levels are too high. This oil prevents the adhesive from sticking to the ink. One of the most effective ways to simplify dtf transfer troubleshooting is to remove the "printing" variable entirely. By using high-quality custom dtf transfers from a professional facility, you can be certain the ink and powder are perfect. This allows you to focus exclusively on your heat press settings and fabric preparation.
Heat Press Calibration: The Science of Time and Temp
Many printers treat their heat press like a kitchen microwave. They set the dial, walk away, and expect perfection. This approach is a primary cause of production failure. In the fluctuating humidity of North Texas, your equipment's digital display might lie to you. Temperature calibration is the foundation of effective dtf transfer troubleshooting. If the platen isn't hitting the specific heat required to activate the properties of thermoplastic polyurethane adhesives, the bond will never form. You aren't just heating the film. You are driving a chemical reaction that anchors the design into the garment's weave.
Pressure is the most overlooked factor in the shop. Without firm, even pressure, the adhesive stays on the surface rather than penetrating the fibers. This leads to designs that peel after the first wash because the "mechanical lock" was never established. Time is equally critical. A five-second deviation can be the difference between a professional-grade finish and a scorched ruin. Consistency is king in professional production. If you want to skip the frustration of manual calibration, you can order custom prints from experts who have already mastered the science for you.
Verifying Your Heat Press Accuracy
Don't trust the built-in thermometer on a budget press. Use an infrared thermometer to scan your platen for cold spots. If the center is 320°F but the corners are 290°F, your designs will fail at the edges. Perform the "paper test" by placing strips of paper at each corner and the center, then closing the press. If any strip pulls out easily, your pressure is uneven. Professional shops in Richardson often utilize pneumatic presses to remove human error and ensure every square inch receives identical force. This level of precision is what separates hobbyist results from commercial-grade apparel.
Optimal Settings for Different Fabrics
Fabric type dictates your strategy. Cotton handles higher heat, typically around 310°F to 320°F for 12 to 15 seconds. Polyester is heat-sensitive and prone to dye migration, requiring lower temperatures near 280°F to 300°F for 8 to 12 seconds. Always use a "Second Press" for 5 to 8 seconds with a finishing sheet. This second hit softens the hand-feel and locks the ink into the fabric pores for maximum durability. For a full breakdown of specific charts and fabric-specific tips, see our guide on how to apply dtf transfers. Mastering these settings ensures your designs survive the laundry and the Texas sun.
Solving Adhesion Issues and Peeling Problems
The bond between a transfer and a garment is a mechanical lock. During the press, the polymer powder melts and anchors itself into the microscopic pores of the fabric. If this anchoring fails, the design will peel, crack, or lift away entirely. Effective dtf transfer troubleshooting requires you to understand the physics of this bond. It isn't just about sticking a sticker to a shirt. It is about creating a unified structure where the ink and the fibers become one. When this fails, the culprit is usually the peel method or the powder quality.
One of the most frequent mistakes in professional shops is ignoring the chemistry of the film. Hot peel and cold peel films are not interchangeable. Hot peel films use a release agent that activates while the adhesive is still molten. Cold peel films require the adhesive to fully solidify and "grip" the fabric before the carrier sheet is removed. If you treat a cold peel film like a hot peel, you will pull the design right off the garment. You might also encounter "ghosting," where a faint shadow of the design remains on the film or shifts on the shirt. This usually happens if the film moves during a premature peel.
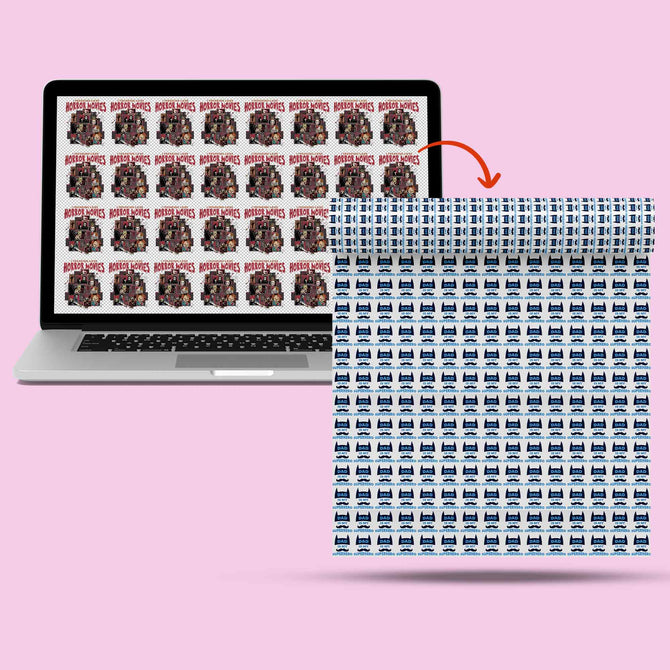
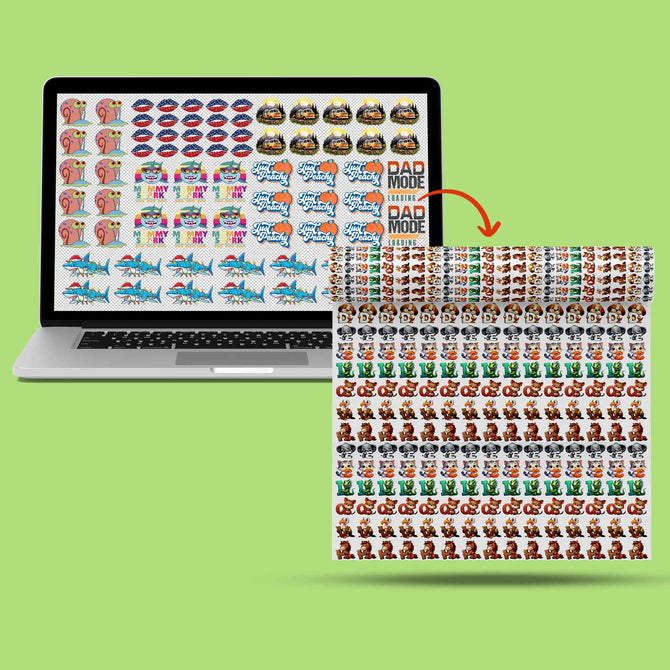
When working with dtf gang sheets, adhesion issues can become magnified. If you are cutting small designs from a large sheet, you must ensure each piece receives the same level of pressure. Many printers forget that the edges of a heat press often have lower pressure than the center. This leads to uneven adhesion across a single batch of shirts. Consistency is the only way to avoid these production bottlenecks.
The Cold Peel Protocol
Waiting for a cold peel film to cool is non-negotiable. If it is even slightly warm, the adhesive hasn't reached its maximum tensile strength. To speed up your workflow, use a chalkboard eraser or a thick cotton cloth to rub the design immediately after opening the press. This dissipates the heat in seconds. If you start to peel and see the design lifting, stop immediately. Lay the film back down and re-press for 5 to 10 seconds. This "Stop and Re-press" method can often save a garment that would otherwise be a total loss.
Adhesive Powder Pitfalls
If your finished design has an "orange peel" texture, your powdering was likely uneven or the powder itself has clumped. Humidity is the enemy here. In North Texas cities like Plano and Frisco, high moisture levels can cause DTF powder to absorb water, leading to poor melt quality. Store your supplies in airtight containers with silica packs to maintain a fine, flowable consistency. Additionally, the dtf ink quality plays a massive role. High-quality ink provides the necessary "wetness" for the powder to grab onto, ensuring a thick, even layer of adhesive that survives the wash test.
Moisture Control and Fabric Preparation
Moisture is the silent killer of professional prints in the DFW metroplex. High humidity levels mean your fabric acts like a sponge, absorbing water from the air before it ever hits your platen. When you apply 320°F of heat to a damp garment, that water instantly turns into steam. This trapped gas creates microscopic bubbles under the film, preventing the adhesive from making full contact with the fibers. If you have ever seen "bubbling" or a pitted texture in your finished design, you aren't looking at a film defect. You are looking at a moisture problem. Mastering dtf transfer troubleshooting requires a strict protocol for fabric preparation to ensure every design survives the Texas heat.
Proper storage is your first line of defense. Blank garments should never be left in open boxes in a non-climate-controlled warehouse. Even a few hours in a humid shop can saturate the fibers enough to ruin a production run. If you notice "ink migration" or a blurred edge on your transfers, it is a sign they have already absorbed too much ambient moisture. You need a controlled environment to maintain the integrity of your supplies. Richardson businesses rely on us because we maintain a professional facility designed to eliminate these environmental variables from the start. Get your custom transfers from a climate-controlled facility to ensure peak performance.
The 10-Second Pre-Press Rule
A pre-press is not just for removing wrinkles. It is a mandatory 10-second blast designed to vent steam and factory chemicals from blank apparel before application. Heavyweight shirts, such as those from Shaka Wear or Comfort Colors, have dense weaves that trap significant amounts of water. You must press the garment alone until you no longer see steam rising from the fabric. This creates a bone-dry surface that allows the adhesive to "bite" deep into the pores. Skipping this step is the fastest way to guarantee a wash-test failure, especially on high-ounce cotton products.
Storing Your Transfers in Texas Humidity
Your transfers are just as sensitive as your shirts. To prevent dtf transfer troubleshooting headaches, store your film in airtight containers with several silica gel packets. The ideal environment is 77°F with 60% humidity. If your storage area exceeds these levels, the film can become "wavy" or the ink can become tacky, making it impossible to get a clean release. Look for signs of moisture absorption like a dulling of the white ink layer or a change in the feel of the powder. Keeping your transfers flat and sealed is the only way to protect your investment and maintain the professional quality your customers expect.
Professional Quality: Eliminating the Troubleshooting Loop
The troubleshooting loop is a profit killer. You spend hours on dtf transfer troubleshooting, wasting premium blank apparel and losing valuable production time. It is a cycle of trial and error that frustrates even the most seasoned printers. The solution is simple. Remove the most volatile variable from your workflow: the printer itself. By outsourcing your production to a professional facility, you eliminate the daily battle with clogged print heads, ink separation, and inconsistent curing. You stop being a mechanic and start being a creator.
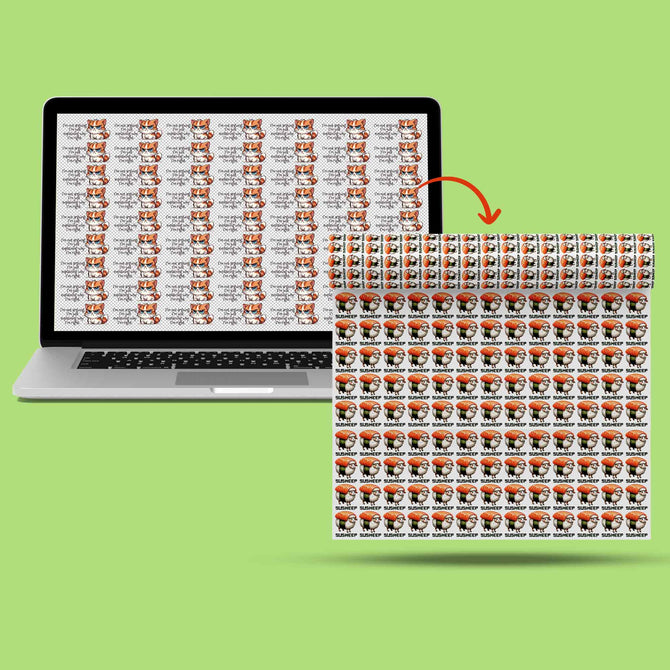
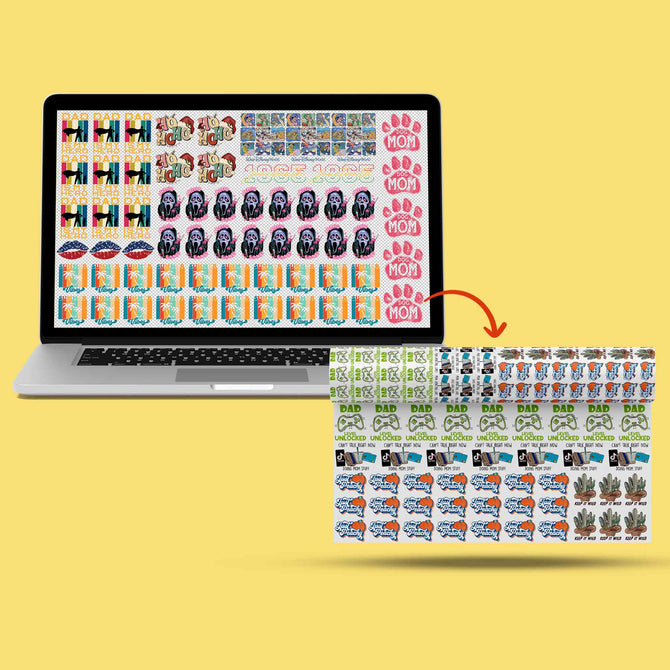
At our Richardson-based professional printing facility, we utilize commercial-grade curing ovens that provide a level of uniformity impossible to achieve with a manual heat press or a small DIY oven. These industrial systems ensure the adhesive powder reaches its exact melting point across the entire design. This precision creates a permanent, high-durability bond that survives the most rigorous wash tests. Richardson brands switch to our professional gang sheets because they need results that don't just look good on the platen but stay vibrant for the life of the garment. Whether you are launching a local brand in Dallas or prepping for a high-volume event in Garland, professional-grade transfers provide the stability your business requires.
Commercial vs. DIY: The Durability Gap
There is a documented performance gap between DIY setups and industrial production. Professional DTF transfers are engineered to withstand 50+ wash cycles without cracking or fading. In contrast, many DIY prints begin to fail after just 10 washes. This difference comes down to equipment precision. We use pneumatic industrial presses that apply thousands of pounds of perfectly even force. Manual clamshell presses often have subtle pressure drops at the corners, leading to the lifting edges we discussed earlier. Our commitment to high-impact digital transfer technology means your customers get retail-quality apparel every single time. It is about building a reputation for quality that lasts.
Get Started with Reliable Transfers Today
Ready to scale your production without the technical headaches? Ordering custom gang sheets from our Richardson facility is a streamlined, one-step action. We've optimized our process to handle everything from small-scale creative projects to massive commercial demands with speed and precision. For our local partners in Plano, Dallas, and Garland, we offer convenient local pickup options to keep your momentum moving. Stop fighting your equipment and start focusing on your growth. Skip the troubleshooting and order professional DTF transfers from Iris DTF today!
Master Your Production Workflow
Success in the apparel industry depends on consistency. You've learned that mastering dtf transfer troubleshooting requires a precise balance of heat press calibration and aggressive moisture control. By isolating variables like peel temperature and fabric prep, you can eliminate the "Big Three" failures that drain your profits. Transitioning from trial and error to a methodical production system is what separates a hobbyist from a professional brand owner.
You don't have to fight your equipment alone. With 10+ years of expertise and industrial-grade quality, we provide the stability your business needs to scale. Our Richardson, TX facility is ready to handle your high-capacity demands with precision and speed. Stop wasting blanks and start delivering vibrant, high-durability apparel that your customers will love. Order Professional DTF Transfers from Iris DTF today and take advantage of our local pickup options to keep your momentum high. Your creative success is our primary mission. Let's get to work.
Frequently Asked Questions
Why is my DTF transfer peeling off after the first wash?
Your transfer is peeling because the adhesive failed to achieve a permanent mechanical lock with the fabric fibers. This typically happens if the heat press temperature was too low or the pressure was insufficient to drive the molten powder into the garment's weave. A failed wash test is the most common indicator of under-curing during the initial application. Ensure your press is calibrated to at least 310°F for cotton and apply firm, even pressure.
What temperature and time should I use for DTF transfers?
Use a temperature of 310°F to 320°F for 12 to 15 seconds when working with cotton apparel. For polyester and heat-sensitive synthetics, drop the temperature to 280°F to 300°F and press for 8 to 12 seconds. Always perform a second press for 5 to 8 seconds with a finishing sheet. This final step softens the hand-feel and ensures the design is fully embedded for maximum durability.
Can I fix a DTF transfer that didn't stick properly?
Yes, you can often save a lifting design by using the "Stop and Re-press" method. If you notice the design pulling away from the fabric during the peeling process, stop immediately and lay the film back down. Cover it with a protective sheet and re-press for 5 to 10 seconds using firm pressure. This re-melts the adhesive and gives it a second chance to anchor into the fabric pores before you attempt the peel again.
Why does my DTF print look faded or dull after pressing?
Dull prints are usually the result of over-pressing or excessive heat which causes the adhesive to liquefy and "sink" the ink too deep into the fibers. If the colors lack vibrancy before you even press, the issue is likely low white ink density or poor ink quality. Effective dtf transfer troubleshooting often reveals that the faded look is actually the fabric texture showing through an over-melted adhesive layer.
How do I stop my heat press from scorching the fabric?
Stop scorching by lowering your temperature and using a protective Teflon or parchment cover sheet. If you are working with delicate polyester, reduce your heat to 280°F and shorten the press time to 8 seconds. Using a heat press pillow can also help distribute heat more evenly across seams and zippers. This prevents the platen from making direct, concentrated contact with high spots that are prone to burning.
Is it better to hot peel or cold peel DTF transfers?
It depends entirely on the film chemistry, but cold peel is generally safer for complex designs and fine details. Hot peel films allow for faster production speeds, but the adhesive is still molten when you pull the sheet, which increases the risk of lifting. Cold peel films require the adhesive to fully solidify and grip the fabric. This creates a more reliable bond and a cleaner finish for professional-grade results.
Why is there an oily residue around my DTF print?
Oily residue is caused by under-cured ink or high humidity levels during the printing process. When the ink doesn't dry completely before the powder is applied, the glycol in the ink can seep out during the final heat press. This residue is a major part of dtf transfer troubleshooting because it can interfere with adhesion and leave a visible stain. Ensure your curing oven is hitting the correct temperature and maintain a dry production environment.
How should I store my DTF transfers to keep them fresh?
Store your transfers flat in airtight containers with several silica gel packets to neutralize ambient moisture. Keep them in a cool, dark environment at approximately 77°F and 60% humidity. Proper storage prevents ink migration and keeps the adhesive powder from clumping or losing its effectiveness. Sealed storage is the only way to ensure your transfers are ready for high-quality application weeks or months after they are printed.