
Best Resolution for DTF Transfers: 2026 Professional Guide

What Is This Article About?
Why does a design that looks perfect on your monitor turn into a fuzzy, pixelated mess once it hits the heat press? It's a frustrating reality for many apparel decorators. The truth is that finding the best resolution for dtf transfers isn't just about clicking a button in Photoshop. It's about understanding how digital pixels translate into physical ink. If your resolution is off, your white ink underbase won't bond correctly. Your small text will disappear. You'll end up wasting film, powder, and expensive blank garments on prints that simply don't meet professional standards.
We know you're tired of the trial and error approach that eats into your profit margins. You want crisp, retail-quality results every single time you peel that film. This guide delivers exactly that. We'll master the technical requirements for transfers that look sharp enough for any high-end brand. You'll learn the difference between DPI and PPI; the 2026 industry standards for file preparation; and how professional RIP software optimizes your high-res files for the best possible output. Let's stop the guesswork and start printing with total confidence.
Key Takeaways
- Learn why 300 DPI at the final print size is the industry-standard best resolution for dtf transfers to ensure sharp, professional results.
- Understand the critical relationship between resolution and physical dimensions so your artwork never loses quality when scaled.
- Discover why vector files and transparent PNG-24 are the preferred formats for maintaining crisp edges and vibrant gradients.
- Master the "tiny detail" trap by applying minimum line weight requirements that allow the white ink underbase to bond correctly.
- Leverage professional RIP software and local Richardson-based production to optimize your high-res files for high-volume apparel runs.
Understanding the 300 DPI Standard for DTF Printing
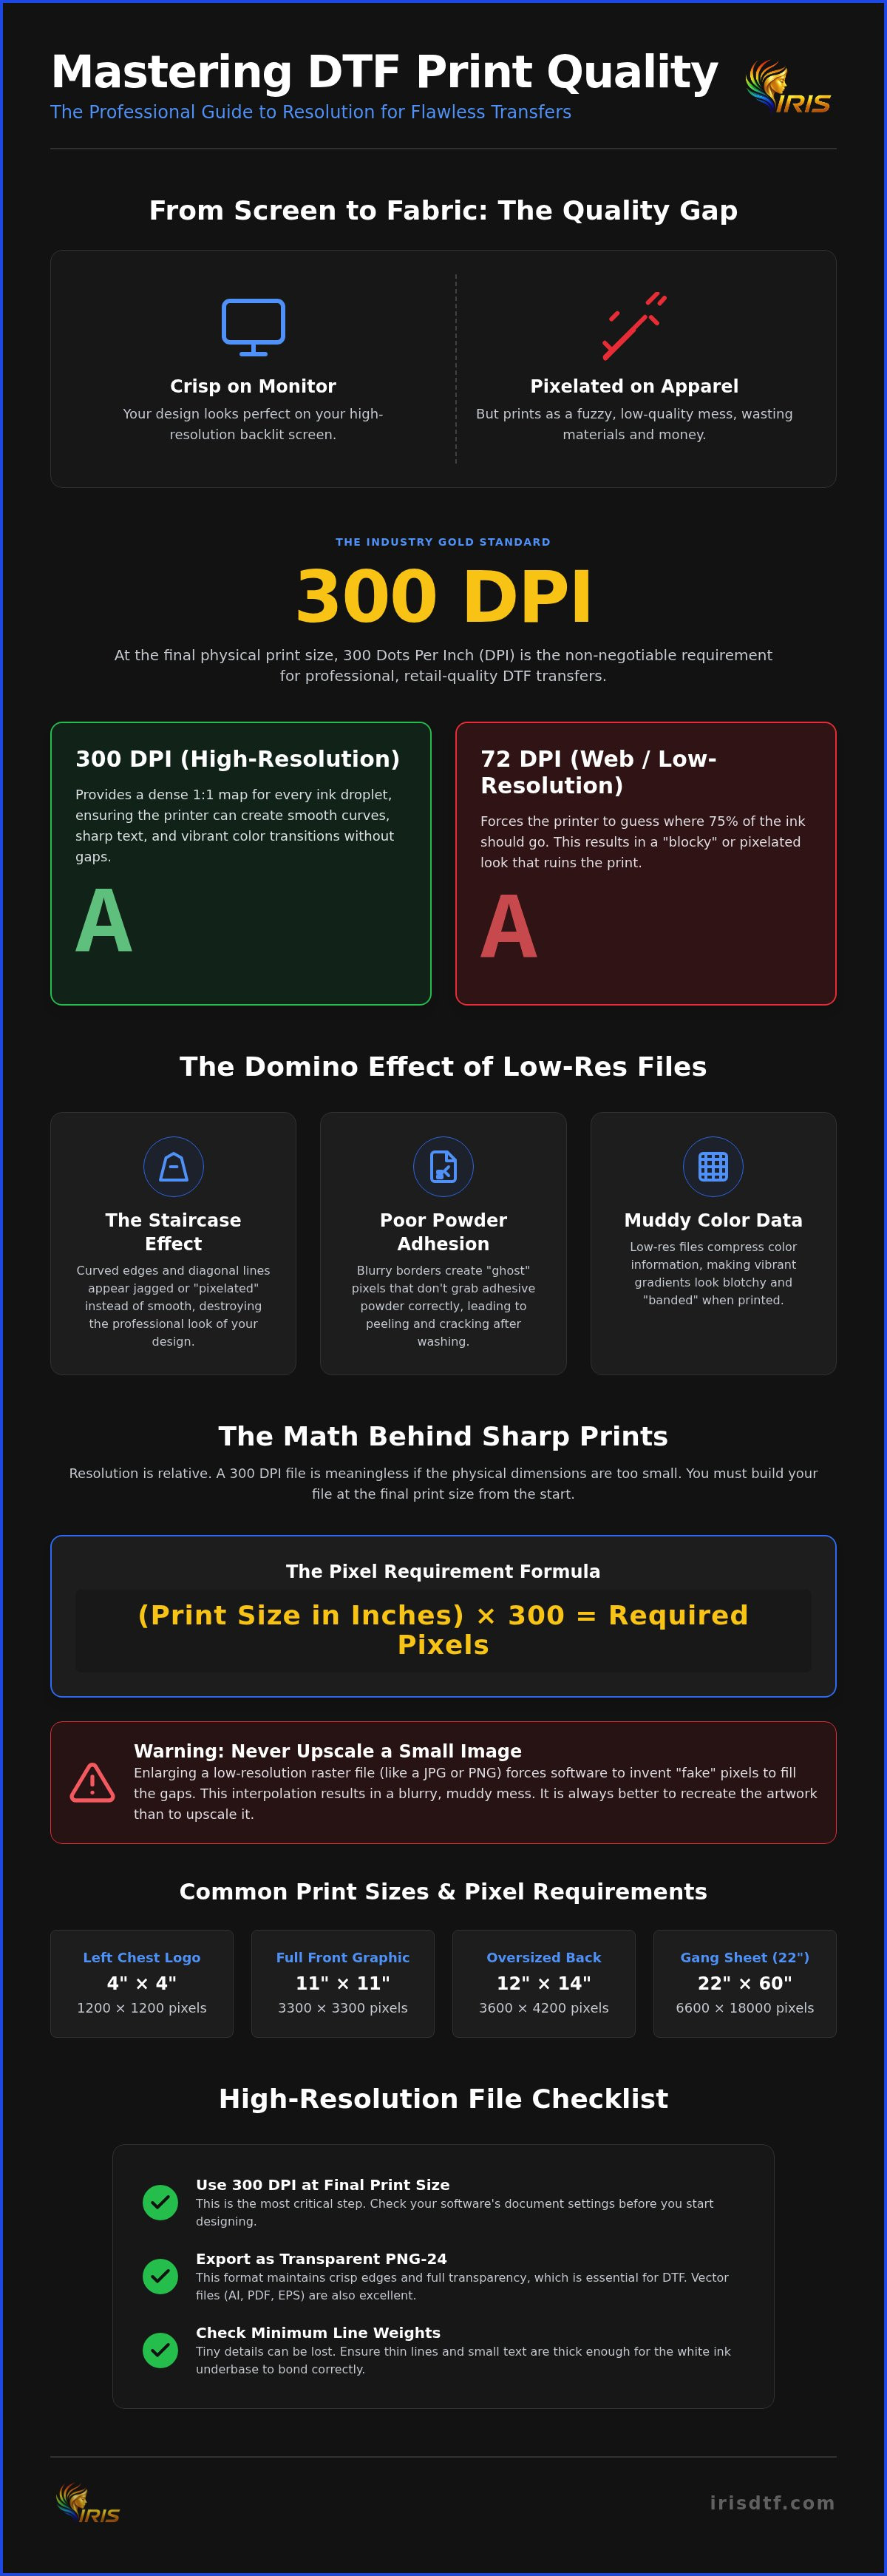
Precision is the backbone of high-quality apparel. In the world of garment decoration, DPI stands for Dots Per Inch. It measures the physical density of ink droplets that a printer deposits onto the film. While a computer monitor displays images using light, the Direct-to-Film (DTF) printing process relies on physical dots of pigment and white ink. To achieve the best resolution for dtf transfers, 300 DPI has become the universal industry gold standard. It provides enough data for the print head to create smooth curves, sharp text, and vibrant color transitions without any visible gaps.
Modern industrial printers are high-speed powerhouses. They require dense information to function at peak performance. If you provide a file at 72 DPI, which is standard for web use, you are essentially asking the printer to guess where 75 percent of the ink should go. This results in a "blocky" look that ruins the professional aesthetic of your custom dtf transfers. Starting with 300 DPI ensures your equipment has a 1:1 map for every single droplet of ink.
DPI vs. PPI: What You Actually Need to Know
Confusion between these two terms often leads to file errors. PPI, or Pixels Per Inch, is a digital measurement. It describes how many pixels are contained within one inch of your digital canvas in software like Photoshop. DPI is the physical output. When you export your design, your PPI setting dictates the final DPI of the print. Don't let your screen deceive you. A monitor is backlit and often displays at a lower density than a physical print. Just because it looks crisp on your MacBook doesn't mean it will look sharp on a cotton hoodie. Always check your document setup to confirm you are working at 300 PPI from the very first click.
The Consequences of Low-Resolution Artwork
Low-resolution files create a domino effect of quality issues that no amount of heat-pressing can fix. When an image lacks sufficient data, you encounter several critical failures:
- The Staircase Effect: Curved edges and diagonal lines appear jagged or "pixelated" rather than smooth.
- Poor Powder Adhesion: Blurry borders create "ghost" pixels. These semi-transparent areas don't grab the TPU adhesive powder correctly, leading to premature peeling or cracking.
- Muddy Color Data: Low-res files often compress color information. This makes your vibrant gradients look blotchy or "banded" once the ink hits the film.
The best resolution for dtf transfers isn't a suggestion; it's a technical requirement for the ink to bond and the adhesive to stick. High-resolution files give our RIP software the clean data it needs to optimize your output for maximum durability and retail-ready clarity.
Resolution vs. Image Size: The Math Behind Sharp Prints
Resolution is relative. A file set to 300 DPI means nothing if the physical dimensions are wrong. If you have a 300 DPI image that is only one inch wide, it will look terrible when stretched across a t-shirt. To achieve the best resolution for dtf transfers, you must build your file at the actual physical print size. Think of your image data like a bucket of paint. If you have enough paint for a square foot, you cannot stretch it to cover a whole wall without it looking thin and translucent. The same logic applies to pixels.
The math is simple but non-negotiable. Multiply your desired print inches by 300 to find your required pixel count. Adobe establishes 300 PPI as the industry standard for high-quality prints, and this rule is your best defense against "fuzzy" transfers. Never rely on upscaling. When you "embiggen" a small raster image, your software creates "fake" pixels to fill the gaps. This interpolation results in muddy edges and lost detail. Start big. Stay sharp. If your source file is small, it is better to recreate it than to risk a low-quality print.
Common Print Dimensions and Pixel Requirements
Professional results require precise planning. Use these pixel benchmarks to set up your canvas correctly from the start:
- Left Chest Logos: 4x4 inches requires 1200x1200px.
- Full Front Graphics: 11x11 inches requires 3300x3300px.
- Oversized Back Prints: 12x14 inches requires 3600x4200px.
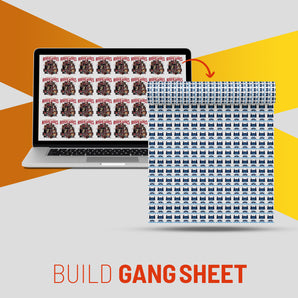
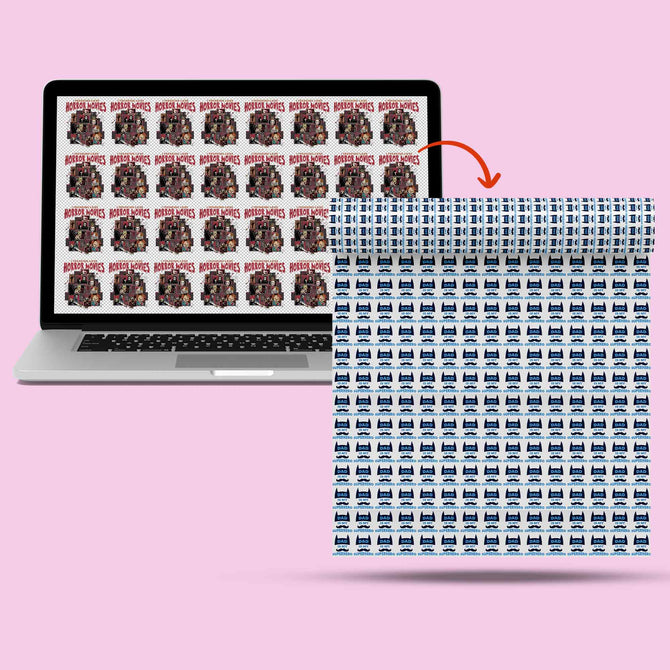
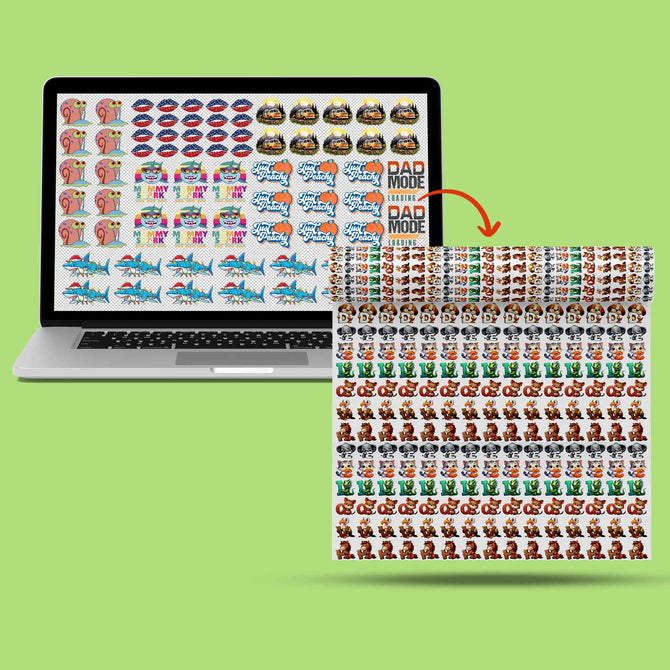
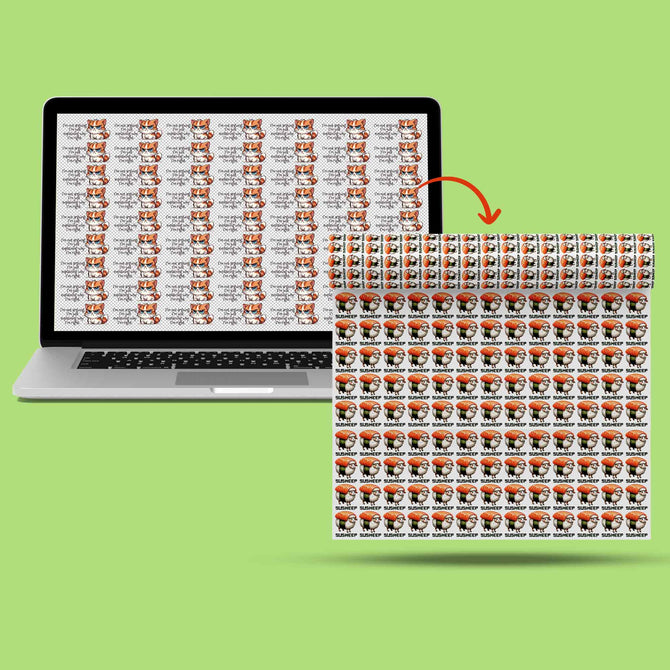
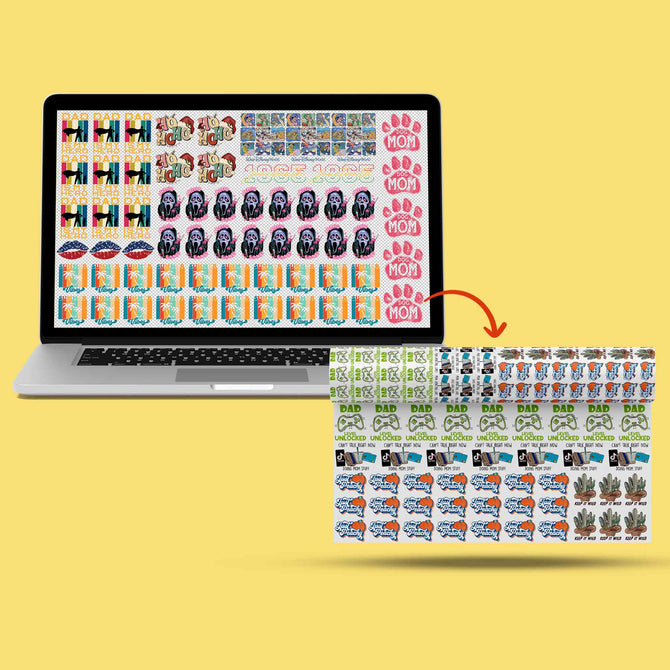
When preparing high-volume dtf gang sheets, the canvas size becomes even more critical. A standard 22x60 inch sheet at 300 DPI needs a massive 6600x18000 pixel workspace. Building at this scale ensures every logo on the sheet maintains retail-grade clarity.
How to Check Your Resolution in Design Software
Verification is a quick step that saves money. In Adobe Photoshop, go to Image > Image Size. Ensure the resolution field says 300 and the physical dimensions match your intent. If you use Canva, remember that it exports at 96 DPI by default. To get the best resolution for dtf transfers from Canva, you must increase the "Size" slider to 3.125x during the PNG download process. Free tools like Photopea also offer an Image Size dialogue where you can confirm your DPI before exporting. If you feel stuck, you can always consult with the team at Iris DTF to verify your file specs before starting a bulk run.
Best File Formats and Software for High-Resolution DTF
Selecting the right file format is just as critical as the pixel count. While we've established that 300 DPI is the target, the wrapper you put that data in matters. JPEGs are the enemy of professional apparel. They use lossy compression that creates "artifacts" or digital noise around your edges. These artifacts confuse the white ink underbase, leading to messy, unprofessional borders that look "hairy" once pressed. For the best resolution for dtf transfers, stick to transparent PNGs or vector files. Avoid screenshots or social media downloads at all costs; they are almost always compressed to a low-quality 72 DPI.
Color profiles also play a surprising role in your final output. While traditional printing often demands CMYK, modern DTF RIP software is optimized to convert RGB data into vibrant, accurate physical prints. Starting your design in RGB preserves a wider color gamut. This allows our high-end printers to hit those bright oranges and deep purples that CMYK sometimes misses. Our Richardson facility uses advanced processing to ensure your digital colors translate perfectly to the film.
Why Vector Files Always Win
Vector files like AI, SVG, and PDF are the industry's holy grail. They don't rely on pixels. Instead, they use mathematical paths to define shapes. This means you can scale a small logo to fit a massive hoodie without losing a single ounce of clarity. For clothing brands in the Dallas-Fort Worth area looking for consistent quality across different garment sizes, vectors are the safest bet. They provide the cleanest possible lines for the adhesive powder to grip, ensuring your transfers are both sharp and durable.
Exporting the Perfect Transparent PNG
If your design includes complex gradients, shadows, or photographic elements, a high-resolution PNG-24 is your best friend. Ensure your background is truly transparent. This is often called the "alpha channel." Watch out for anti-aliasing around the edges of your design. If your export settings are too aggressive, you might see a faint white "halo" around your graphic once it is pressed onto a dark shirt. Use the "Save for Web" or "Export As" function in your software to keep compression levels low. This preserves the best resolution for dtf transfers and keeps your details crisp from the screen to the street.
Advanced Prep: Line Weights, Gradients, and Transparency
Resolution alone isn't a silver bullet. You can have a 300 DPI file and still suffer from prints that peel or look messy. This usually happens when designers fall into the "Tiny Detail" trap. Lines that are too thin simply cannot support the white ink underbase required for durability. For the best resolution for dtf transfers, ensure your thinnest elements are at least 2 to 3 pixels wide. This provides enough surface area for the adhesive powder to bond correctly. If a line is too thin, the powder has nothing to grab. The result? A print that looks great on the film but disappears after the first wash.
Gradients and "fades to nothing" present another technical challenge. High resolution is critical here to prevent "banding," which is the visible stepping between colors. A 300 DPI file provides the dense pixel data needed for smooth transitions. Without it, your gradients will look blotchy and amateur. Our advanced RIP software uses this high-res data to calculate exactly how to lay down the CMYK and white ink layers for a flawless, soft-hand finish.
Setting Up Your Art for the White Underbase
The relationship between resolution and the white ink layer is vital for a clean finish. When we process your files, we apply a "choke" to the white underbase. The choke is the slight retraction of white ink to prevent bleeding. At 300 DPI, our software has enough granular data to pull that white ink back by a fraction of a millimeter without erasing your design. Low-resolution files lack this precision. If the resolution is poor, the choke might be uneven, causing white ink to "peek" out from under your colors or making thin lines look jagged. High-res files ensure your borders stay sharp and your colors stay contained.
Solving the "Fuzzy Edge" Problem
Semi-transparent pixels are the silent killer of quality transfers. These "soft" edges often occur during anti-aliasing in software like Photoshop. While they look smooth on a backlit monitor, they create a "fuzzy" edge on a garment that refuses to hold adhesive powder. You can solve this by hardening your edges. Use the Threshold tool in Photoshop to audit your design and ensure every pixel is either 100 percent opaque or 100 percent transparent. This simple step ensures that small text remains legible and your graphics have that sought-after retail pop. Don't let stray, semi-transparent pixels ruin a high-volume run.
Ready to see the difference professional file handling makes? Order your custom dtf transfers from Iris DTF today and experience the precision of our Richardson-based production facility.
Professional Results: Ordering Custom Transfers in Richardson and Dallas
You have mastered the 300 DPI standard. Your lines are thick enough. Your transparency is clean. Now you need a partner who can execute that vision without compromise. For the best resolution for dtf transfers, the equipment is just as important as the artwork. Many small scale operations rely on basic printer drivers that compress your data. This compression creates "noise" and softens your edges. At Iris DTF, we utilize industrial grade RIP software. This software acts as the high speed brain of our printers. It preserves every bit of your high resolution data, ensuring that what you see on your professional monitor is exactly what appears on the film.
What if your file isn't perfect? We don't just hit print and hope for the best. Our Richardson based team performs a rigorous file inspection on every order. If we detect pixelation, blurry borders, or lines that are too thin to hold adhesive, we alert you. This proactive approach is why Dallas-Fort Worth clothing brands trust us with their high volume runs. We bridge the gap between a digital file and a retail ready garment. If you only have low resolution assets, we can often provide guidance on how to recreate or optimize them for a professional finish. We are here to ensure your brand looks its best.
Local Quality Control for DFW Brands
Speed and precision are the hallmarks of our Richardson facility. We serve as a high capacity engine for businesses across Plano, Allen, and Frisco. Local production means you aren't waiting weeks for overseas shipping or dealing with "mystery" quality from anonymous online vendors. We offer physical proofing options for our commercial clients. This allows you to feel the soft hand and see the vibrant color depth before committing to a massive production run. With over 10 years of industry expertise, we have refined our process to handle the most demanding technical requirements. We are a pioneer in the DTF space, and our local roots are your guarantee of stability and trust.
The Iris DTF Advantage: From File to Fabric
High quality transfers deserve a high quality canvas. We streamline your entire production workflow by pairing the best resolution for dtf transfers with premium blank apparel. This one stop approach reduces shipping costs and eliminates the logistical headache of coordinating multiple vendors. We handle the technical heavy lifting so you can focus on growing your brand. From massive gang sheets to specialized individual projects, our facility is built for speed and accuracy. Ready to level up? Order your high-resolution custom DTF transfers today!
Level Up Your Apparel with Precision Prints
Achieving the best resolution for dtf transfers isn't a luxury; it's the foundation of a successful clothing brand. You now have the technical blueprint for retail-quality results. Remember the golden rule: 300 DPI at the physical print size. Combine this with vector files or transparent PNGs and maintain those critical line weights. These steps guarantee your white ink underbase bonds correctly and your colors pop with clarity. Guesswork is the enemy of profit. Precision is your greatest ally.
Don't let poor file preparation stall your momentum. Trust a partner with over 10 years of printing innovation and a local Richardson-based expert facility. We serve the entire DFW metroplex with high-capacity production that meets your commercial demands. Our team is ready to inspect your files and ensure every transfer meets our rigorous standards. We bridge the gap between digital design and physical excellence.
Ready to start your next high-volume run? Upload Your High-Res Artwork and Order Custom Transfers Now. Your designs deserve the sharpest execution possible. Let's build something impressive together.
Frequently Asked Questions
Can I use a 72 DPI image if I make it really small?
No, avoid using 72 DPI images even at small sizes. Digital screens display at 72 DPI, but printing requires much higher density. A small 72 DPI image still lacks the sharp pixel data needed for a clean white ink underbase. This leads to fuzzy borders and poor powder adhesion. Always start with high-resolution assets to maintain professional quality.
What is the best file format for high-resolution DTF transfers?
Transparent PNG-24 and vector files are the industry standards. PNG is the best resolution for dtf transfers when your design includes complex photographic elements or soft gradients. Vector formats like AI or SVG are superior for logos and text. They allow for infinite scaling without any loss in clarity. Avoid JPEGs because their compression creates messy digital artifacts around your edges.
How do I convert a low-resolution logo to 300 DPI for printing?
You cannot simply upscale a low-resolution file to 300 DPI. Changing the resolution setting in your software just stretches existing pixels, creating a blurry result. The only professional solution is to redraw the artwork or use a vectorization tool. Starting with a clean, high-resolution canvas ensures your final print looks sharp and retail-ready. Don't risk your reputation on a stretched file.
Does DTF printing require RGB or CMYK files?
Most modern DTF systems require RGB files. While printers use CMYK ink, the RIP software is optimized to convert RGB data for the most vibrant output. Designing in RGB preserves a wider color gamut. This allows for brighter oranges, greens, and purples that CMYK often misses. Check your software settings to ensure you are working in an RGB workspace from the start.
Why do my DTF prints look blurry even though the file is 300 DPI?
Blurriness in a 300 DPI file usually stems from anti-aliasing or semi-transparent pixels. These soft edges look smooth on a monitor but cause issues with powder adhesion. Another common culprit is upscaling a small image to 300 DPI. If the original source was poor, the high resolution just captures that blurriness in more detail. Use the Threshold tool to ensure your edges are 100 percent opaque.
Is AI upscaling good enough for professional DTF transfers?
AI upscaling is a powerful tool but it isn't a magic fix for logos. It works well for photographic elements by predicting lost detail. However, for text and sharp graphic lines, it can create wavy or unnatural edges. For branding, redrawing your logo as a vector is always the safer choice. AI should be a last resort for complex images where the original file is unavailable.
What is the minimum line weight for a sharp DTF transfer?
Your thinnest lines should be at least 2 to 3 pixels wide at 300 DPI. This equates to roughly 0.018 inches. Lines thinner than this may not receive enough white ink to support the adhesive powder. This causes the detail to peel off or fail to transfer entirely. Ensure your best resolution for dtf transfers includes a weight check to confirm every detail is physically printable.
Do I need to mirror my high-resolution artwork before uploading?
You don't need to mirror your artwork before uploading. Our professional RIP software handles the mirroring process automatically during production. Uploading a mirrored file can actually lead to errors if the software flips it again. Send your design exactly as you want it to look on the final garment. We take care of the technical orientation for you.