


DTF Hats: The Ultimate Guide to Custom Headwear Transfers in 2026

What Is This Article About?
In 2026, the era of settling for bulky, expensive embroidery or messy screen printing on headwear is officially over. If you have ever struggled with a detailed logo peeling off a mesh back or felt the sting of high setup fees for a small batch, you are not alone. This is exactly why dtf hats have become the gold standard for local brands. They offer the razor-sharp precision of digital printing with a durability that survives daily wear. It is the efficient, high-impact solution your business needs.
We understand that getting a professional finish on a curved surface can feel like a gamble. You want vibrant colors that stay put. You need to avoid press marks and lifting edges. This guide will help you master the entire process. We are going to walk you through choosing the right films, navigating the shift toward sustainable materials, and the exact heat press techniques used by industry pros. From the popular Richardson 112 to the latest rope caps, you will learn how to deliver high-quality custom headwear with total confidence and lightning-fast speed.
Key Takeaways
- Stop overpaying for embroidery. Learn how DTF delivers photographic detail and lower costs for complex headwear logos.
- Choose the right canvas. Master the application process for dtf hats, from classic Richardson 112 truckers to modern 5-panel rope caps.
- Dial in your technical setup. We reveal the exact heat press settings and alignment tricks to prevent peeling and press marks.
- Maximize your profit margins. Get the precise dimensions and gang sheet strategies needed for high-volume, professional-grade production.
- Move faster than the competition. Benefit from Richardson-based production and rapid DFW pickup to meet local demand in record time.
Understanding DTF Transfers for Hats: Why It Beats Embroidery
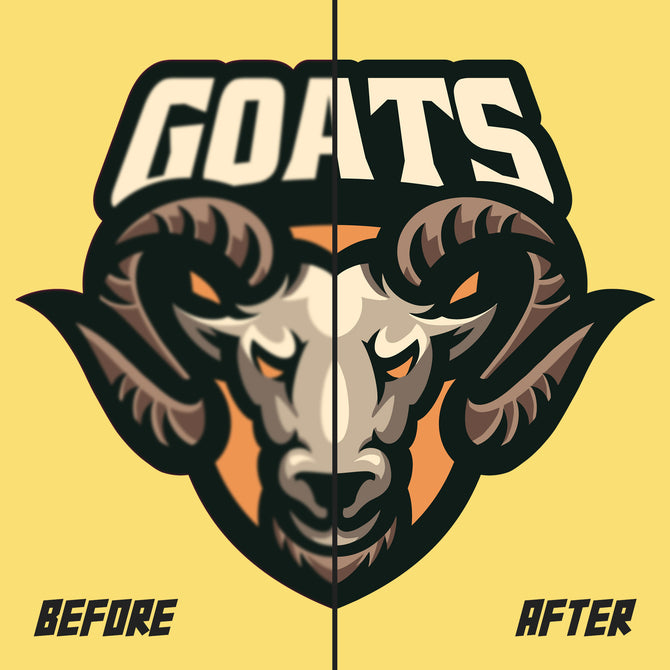
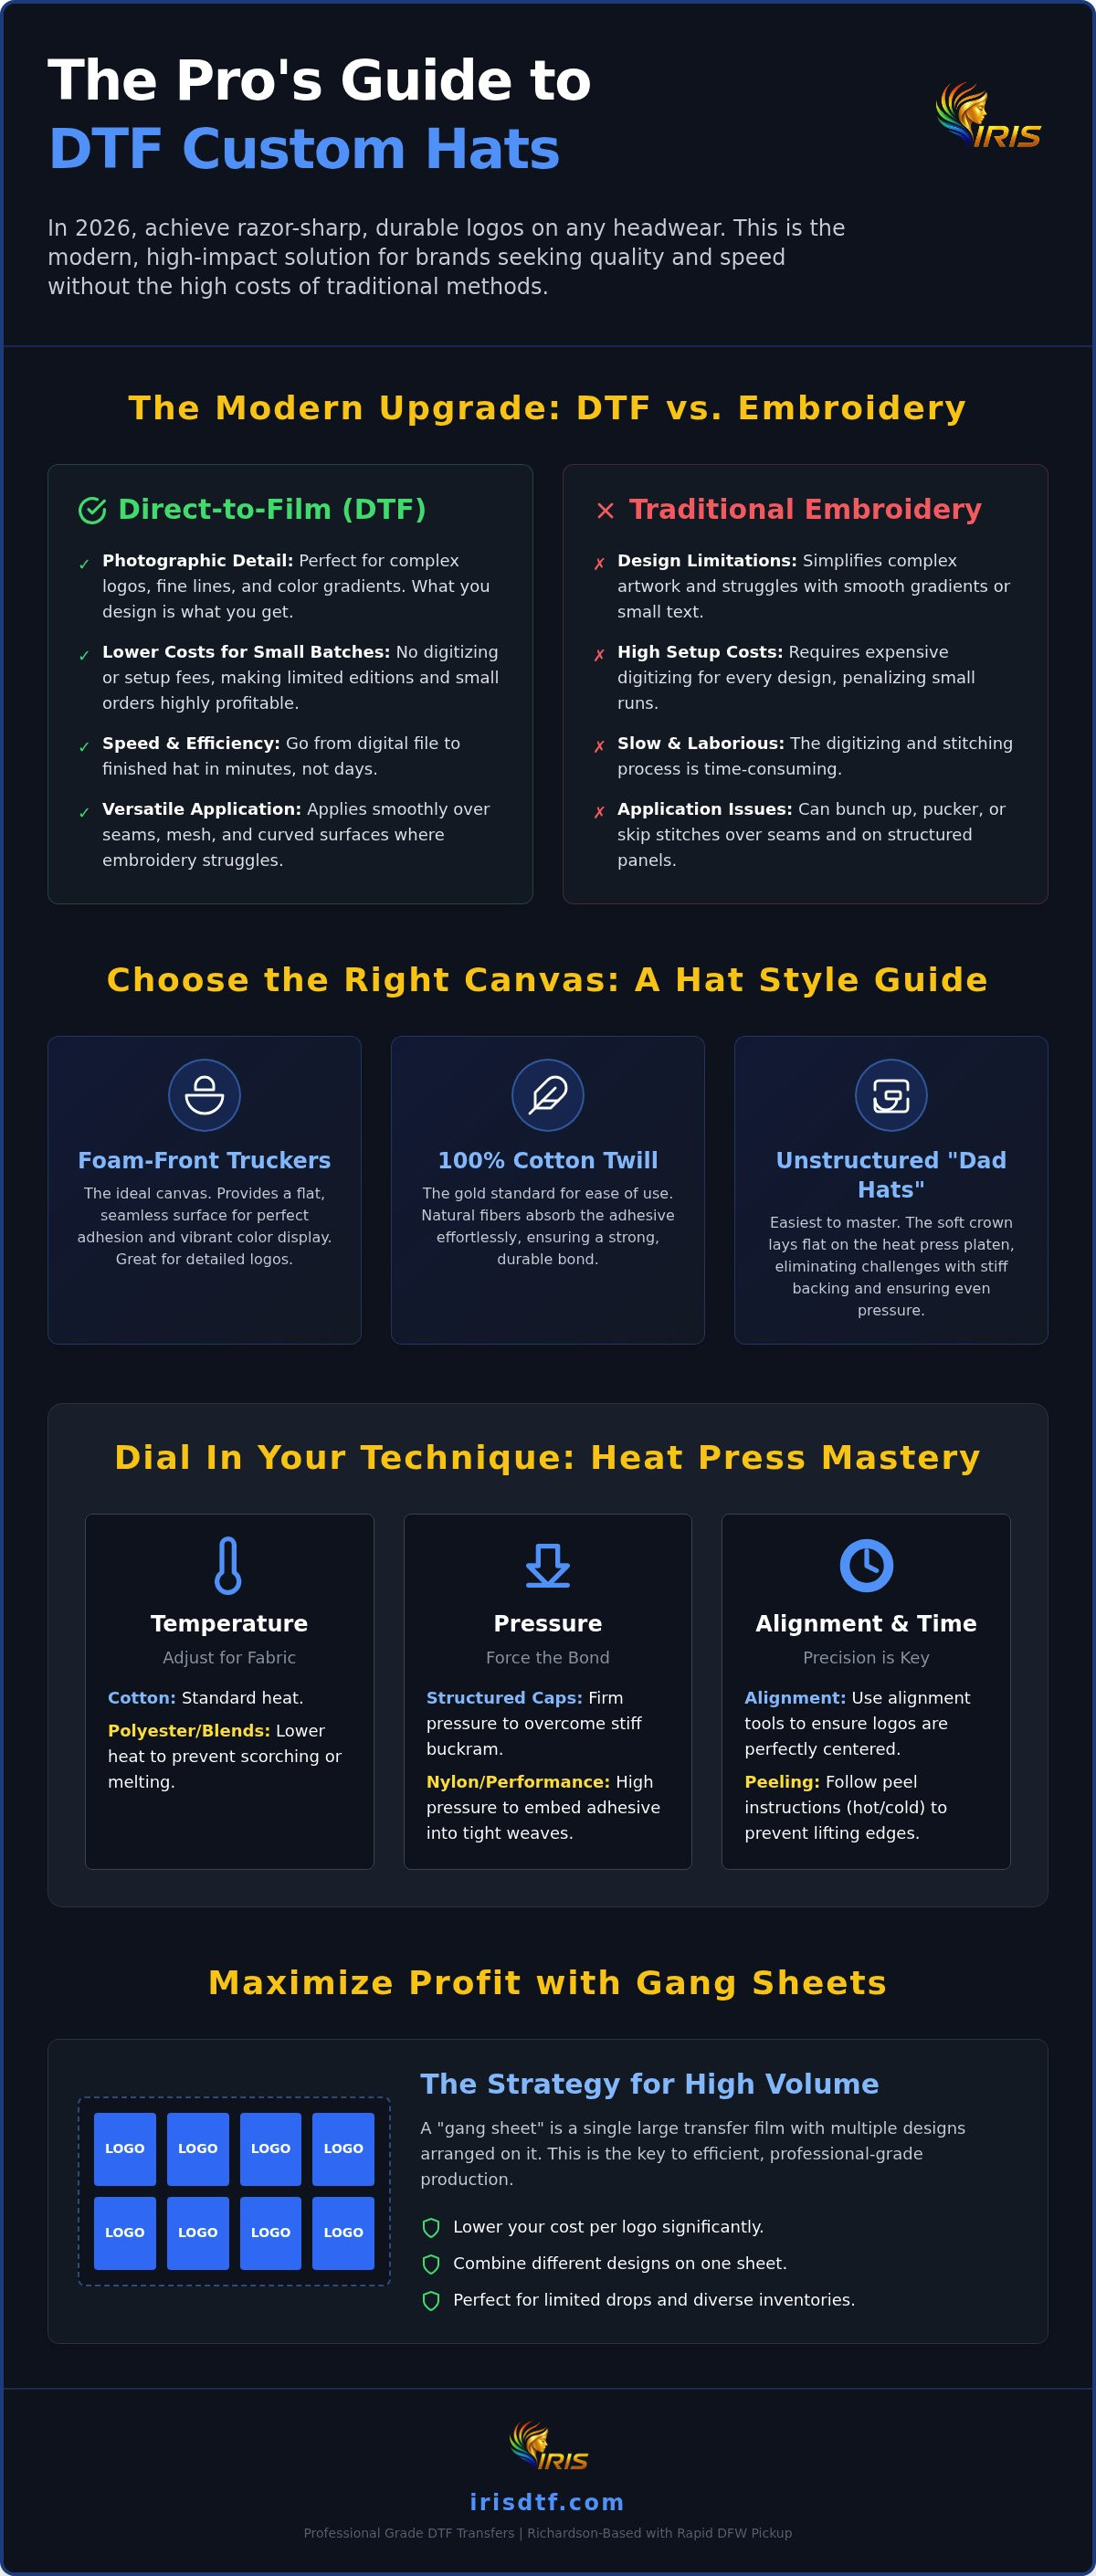
Custom headwear is undergoing a massive shift. For years, embroidery was the only way to get a premium look, but it often fails when logos become too complex or require smooth color gradients. This is where the Direct-to-film (DTF) printing process changes the game for local brands. Unlike traditional methods, DTF involves printing a digital design onto a specialized film and heat-pressing it onto the hat. For dtf hats, this means every fine line and vibrant shade is preserved perfectly. You get photographic quality on a curved surface without the limitations of thread counts or needle points.
Embroidery requires digitizing, which is a slow and expensive step that often simplifies your brand's artwork. If you want to change a single detail, you have to pay for a new file. DTF eliminates this barrier completely. You can go from a digital file to a finished product in minutes. It works seamlessly on structured panels, unstructured "dad hats", and even across the tricky foam-to-mesh transitions of trucker caps. In 2026, brands are moving toward these high-definition looks because they want a modern, crisp aesthetic that stands out in a crowded market. Are you ready to stop compromising on your logo's detail?
The Anatomy of a Hat-Specific DTF Transfer
Not all transfers are created equal. A hat transfer needs a specialized adhesion layer to grip the unique, often rigid textures of headwear. Whether it is heavy cotton twill or polyester mesh, the bond must be permanent. Our transfers maintain extreme color vibrancy even on dark fabrics. The ink remains flexible; it stretches and moves with the hat's structure, ensuring your logo won't crack or peel after a few weeks of use.
Cost-Benefit Analysis for Small Brands
Small clothing brands and local event organizers often get priced out of high-quality embroidery due to setup costs. The total lack of digitizing fees makes dtf hats the most economical choice for small batches. You can order low minimums for limited edition Richardson hats without breaking your budget. These transfers are built to last. They survive the Texas sun, heavy sweat, and rain, making them a reliable engine for your brand's growth.
The versatility of this method is unmatched. Think about the center seam on a structured 6-panel hat. Embroidery can bunch up or skip stitches in that area, but DTF lays flat. It bridges the gap between different materials effortlessly. This is a massive win for brands using performance casual fabrics that are common in 2026. It is a professional-grade solution that outshines traditional screen printing in both detail and speed.
Choosing the Best DTF Hats: Material and Style Guide
Success with dtf hats starts long before you touch the heat press. Your choice of headwear determines if the transfer looks like a professional application or a DIY disaster. Not every hat reacts to heat the same way. You need to match your transfer technique to the specific fabric and structure of the cap to ensure a permanent, retail-quality bond. Whether you are prepping for a local corporate event or launching a new streetwear line, understanding these material nuances is your first step toward a perfect finish.
Trucker hats remain a dominant choice in 2026, especially foam-front 5-panel styles. These are the ideal canvas because they provide a flat, seamless surface for the transfer to grip. However, navigating the mesh-to-foam transition requires a steady hand. If you apply too much heat to the polyester mesh, you risk leaving permanent melt marks or "scorching" the synthetic fibers. It is a delicate balance that separates the amateurs from the pros. If you are just starting out, you can find premium blank apparel at our Richardson facility to practice your technique before running a full production line.
Fabric Compatibility: Cotton, Poly, and Blends
100% Cotton Twill is the gold standard for ease of use. The natural fibers absorb the adhesive layer of the transfer effortlessly. For polyester and performance blends, you must drop your temperature. These fabrics are heat-sensitive and can change color or texture if pushed too hard. Nylon and other slick performance fabrics are popular for 2026 "performance casual" looks. These require high pressure to force the adhesive into the tight weave, ensuring the logo won't lift during active use.
Structured vs. Unstructured Crowns
Unstructured hats, like the classic "dad hat," are the easiest to master. They lay flat against the heat press platen without pushing back. Structured hats are more challenging because they rely on a buckram backing. Buckram is a stiff, coarse cloth treated with adhesive that provides the structural support and shape to the front panels of a hat. This stiffness can create air gaps if your hat press isn't dialed in. You must ensure the curved platen makes full contact with the crown to avoid weak spots in the transfer.
Don't forget about winter gear and specialty styles. Acrylic beanies are big sellers, but they are incredibly heat-sensitive. You should use a lower temperature, around 285°F, and a shorter press time to prevent the knit from flattening. For 5-panel campers and bucket hats, the goal is alignment. These styles often have unique seams that can interfere with a standard press. Always use a heat-resistant foam pad to lift the printing area and clear any obstructions.
The Technical Setup: How to Press DTF on Hats
Achieving a retail-ready finish for dtf hats requires more than just a heat source. It requires precision and the right equipment. While some creators attempt to use a flat press with curved inserts, a dedicated hat press is the industry standard for a reason. These machines feature a curved lower platen that matches the shape of the crown, ensuring even pressure across the entire design. Without this specialized tool, you risk uneven adhesion and unsightly wrinkles that can ruin a premium blank. This setup is the engine of your production line, turning simple transfers into durable, high-end merchandise.
The process starts with proper tension. You must pull the sweatband back and seat the hat firmly on the platen. If the hat is loose, the fabric will shift during the press, leading to blurred edges. Once the hat is secure, a quick 5-second pre-press is essential. This removes moisture and flattens the fibers, creating a pristine surface for the adhesive to grip. It's a small step that makes a massive difference in the longevity of the final product.
Temperature and Time Settings for 2026
Precision is vital when setting your heat levels. For standard cotton twill caps, set your press between 300°F and 320°F. Apply medium to firm pressure for 12 to 15 seconds. If you are working with heat-sensitive synthetics, performance blends, or acrylic beanies, you should drop the temperature. For these materials, 295°F for 10 seconds is often the "sweet spot" to prevent scorching or melting. Always wait for the transfer to cool completely before peeling. This cold peel method ensures the adhesive has fully set into the fabric. To finish the look, perform a "Second Press" for 5 seconds using a finishing sheet. This creates a professional matte texture that eliminates any plastic-like shine.
Overcoming the Center Seam Obstacle
The center seam on a structured 6-panel hat is the primary cause of application failure. This seam creates a physical "valley" that prevents the heating element from making contact with the transfer. This leads to gaps or "ghosting" where the design looks faded. To solve this, use a heat-resistant foam pad or a small pillow inside the hat. This pushes the fabric upward, leveling the surface so the press can apply even pressure across the seam. For perfect alignment, fold your transfer lightly to find the center point. Line up that crease with the center seam of the hat. It's a simple, effective hack that guarantees your dtf hats are perfectly centered every time.
Post-press care is your final quality check. Don't rush the cooling process. Removing the film while it's still warm can pull the ink away from the fibers, especially on high-detail logos. Once the film is removed, inspect the edges for any lifting. If you see a weak spot, hit it with another 5-second press. This commitment to technical detail ensures your headwear survives the Texas sun and daily wear, keeping your brand's reputation as solid as the transfers themselves.
Designing DTF Gang Sheets for Hat Production
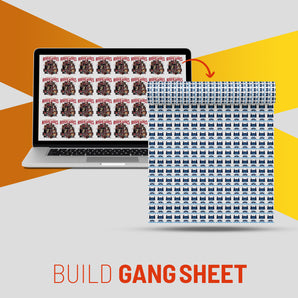
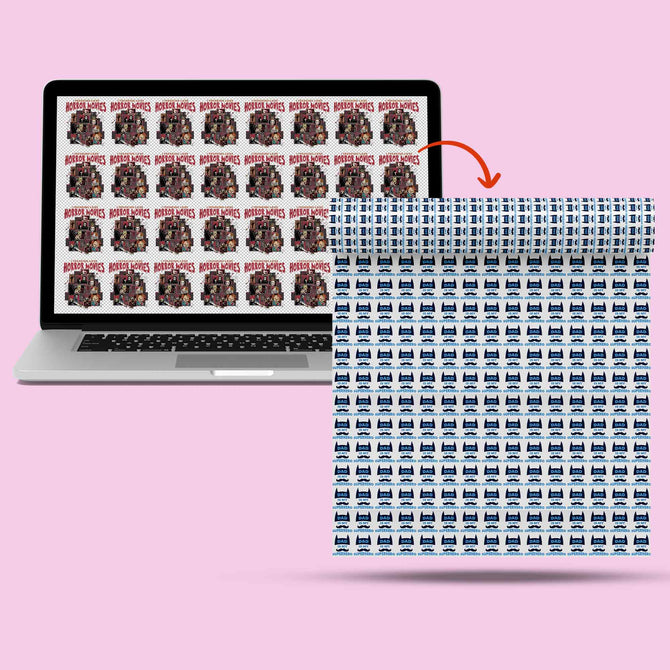
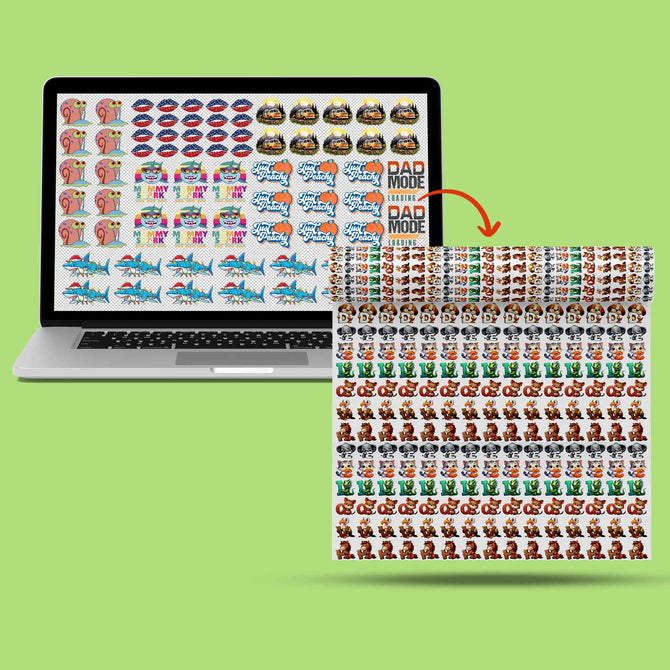
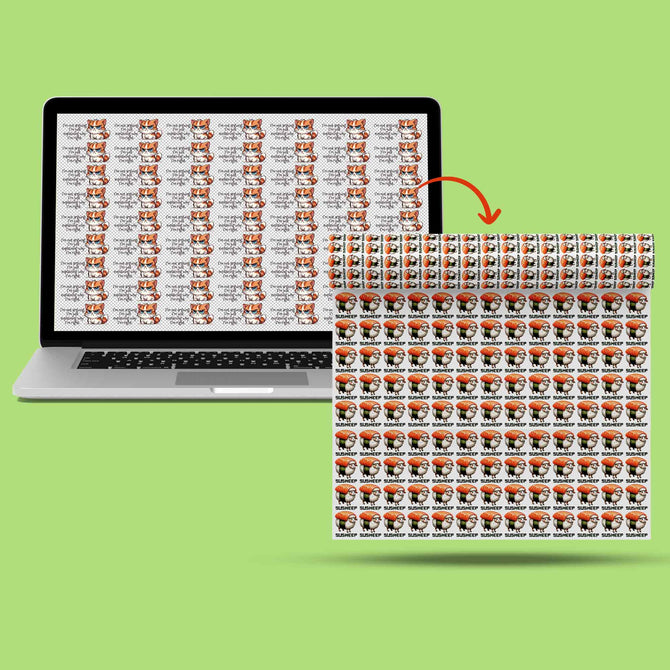
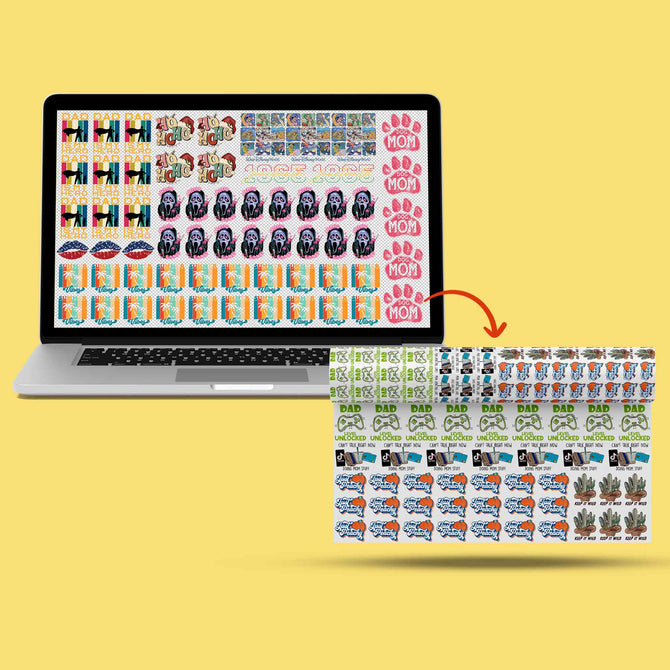
Designing for dtf hats requires a strategic approach to digital real estate. Unlike a flat t-shirt, your canvas is restricted by the curve of the crown and the physical height of the panels. If your design is too tall, it will distort. If it's too wide, it will wrap awkwardly toward the temples. Success starts with mastering your layout before you ever send a file to print. You can maximize your profit margins by intelligently organizing your dtf gang sheets to include multiple logo sizes and placements on a single roll. This efficiency is the secret to high-volume success.
Standard dimensions are your guardrails. For a front-center logo, you should stick to a maximum height of 2.25 inches. This ensures the design stays within the flat "sweet spot" of the crown. While width can technically go up to 4.5 inches, it is best to keep the most critical elements centered to avoid distortion. Beyond the front, consider side-hits and back-of-hat branding. These secondary placements turn a standard cap into a premium retail product. Small 1.5-inch logos on the side panels or a narrow 3-inch arched logo above the snapback add massive perceived value with very little extra cost per unit.
Sizing Guide for Different Hat Placements
Front center is the primary focus and the first thing people see. Side panels offer a more subtle, high-end look that is perfect for secondary brand marks or social media handles. Don't ignore the back arch above the snap. This space is ideal for website URLs or event dates. By utilizing all three areas, you create a fully branded experience that outshines simple, single-location embroidery. It's about using every inch of the hat to tell your brand's story.
File Prep for Richardson Printing
Small-scale printing demands high-resolution files. A resolution of 300 DPI is non-negotiable for dtf hats. At this scale, any blurring in the source file will result in illegible text or fuzzy lines on the finished product. When preparing art for DTF, pay close attention to transparent gradients and "glow" effects. These require a solid white underbase to stay vibrant on dark polyester or cotton. Ensure your edges are crisp and your colors are converted to CMYK for the most accurate results.
Ready to scale your production with professional-grade transfers? Order your custom gang sheets today and get the precision your brand deserves.
Why Richardson Brands Choose Iris DTF for Headwear
When deadlines are tight, you can't wait for a shipment from across the country. Local brands in the DFW metroplex need a partner that moves as fast as they do. This is why Iris DTF has become the essential behind-the-scenes engine for Richardson business owners. We provide same-day or next-day turnaround for local orders. It's about precision, speed, and a commitment to your success. We understand the local market because we are part of it.
Our Richardson facility produces professional-grade custom dtf transfers designed to handle the most complex headwear applications. We don't just print; we troubleshoot. If you're struggling with a specific 6-panel structure or a delicate performance fabric, our team is here to help. We've spent over 10 years perfecting the process. We ensure every transfer for your dtf hats is built to last and ready for the retail shelf.
Serving the Dallas-Fort Worth Metroplex
Local pickup is a game-changer for businesses in Plano, Frisco, and Allen. You can place an order and have your transfers in hand within 24 hours. This rapid response is vital for local sports teams, brewery launches, or pop-up events. Why risk a shipping delay when you can drive a few minutes to a facility that knows your name? We support DFW brands by offering a reliable, high-capacity solution that keeps your production line moving without interruption.
The Iris DTF Difference
We are pioneers in the US market. With more than a decade of industry expertise, we've seen every trend and technical challenge. Our transfers are specifically tested to survive the intense Texas heat and humidity. They won't crack under the sun or peel after a long day at the ballpark. Whether you are a high-capacity commercial client or a small-scale hobbyist, you receive the same level of professional reliability. We are your partner in headwear branding. Order your custom hat transfers today and experience the difference of local, expert production.
Scale Your Headwear Brand with Precision
Mastering the production of dtf hats is the most efficient way to grow your local brand or merchandise line. You've seen how digital transfers outperform embroidery in both detail and cost. By choosing the right blanks and dialing in your heat press settings, you eliminate the frustration of peeling logos and scorched fabrics. Success depends on high-resolution art and a methodical approach to managing center seams. Every step you take toward technical mastery adds massive value to your final product.
You don't have to navigate these technical challenges alone. With over 10 years of expertise, Iris DTF serves as your reliable partner. Our Richardson-based production facility is equipped to handle massive commercial demands or small, detailed projects with equal precision. Take advantage of our DFW local pickup to get your products to market faster than the competition. It's time to stop compromising on your designs and start delivering retail-ready headwear that stands out in any crowd.
Order Your Professional DTF Hat Transfers from Iris DTF and see the difference that expert, local production makes for your brand. We're ready to help you succeed.
Frequently Asked Questions
Can I use a regular heat press for DTF hats?
You can technically use a flat press with foam inserts, but a dedicated hat press with a curved platen is the professional standard. Flat presses often create uneven pressure on the crown, leading to peeling or distorted designs. For high-quality dtf hats, the curved surface ensures the heating element makes full contact with the fabric. This consistency is vital for a permanent bond and a retail-ready finish that won't fail over time.
How big should a logo be for a standard baseball cap?
Your logo should stay within the "sweet spot" to avoid distortion. For most standard baseball caps, keep your design under 2.25 inches in height and 4.5 inches in width. If you go larger, the logo will wrap too far around the curve, making it difficult to read from the front. Small side-panel hits should stay around 1.5 inches. Sticking to these dimensions ensures your branding remains crisp and professional on any crown style.
Will DTF transfers peel off mesh trucker hats?
DTF transfers won't peel off mesh if you use the correct pressure and temperature settings. The adhesive layer is designed to grip synthetic fibers, including polyester mesh. However, you must avoid over-pressing, which can melt the mesh material. Using a heat-resistant foam pad helps level the transition between the foam front and mesh back. This ensures the transfer stays permanent even after heavy use in the intense Texas heat and humidity.
What temperature should I use for DTF on polyester hats?
Polyester is heat-sensitive, so you should lower your temperature to 295°F. Press for 10 seconds with medium pressure. This lower heat prevents the "scorching" or "shiny marks" often seen on synthetic performance fabrics. Always perform a cold peel to allow the adhesive to fully set before removing the film. Following these specific settings for dtf hats ensures the material keeps its original texture and color while maintaining a durable, high-detail logo.
How do I avoid the "press box" mark on my hats?
You can avoid the "press box" mark by using a heat-resistant foam pad to lift the printing area above the rest of the hat. This prevents the edges of the heat platen from making hard contact with the surrounding fabric. Reducing your pressure slightly and using a finishing sheet for a second, shorter press also helps. These small adjustments distribute the heat more evenly and keep your headwear looking pristine, professional, and ready for the shelf.
Can I apply UV DTF transfers to hat brims?
UV DTF transfers are best suited for the hard, non-porous surfaces of a hat, such as a plastic brim or a flat visor. They don't require heat and provide a raised, 3D effect that feels premium. However, they aren't ideal for the flexible fabric of the crown. If you want to add branding to the underside of a flat brim, UV DTF is an excellent choice for a custom look that stands out.
How long do DTF transfers last on hats compared to embroidery?
DTF transfers are rated to last for 50 to 100 wash cycles, which often outlasts the hat itself. While embroidery is rugged, DTF offers superior detail for complex logos that thread cannot replicate. These transfers survive sweat, sun, and rain without cracking or fading. They provide a modern, high-resolution alternative that matches the durability of traditional methods while offering much more creative freedom for your brand's specific design needs.
Do I need to pre-heat the hat before applying the transfer?
Yes, you should pre-heat the hat for 5 seconds before applying the transfer. This quick step removes trapped moisture from the fabric and flattens any stray fibers. A dry, flat surface is essential for the adhesive to create a permanent bond. Skipping this step can lead to bubbling or premature peeling. It's a simple part of the professional technical setup that guarantees a reliable, high-quality result every single time you press a new design.