How to Make a DTF Gang Sheet in Photoshop: 2026 Pro Guide

What Is This Article About?
A single pixel error in your document setup can turn a high-margin apparel launch into a bin of wasted film and lost profit. You've likely felt the sting of files coming out the wrong size after export. You've seen blurry prints because the DPI wasn't locked in. Learning how to make a dtf gang sheet in photoshop is the only way to stop these bottlenecks. It saves your production time and protects your margins. We agree that your time is better spent scaling your brand than troubleshooting technical glitches. In this industry, precision is the only way to stay ahead.
This 2026 pro guide gives you the technical edge to master your workspace with professional speed. You'll learn the exact steps to create high-resolution files that maximize every inch of your 22-inch film. We're stripping away the complexity. We're giving you a pixel-perfect workflow. You will learn to eliminate wasted space and ensure your 300 DPI graphics are ready for a durable 50 plus wash cycle. We will walk through setting up your workspace, optimizing design placement for maximum yield, and exporting the final transparent PNG for a fast turnaround from Iris DTF in Richardson.
Key Takeaways
- Lock in a 22-inch canvas width to match professional printer standards and maximize your production space.
- Master how to make a dtf gang sheet in photoshop using the "Save a Copy" workflow to prevent common file scaling errors.
- Protect your print quality by maintaining 300 DPI and removing stray pixels that cause "halos" on dark apparel.
- Use precision nesting techniques to group your designs, reducing film waste and increasing your profit margins.
- Streamline your timeline with expert production tips and fast local pickup options at the Iris DTF Richardson facility.
Setting Up Your Photoshop Canvas for DTF Success
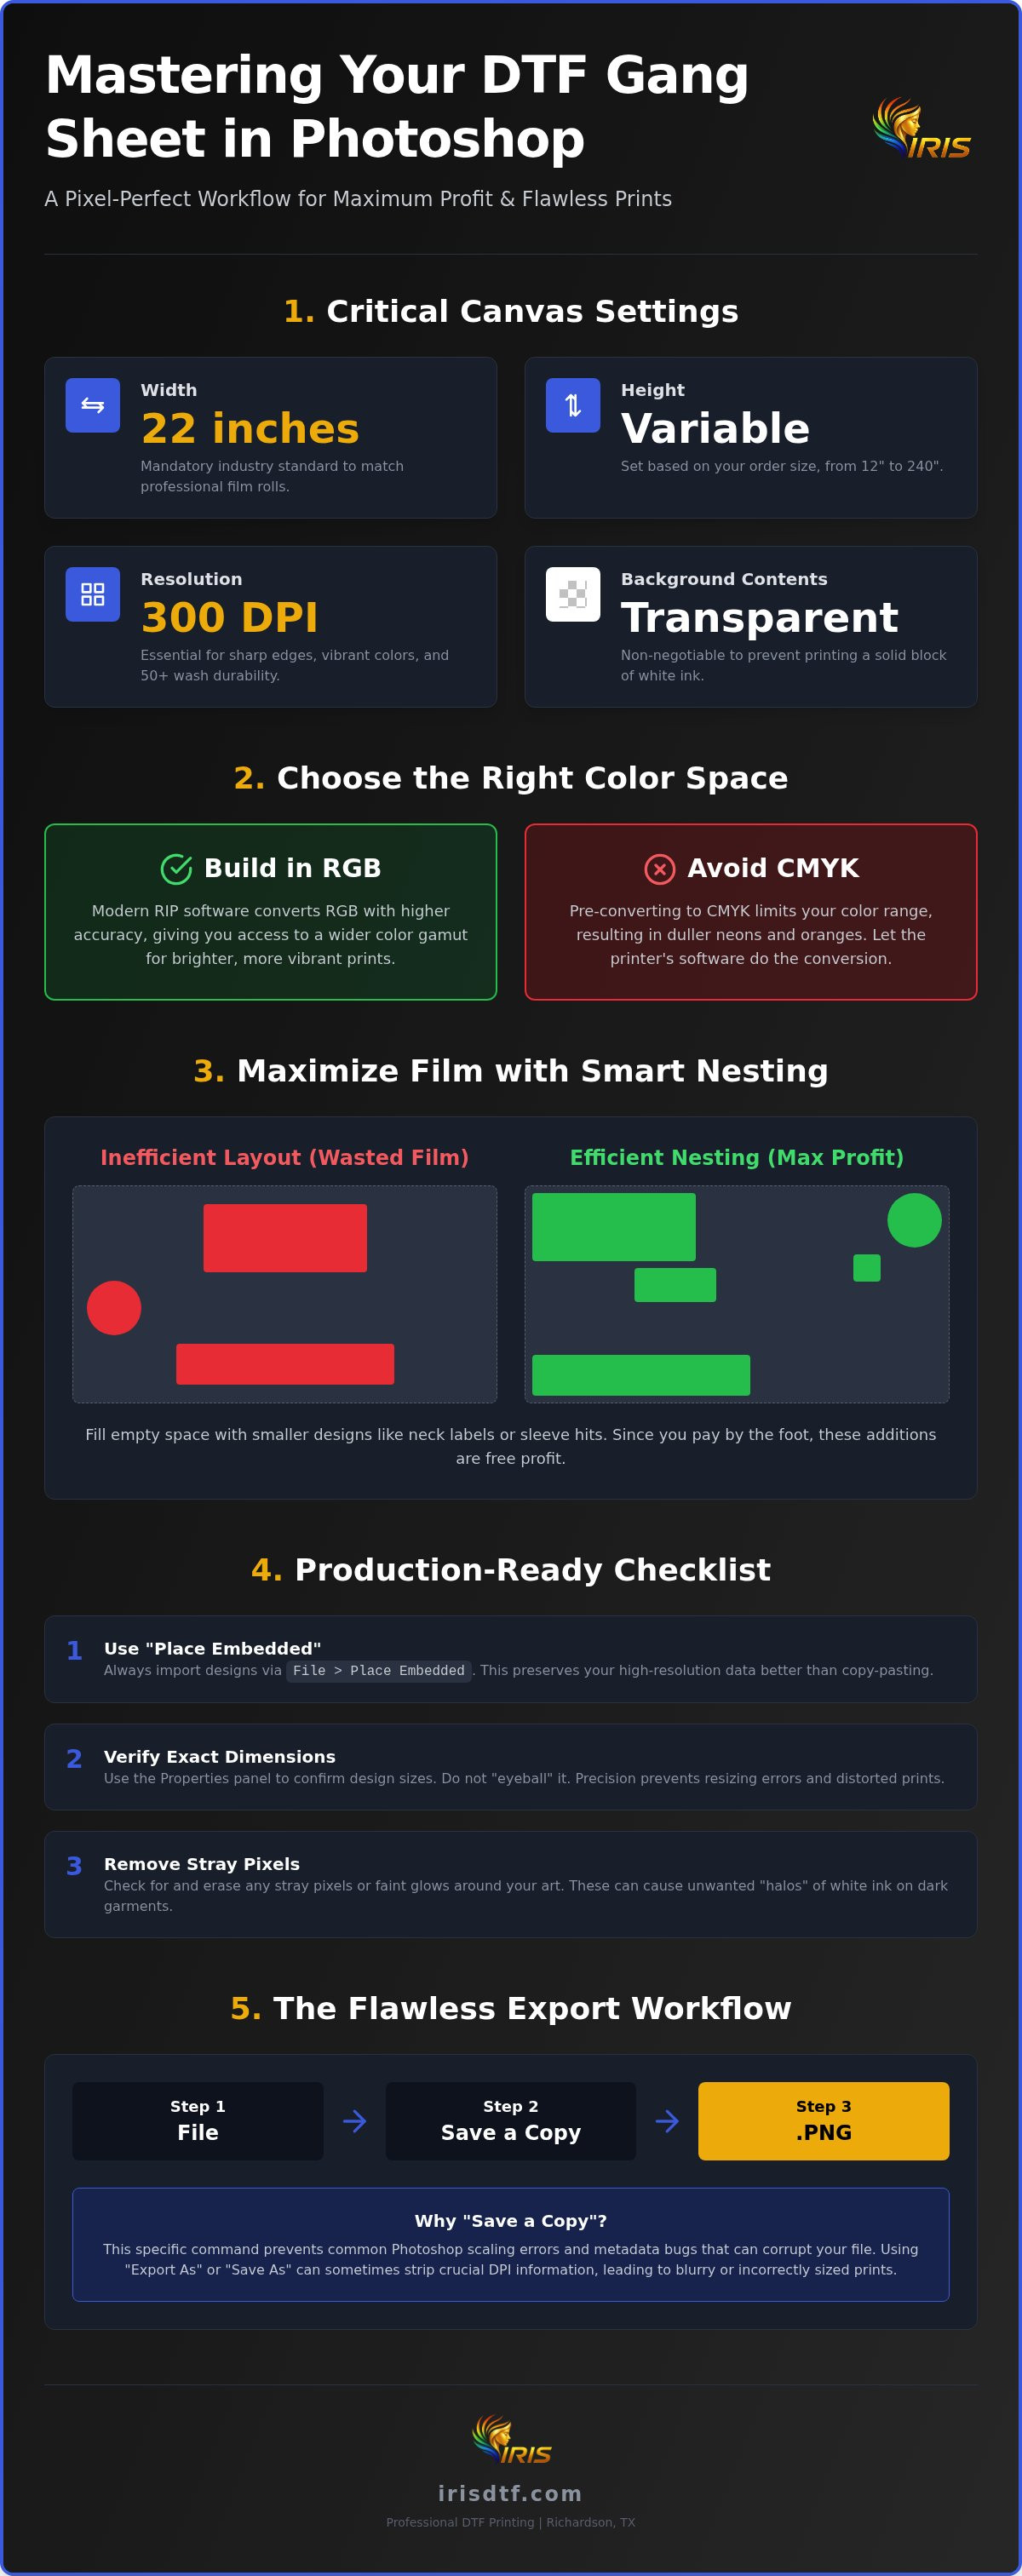
Getting your canvas right is the most critical step in the entire process. If your foundation is off, your entire print run is at risk. Learning how to make a dtf gang sheet in photoshop begins with matching your digital workspace to the physical film rolls used in production. Professional DTF printers, like the high-capacity machines at Iris DTF, utilize 22-inch wide rolls. This width is the industry "sweet spot" for a reason. It provides enough room for large back-piece graphics while allowing you to tuck smaller neck labels or pocket hits into the margins. Using a 22-inch width isn't just about following rules; it's about efficiency. It allows you to fit two standard adult-sized 11-inch designs side-by-side, effectively doubling your output per linear foot.
Transparency is another non-negotiable factor. If you leave a white background on your canvas, the printer will treat that white as ink. You'll end up with a solid white block of plastic instead of a clean, breathable transfer. Always ensure your "Background Contents" is set to transparent before you drop a single design onto the stage. This simple setting prevents costly production errors and ensures your apparel looks professional.
Exact Document Settings
Precision starts in the "New Document" window. Don't guess on these values. Use these specific settings to ensure your file is ready for our Richardson facility without resizing errors.
- Width: 22 inches. This is the mandatory standard for Iris DTF professional rolls.
- Height: Variable. Your length depends on your order volume. We support sheets from 12 inches up to 240 inches for massive commercial runs.
- Resolution: 300 Pixels Per Inch. This ensures your edges stay sharp and your colors remain vibrant.
- Background Contents: Transparent. This is essential for proper ink placement and garment adhesion.
Color Mode: RGB vs. CMYK
Choosing the right color space is often where beginners stumble. While printing uses CMYK ink, you should build your file in RGB Color. Modern RIP (Raster Image Processor) software is designed to handle RGB data. It converts your digital art into physical ink with much higher accuracy than if you pre-converted it to CMYK yourself. Building in RGB gives you access to a wider color gamut, meaning your neon greens and bright oranges will actually pop on the fabric. 300 DPI is the essential resolution for professional DTF clarity and ensures your designs survive 50 plus wash cycles without fading. This setup guarantees that what you see on your screen matches the high-definition output of our local Richardson facility.
The Art of the Nest: Arranging Designs for Maximum ROI
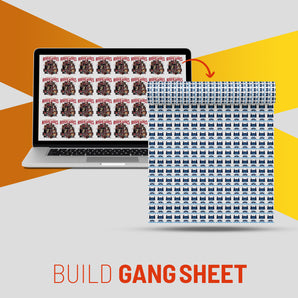
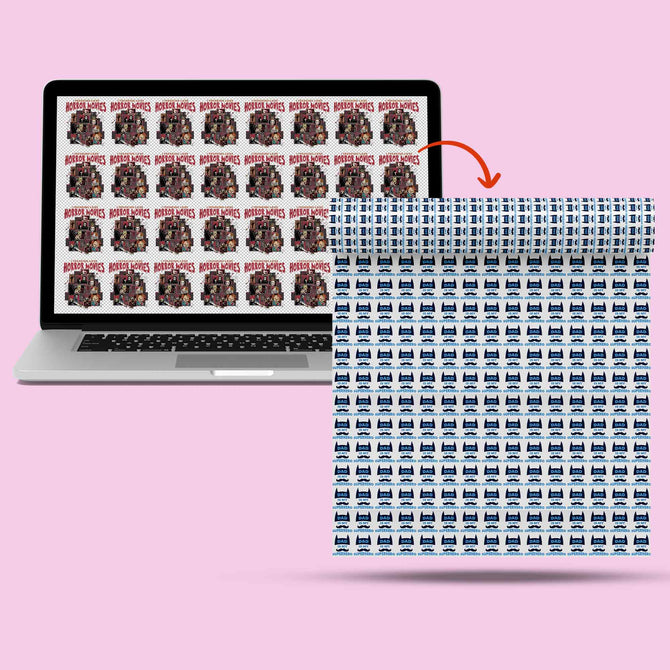
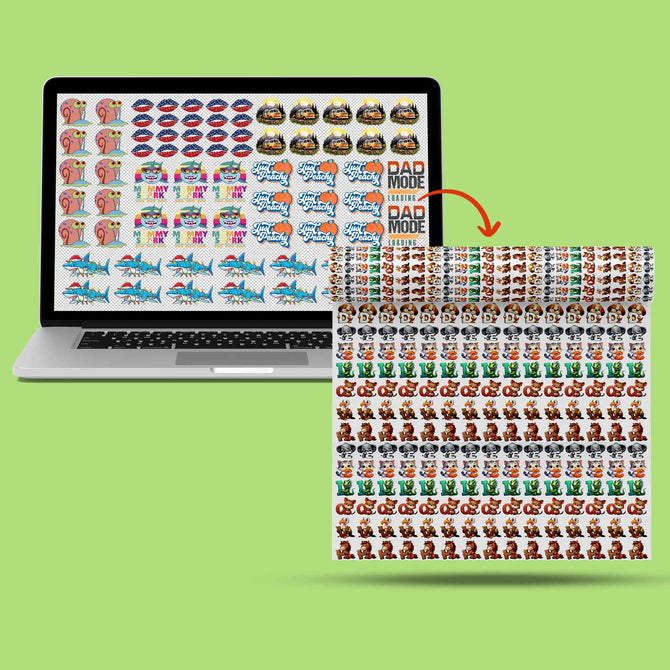
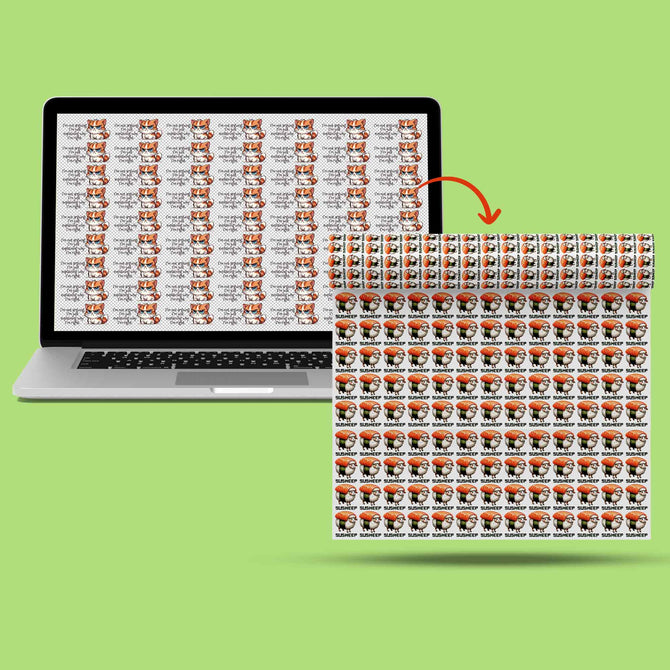
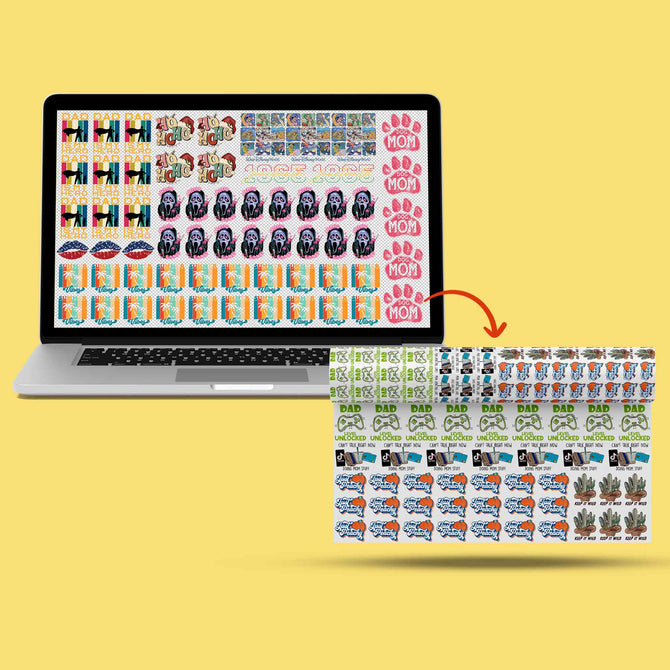
Nesting is more than just dragging and dropping images onto a canvas. It's a calculated strategy to squeeze every cent of value out of your 22-inch film. When you master how to make a dtf gang sheet in photoshop, you're learning how to eliminate the empty air that eats into your profit margins. Think of your canvas as expensive real estate. Every square inch of unused film is money left on the table. Your goal is a dense, logical layout that maximizes output without compromising the quality of the final press.
Efficiency doesn't mean overcrowding. You must balance density with practical post-press processing. Always leave a 0.5-inch safety margin from the edge of the 22-inch canvas. This prevents the printer from clipping your art during the run and ensures the film tracks perfectly through the machine. Within the sheet, leave enough "cut space" between designs so you can easily separate them with scissors or a paper cutter. If you pack them too tight, you risk nicking a design and ruining a transfer.
Importing and Scaling Your Artwork
Start your layout by using "File > Place Embedded" for every design. This method is superior to copy-pasting because it keeps your high-resolution files linked and sharp. Once placed, verify your dimensions immediately using the Properties panel. If your design needs to be exactly 10.5 inches wide, the Properties panel is the only way to be certain. Don't eyeball it. Avoid the stretch trap by maintaining your aspect ratios. A logo that is accidentally widened by even a fraction of an inch will look distorted on a finished shirt. Precision at this stage ensures your 300 DPI graphics stay crisp and professional.
Maximizing Every Square Inch
Fill the gaps. Once your large chest prints are positioned, look for the "dead zones" between them. These spaces are perfect for "free" items like neck labels, sleeve hits, or pocket logos. Since you're already paying for the linear foot of film, these small additions cost you nothing extra in production. Rotate your designs like puzzle pieces to fit them together. A 90-degree turn can often create enough room to fit an extra row of graphics. Group your sheet by garment type or design color to speed up your heat press workflow later. If you want to see how these high-density layouts translate to professional quality, explore the custom DTF transfers produced at our Richardson facility. This strategic approach ensures you get the most out of every roll while maintaining the durability required for 50 plus wash cycles.
Technical Requirements: Resolution and Transparency
High-definition printing demands high-definition source files. A common trap when learning how to make a dtf gang sheet in photoshop is using 72 DPI web images. While these look crisp on a smartphone screen, they lack the data density required for a professional heat press. At Iris DTF, we specialize in 300 DPI high-definition printing. If your file resolution is low, the printer cannot "invent" the missing detail. You'll end up with jagged edges and muddy colors that fail to meet the professional standards of your 2026 apparel line.
Transparency is just as vital as resolution. DTF technology relies on a white ink underbase that sits beneath your colors. If your file contains "stray" pixels or semi-transparent "halos" around your art, the printer will dutifully lay white ink in those spots. On a black t-shirt, these invisible errors become glaring white outlines that ruin the aesthetic. Use Photoshop’s Threshold adjustment tool to find these hidden culprits. By cranking up the threshold, any non-transparent pixel will turn solid black, revealing exactly where your cleaning efforts need to focus.
Ensuring 300 DPI Integrity
Always verify your resolution before you start nesting designs. Go to Image > Image Size and confirm the resolution is set to 300 Pixels Per Inch. Avoid the temptation to upscale low-quality art. Increasing the DPI of a 72-pixel image doesn't add detail; it simply makes the existing blurriness larger. Every pixel on your sheet represents where ink and powder will land. Starting with native high-res art is the only way to guarantee your prints survive 50 plus wash cycles with their vibrancy intact. Our Richardson facility relies on this precision to deliver the quality your brand deserves.
Cleaning Up Your Transparent Edges
Feathered edges are the enemy of clean DTF transfers. They create a fuzzy transition that the white ink underbase cannot handle. Use the Magic Wand tool with a low tolerance to select and remove any lingering background remnants. For more complex shapes, use the Select and Mask workspace to refine your borders and ensure they are perfectly sharp. This level of technical hygiene is what separates amateur hobbyists from professional brands. For more detailed insights on file prep, check out our guide on How to Prepare Art for DTF: Pro Tips for Clean Prints. Taking these extra steps ensures your exports are ready for the high-capacity production line at our Richardson facility.
Exporting Your Gang Sheet: Solving the PNG Metadata Bug
The biggest frustration in digital textile printing is the "PNG Metadata Bug." Many designers spend hours perfecting their layout only to have the file fail during the upload process. If you use Photoshop’s standard "Export As" function, you're likely stripping the vital metadata that defines your document's resolution. This error often causes a 22-inch wide file at 300 DPI to balloon into a 91-inch file at 72 DPI. The pixels are all there, but the "instructions" for the printer are gone. Mastering how to make a dtf gang sheet in photoshop requires a specific export workflow that preserves every bit of your technical data.
When metadata is lost, the RIP software at our Richardson facility can't determine the correct scale. This leads to prints that are either massive and blurry or tiny and unusable. You must ensure your file retains its PPI (Pixels Per Inch) value so the physical dimensions stay locked at 22 inches wide. This isn't just about aesthetics; it's about production accuracy and profit protection. A properly exported file ensures your apparel line maintains its professional edge without expensive re-prints.
The 'Save a Copy' Workflow
To avoid the metadata trap, skip the "Export" menu entirely. Follow these precise steps to guarantee your file arrives at the printer exactly as you designed it:
- Navigate to File > Save a Copy.
- Select PNG from the format dropdown menu.
- Choose Large File Size (Fastest saving) in the PNG options.
- Ensure "Embed Color Profile" is checked to maintain your vibrant RGB color gamut.
This method is superior because it writes the resolution data directly into the PNG header. It ensures the Iris DTF RIP software reads your file at 300 DPI, keeping your designs sharp and correctly sized. Once you've mastered this export, you're ready to order your custom DTF gang sheets and start production immediately.
Final Quality Control
Don't send your file blindly. Perform a 60-second quality check to prevent production delays. Re-open your exported PNG back in Photoshop and check the image size one last time. Verify the width is still exactly 22 inches at 300 DPI. Scan the empty spaces for "stray pixels" that might have been missed during the cleaning phase. These tiny dots of ink can ruin a dark shirt print by creating unwanted white specks. Finally, use a professional naming convention. Include your brand name and the total sheet length, such as "BrandName_60inch_Aug2026.png". This helps our team track your project through our high-capacity Richardson facility with maximum speed and precision.
From Photoshop to Production: The Iris DTF Advantage
You have mastered the digital canvas. You have conquered the technical hurdles of resolution and transparency. Now, it's time for the physical payoff. Knowing how to make a dtf gang sheet in photoshop is the critical first half of your production journey. The second half requires a partner who respects the technical precision of your work. At Iris DTF, we don't just print files. We transform your digital masterwork into industrial-grade transfers designed for the demands of the 2026 market. Our "Ready-to-Work" promise ensures your 300 DPI exports are handled with expert care. We guarantee that the precision you built in Photoshop translates perfectly to the film.
We understand the momentum of the apparel industry. Speed and reliability are your most valuable assets. That's why we've built a high-capacity powerhouse in Richardson that prioritizes your deadlines. We take the intimidation out of the printing process. You provide the file; we provide the professional-grade output that keeps your brand moving forward. Our team handles massive commercial demands and small-scale projects with the same commitment to excellence.
Serving the Dallas Metroplex
Dallas-Fort Worth brands trust Iris DTF because we are part of the local fabric. We provide elite-level expertise for creators in Plano, Frisco, and Irving. By choosing a Richardson-based facility, you eliminate the uncertainty of shipping delays and lost packages. Local production means faster turnaround times for your time-sensitive apparel launches. You can design in the morning and have your transfers in hand shortly after. This proximity allows for a collaborative partnership that national online-only printers cannot match. For a deeper look at how local production elevates your business, read our guide on Custom DTF Transfers: The Ultimate 2026 Guide to Professional Apparel Branding. We are your behind-the-scenes engine for creative success.
Scaling Your Brand in 2026
Gang sheets are the ultimate equalizer for modern startups. They allow Richardson brands to compete with national labels by maximizing every linear foot of film. This efficiency lowers your per-unit cost and boosts your ROI. Our transfers are engineered for extreme durability. They are tested to survive 50 plus laundry cycles without cracking or fading. This industrial-grade quality ensures your customers stay satisfied long after the first wear. Consistency is our standard. Whether you are printing a small batch or a 240-inch roll, the quality remains identical from the first design to the last. This reliability allows you to scale with confidence. Ready to see your designs in high definition? Upload your Photoshop gang sheet to Iris DTF today! We are ready to work when you are.
Launch Your 2026 Apparel Line with Precision
Mastering the technical workflow of how to make a dtf gang sheet in photoshop is the single most important investment you can make for your brand's production efficiency. You now have the blueprint to lock in your 22-inch canvas settings, nest your designs for maximum profit, and bypass the metadata bugs that stall lesser creators. These steps ensure your vision translates from a digital screen to a high-definition physical product without compromise. Precision in the design phase is what separates a professional launch from a costly mistake.
When your file is ready, you need a partner that matches your standards for speed and quality. Iris DTF provides the high-capacity engine you need to scale. We deliver professional 300 DPI print quality and industrial-grade durability that stands up to 50 plus wash cycles. If you're based in the Dallas-Fort Worth area, our fast local pickup in Richardson gets your products to market even faster. Don't let your masterwork sit on a hard drive. It's time to turn your digital layouts into professional apparel that lasts. Order Your Custom DTF Gang Sheets from Iris DTF today and start building your legacy.
Frequently Asked Questions
How many designs can I fit on a 22x60 inch DTF gang sheet?
You can typically fit between 10 and 15 standard adult-sized chest designs on a 22x60 inch sheet. Your total count depends entirely on the dimensions of your individual graphics. A 60-inch length provides five linear feet of film. If you nest smaller neck labels or sleeve hits into the empty gaps, your total design count can increase significantly. Always prioritize a 0.5-inch safety margin around the edges to ensure nothing gets clipped during production.
What is the best file format for a DTF gang sheet in 2026?
A transparent PNG is the gold standard for DTF production in 2026. This format preserves the essential transparency needed for our white ink underbase. It also supports the high-resolution data required for crisp, professional prints. While other formats exist, a properly saved PNG ensures that our RIP software reads your colors and edges with absolute precision. Always confirm that your background is fully removed before saving to avoid unwanted blocks of white ink.
Why does my gang sheet look blurry when I print it?
Blurry prints usually stem from low-resolution source files or improper upscaling. If you start with a 72 DPI web image, it lacks the pixel density needed for professional printing. Even if you change the settings later, the software cannot create detail that isn't there. Ensure every design you place on the canvas is natively high-resolution. This is a common hurdle when learning how to make a dtf gang sheet in photoshop for professional use.
Do I need to mirror my images in Photoshop before exporting?
No, you don't need to mirror your images before sending them to us. Our professional RIP software handles the mirroring process automatically during the printing stage. In fact, sending mirrored files can often lead to confusion or double-mirroring errors. Keep your designs exactly as you want them to appear on the final garment. We take care of the technical inversion so your transfers arrive ready for a perfect heat press application.
What is the maximum length for a DTF gang sheet at Iris DTF?
Our high-capacity facility in Richardson supports gang sheets up to 240 inches in length. This allows you to group massive orders into a single, continuous roll for maximum efficiency. While the 22-inch width is a fixed standard for our professional equipment, the variable length gives you total creative freedom. Whether you need a small 12-inch strip or a 20-foot commercial run, we have the machinery to handle your volume with consistent quality.
Can I mix different shirt designs on the same gang sheet?
Absolutely. The primary benefit of a gang sheet is the ability to mix unlimited designs, colors, and sizes on one roll. You can combine back-piece graphics, chest logos, and sleeve hits for multiple different apparel lines. This versatility is why gang sheets are the preferred choice for scaling brands. As long as everything fits within the 22-inch width, you can organize your designs in any way that maximizes your film usage and ROI.
How do I fix the 'wrong size' issue when exporting from Photoshop?
Fix the "wrong size" issue by using the "Save a Copy" command instead of "Export As." The standard export tool often strips the metadata that defines your document's resolution. This causes a 300 DPI file to revert to 72 DPI, making it appear much larger than intended. Using "Save a Copy" as a PNG preserves the PPI settings. This ensures your 22-inch file arrives at our Richardson facility with its dimensions locked and ready for production.
Is 300 DPI really necessary for DTF printing?
Yes, 300 DPI is the industry standard for high-definition apparel. This resolution provides the sharp detail and smooth gradients required for a professional finish. Lower resolutions often result in jagged edges that look amateurish on fabric. When you learn how to make a dtf gang sheet in photoshop, maintaining this density is non-negotiable. It ensures your transfers are durable enough for 50 plus wash cycles while keeping their vibrant, retail-ready appearance.