DTF Transfer Size Chart: What Size to Order for Every Placement

One of the most common questions before ordering is simple: what size DTF transfer do I actually need? Guessing can leave you with a print that looks too small on the garment or one that extends beyond the intended placement area. This practical DTF transfer size chart breaks down common sizing ranges by placement so you can order your DTF transfers with more confidence.
Standard DTF Transfer Sizes by Placement
There is no single transfer size that works for every garment, but these common ranges are a useful starting point for T-shirts, hoodies, and similar apparel.
| Placement | Common Size | Best For |
|---|---|---|
| Left Chest or Pocket | 3–4 inches wide | Small logos, names, icons, and compact branding |
| Center Chest | 9–11 inches wide | Most adult front-shirt designs |
| Youth Center Chest | 7–9 inches wide | Front designs on smaller youth garments |
| Full Back | 11–13 inches wide | Large logos, artwork, event graphics, and statement designs |
| Sleeve | 3–4 inches wide | Small branding, text, logos, and sleeve graphics |
For a full-back print, the height depends on the artwork itself, but approximately 12 to 16 inches is common. These measurements should be treated as starting points rather than fixed rules because garment dimensions and design proportions can vary.

Why DTF Transfer Size Affects Your Cost Per Print
Transfer size directly affects how much film, ink, and printable space each design uses. A larger design naturally takes up more space than a small chest logo, so choosing the right dimensions matters when you're trying to keep your cost per print under control.
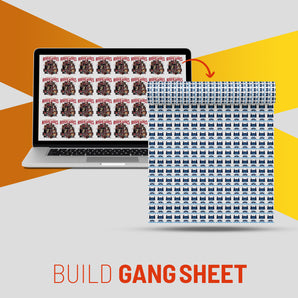
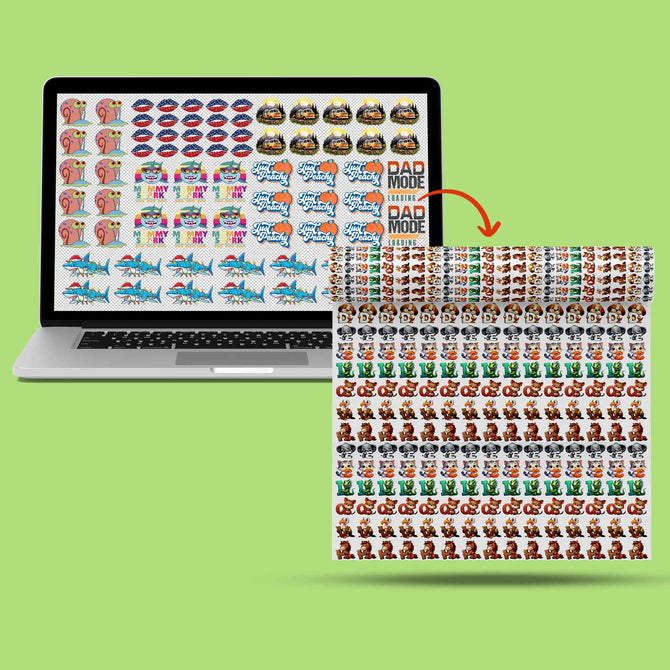
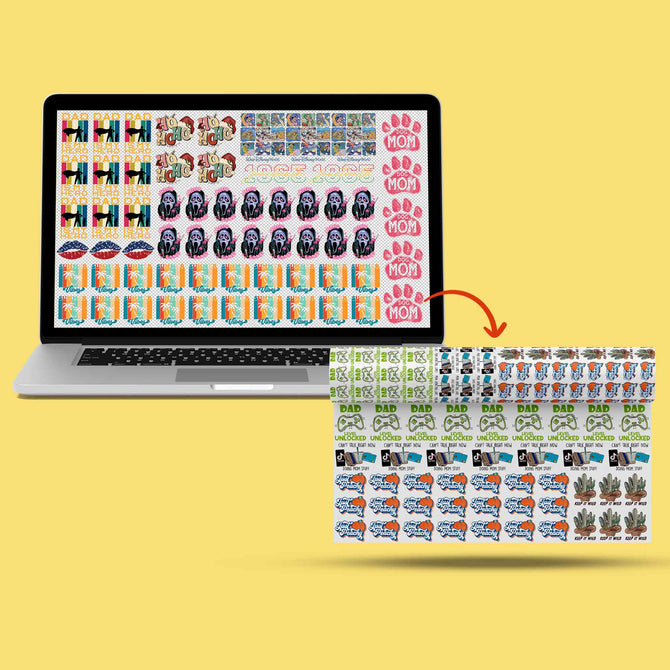
This becomes especially important when you're ordering several designs or multiple placement sizes at once. Instead of treating every chest logo, sleeve print, and back design as a separate order, you can often arrange them together on a DTF gang sheet and use the available sheet space more efficiently.
Using a Gang Sheet to Combine Multiple Sizes
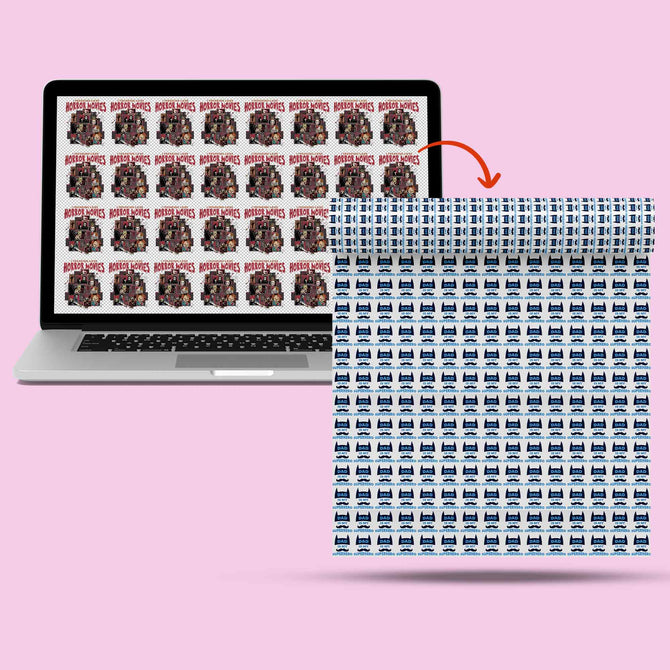
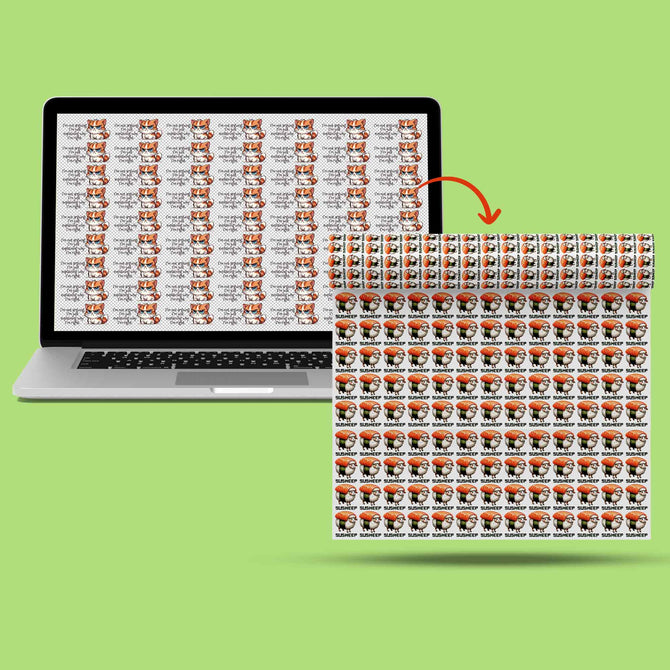
A gang sheet lets you place multiple designs and sizes onto one sheet of film. For example, you might place a small left-chest logo, two sleeve graphics, and a larger back design together instead of ordering each transfer separately.
The Iris DTF Gang Sheet Builder allows you to upload multiple designs, resize them, and arrange them on a single canvas. The builder can also automatically arrange designs to use the available sheet space efficiently.
If you already have a print-ready gang sheet prepared in your own design software, you can skip the builder and use the DTF Gang Sheet Upload option instead.
Choose How You Want to Order
Pick the option that fits your workflow


What Makes a Good DTF Transfer at Any Size?
Getting the dimensions right is only one part of the job. A well-made DTF transfer should also deliver sharp details, consistent color, clean edges, and reliable adhesion when it is pressed and cared for correctly.
That matters whether you're ordering a compact 3-inch chest logo or a large back graphic. Iris DTF uses the same production and quality-control process across transfer sizes to help maintain consistent results from one order to the next.
A Quick Sizing Checklist Before You Order
- Measure the actual garment. Chest width, sleeve dimensions, and back-panel space can vary between different blanks and garment styles.
- Check the artwork proportions. A wide logo and a tall illustration may need different dimensions even when they're going in the same placement.
- Leave some visual breathing room. Avoid sizing the artwork all the way to the edges of the available print area.
- Consider the garment size. A design that looks balanced on an adult XL shirt may feel oversized on a youth or small adult garment.
- Use a gang sheet for multiple placements. If you need chest, sleeve, and back transfers together, arranging them on one gang sheet can make better use of your printable space.
Sizing for Different Garment Types
Placement sizing can shift depending on the garment itself. A chest logo sized for a standard adult unisex T-shirt may need to be scaled down for a youth cut, while a back print designed for a regular tee may sit differently on a heavier or boxier hoodie.
This is particularly important when you're printing across a mixed product line. Different blank apparel styles can have different printable areas, even when the labeled garment size is the same. Measure the actual placement area whenever possible instead of assuming that one set of dimensions will work across every shirt, hoodie, or other garment.
Ready to Order Your Transfers?
Choose your exact transfer size or combine multiple designs on a gang sheet. Iris DTF offers no-minimum ordering with fast in-house printing and shipping from Dallas/Fort Worth.
Getting the DTF Transfer Size Right
The right transfer size depends on three things: the placement, the garment, and the proportions of your artwork. Standard measurements are a useful starting point, but measuring the actual printable area before ordering is the safest way to avoid a transfer that feels too large or too small.
For individual designs, start with DTF Transfers by Size. If you're combining several designs, sizes, or garment placements, use the DTF Gang Sheet Builder to arrange them together on one sheet.