
DTF vs Screen Printing for Hats: The Ultimate Guide for 2026

What Is This Article About?
Screen printing hats sounds straightforward until you're wrestling with curved surfaces, misaligned squeegees, and a pile of ruined blanks. If you've been comparing DTF vs screen printing for hats, you already know the frustration: embroidery costs too much for small runs, screen printing hats is notoriously messy, and the last thing you need is a transfer peeling off a seam after one wash.
You're right to be skeptical. Curved headwear is one of the most unforgiving surfaces in custom apparel, and not every decoration method is built for it. The good news? DTF transfers have changed the game for hat branding in a big way, and once you understand why, the choice becomes a lot clearer.
In this guide, you'll learn exactly how DTF and screen printing stack up for hats, which method delivers sharper logos and longer-lasting results, and how to apply transfers to curved surfaces without the peeling. Whether you're decorating a dozen caps or building a full product line, this breakdown will help you make the right call.
Key Takeaways
- When comparing DTF vs screen printing for hats, DTF wins on curved surfaces - delivering sharper detail, unlimited colors, and no cracking on flexible headwear like beanies and structured caps.
- DTF adhesive bonds exceptionally well to both polyester and cotton blends, meaning your logo stays locked in through repeated wear and washing - no peeling at the seams.
- The blank hat you choose matters as much as the transfer itself - crown height, fabric weight, and material type all directly impact your final print quality and design space.
- Proper pressing technique - including pre-heating and using heat-resistant tape - is the difference between a flawless finish and a ghosted, misaligned logo.
- Dallas-area businesses can skip the shipping wait entirely with local pickup in Richardson, making fast, professional hat branding more accessible than ever.
Why DTF Transfers are Revolutionizing Custom Hat Branding
Custom hat branding used to mean one of two things: pay a premium for high-quality embroidery—seen in the specialized military collections from Lucky Shot Tees—or settle for a decoration method that couldn't keep up with your design. DTF transfers have rewritten that equation entirely. For small businesses and apparel brands across the Dallas area, the shift is already happening, and the results speak for themselves.
Here's what makes DTF genuinely different. Traditional embroidery charges by the stitch, which means complex logos with gradients, fine text, or intricate linework get expensive fast. DTF transfers print your full design digitally, so a four-color gradient costs the same as a single-color block. No digitization files. No per-stitch pricing. Just a sharp, full-detail transfer ready to press.
Durability is another area where DTF pulls ahead of heat transfer vinyl (HTV). HTV relies on a surface bond that can crack, peel, or lift at the edges, especially on the curved panels of structured caps. DTF adhesive penetrates the fabric fibers directly, creating a flexible bond that moves with the hat instead of fighting it. That means logos that stay locked in through repeated wear, washing, and reshaping.
DTF vs. Embroidery: The Detail Advantage
Needles can't replicate fine lines, smooth gradients, or small-scale typography without distortion. DTF transfers can. Your logo prints at full resolution, which means thin strokes stay sharp and color transitions stay smooth. There's no added weight from thread buildup either, so the hat feels lighter and sits more comfortably on the wearer. Skip the digitization fee entirely and get a cleaner result.
Why Screen Printing Hats is a Thing of the Past
Traditional screen printing was never designed with curved headwear in mind. Getting consistent ink coverage across a structured crown requires specialized platens, careful setup, and a lot of room for error. One misaligned squeegee pass and the whole batch is compromised. Across a bulk order, that inconsistency adds up fast.
When you're comparing DTF vs screen printing for hats, the production reality is stark. DTF skips the platen setup entirely. Every transfer is printed digitally and pressed individually, which means hat number one looks identical to hat number fifty. For Richardson brands that need fast turnaround without sacrificing consistency, that's not a minor advantage. It's the whole argument.
Low minimums make it even more accessible. Whether you're pressing a dozen caps for a local event or building out a full product line, DTF delivers high-impact branding without the setup costs or quantity requirements that screen printing demands.
The Technical Edge: Stretch and Durability for Headwear
The chemistry behind DTF adhesive is what separates it from every other decoration method on curved surfaces. When heat is applied, the hot-melt adhesive powder melts and flows directly into the fabric's fiber structure rather than sitting on top of it. That's the key distinction. On polyester blends, the adhesive bonds at a molecular level with the synthetic fibers. On cotton, it locks into the natural fiber weave. Either way, you get a bond that flexes with the material instead of resisting it.
That flexibility matters most on beanies and knit caps. Run a simple stretch test after pressing: pull the fabric laterally across the design. A properly bonded DTF transfer stretches with the knit without cracking, lifting, or showing stress lines at the edges. HTV and screen-printed ink fail this test regularly because they cure as a rigid layer. DTF adhesive cures as a flexible film. For structured trucker hats specifically, that film-level bond is uniquely suited to the rigid polyester mesh panels where surface adhesion alone won't hold through repeated wear.
Buckram changes the equation for structured caps. That stiff interfacing built into the front panels distributes heat unevenly during pressing, creating hot spots at the edges and cooler zones at the center. The fix is deliberate: pre-heat the crown for a few seconds before applying the transfer, which normalizes the temperature across the panel and prevents partial adhesion. Skip that step and you'll see lifting at the buckram's edge lines within a few washes.
Navigating the 6-Panel Seam Challenge
The center seam on a 6-panel cap is where most DTF beginners lose their logos. When the transfer spans that seam, air pockets form at the stitch line during pressing, creating bubbles that become peeling points. The solution is a hat-specific foam pillow or curved platen that pushes the crown panels flat from the inside out, eliminating the gap before the heat plate makes contact. Apply firm, even pressure and hold the full dwell time without lifting early. One pro shortcut worth knowing: 5-panel hats have no center seam, making them the most forgiving surface for anyone learning DTF hat application. Start there, build your technique, then move to 6-panel structured caps with confidence.
Heat Resistance and Substrate Safety
Synthetic hat materials, particularly lightweight polyester and nylon blends, scorch at temperatures that cotton handles without issue. Always check the fabric content of your blank before setting your press. High-quality DTF ink is formulated to maintain color vibrancy at the lower end of the press temperature range, which protects delicate synthetics without sacrificing adhesion. Protect the brim and any plastic snaps by positioning them clear of the platen or covering them with heat-resistant tape before each press cycle. One scorched brim ruins an otherwise perfect hat.
When comparing dtf vs screen printing for hats on technical grounds, the substrate safety argument alone is decisive. Screen printing applies ink under pressure across the entire surface, with no accommodation for snaps, seams, or mixed materials. DTF transfers press only where you place them, giving you precise control over every variable. That precision is exactly what custom DTF transfer specialists are built to deliver.
Choosing Your Canvas: Best Blank Hats for DTF Transfers
Your transfer is only as good as the surface beneath it. Before you even think about artwork files or press settings, the blank hat you choose will determine how much design space you have, how cleanly the adhesive bonds, and whether your finished product looks retail-ready or rushed. Not every hat is built the same, and that difference matters more for DTF than most decorators realize.
Crown height is the first variable to nail down. High-profile caps give you a taller, flatter front panel, which translates directly into more usable design space. A structured, high-crown snapback can comfortably accommodate a logo up to four inches wide without creeping toward the brim or the side seams. Low-profile caps sit closer to the head with a curved, more relaxed front panel. That curve compresses your printable area and introduces more surface variation under the heat plate. For anyone comparing dtf vs screen printing for hats, low-profile styles are where screen printing struggles most and where DTF's flexible adhesive genuinely earns its reputation.
Material is the other make-or-break factor. Polyester foam fronts bond fast and hold color exceptionally well. Heavy cotton twill takes a slightly longer dwell time to achieve full adhesion but delivers a premium, textured look that works well for workwear and lifestyle brands. Avoid thin, lightweight polyester blends under 100gsm without checking your press temperature first; they scorch quickly and the adhesive can over-penetrate, leaving a stiff hand feel. For a deeper breakdown of substrate options across apparel categories, the premium blank apparel guide covers exactly what to look for before you buy.
One style worth calling out specifically: the unstructured cotton dad hat has become a staple for Dallas street brands and local lifestyle labels. Its relaxed crown and curved brim give it an approachable, worn-in aesthetic that resonates with younger consumers, and the soft cotton twill surface is genuinely DTF-friendly when pressed correctly.
Trucker Hats: The DTF Gold Standard
The flat foam front panel on a trucker hat is practically purpose-built for custom DTF transfers. No seams to navigate, no buckram creating heat distribution problems, just a smooth, receptive surface that delivers maximum color vibrancy, especially on white foam backgrounds where ink saturation pops without any fabric texture to diffuse it. One design note worth flagging: if your artwork extends close to the mesh side panels, build a clean edge into the design rather than letting it fade out. The foam-to-mesh transition is a hard boundary, and any bleed into the mesh won't adhere the same way.
Beanies and Cold-Weather Headwear
Ribbed knit beanies require a different approach entirely. The stretch in the fabric means your transfer needs to flex without cracking, which is where proper adhesive cure becomes critical. Use a double press technique: press at full temperature and dwell time, let the hat cool for thirty seconds, then press again for a shorter cycle. That second pass drives the adhesive deeper into the knit fibers, significantly improving wash durability. For placement, cuff branding sits in a high-visibility zone but compresses when the cuff folds; crown placement gives you a cleaner, more permanent result that doesn't distort with wear.

Step-by-Step: How to Press DTF Hats for a Flawless Finish
Technique is everything on curved headwear. You can have a perfectly printed transfer and still ruin the hat in the press. Here's exactly how to get it right, from the moment the hat hits the platen to the final peel.
Step 1: Pre-heat the hat. Before your transfer touches the crown, press the blank hat alone for five to eight seconds. This drives out residual moisture trapped in the fibers and flattens the fabric pile, giving the adhesive a clean, dry surface to bond with. Skip this step and trapped steam creates micro-bubbles under the film during the actual press cycle. Competitors often jump straight to a single temperature setting without mentioning pre-heating at all. That's the gap between a transfer that lasts and one that lifts by week two.
Step 2: Position and tape the transfer. Place your transfer film-side up on the crown and secure two edges with heat-resistant tape. This isn't optional. Any movement during press closure causes ghosting, where the ink deposits a faint double image on the fabric. One clean piece of tape per side holds the transfer locked without interfering with adhesion across the design area.
Step 3: Apply firm, sustained pressure. Hat panels need noticeably more pressure than flat garments. The curved surface and underlying structure create natural resistance that a light press won't overcome. Increase your pressure setting until the platen makes full, even contact across the entire design. Inconsistent pressure is the leading cause of seam adhesion failure; the stitch line acts as a ridge that breaks contact if your press tension isn't high enough to compress it flat. More pressure, held for the full dwell time, solves this directly.
Step 4: Cool, then peel deliberately. Let the hat sit for fifteen to twenty seconds after pressing before touching the film. On textured fabrics like cotton twill, a warm peel pulls fibers up with the carrier sheet, leaving a rough, uneven edge. A fully cooled peel releases cleanly and leaves a crisp, defined border around the design.
Essential Equipment for Hat Success
A curved hat press is the right tool for structured caps. It matches the crown's contour and distributes pressure evenly. If you're using a flat press, a hat jig raises and stabilizes the crown so the platen makes real contact instead of bridging the curve. For beginners, cold peel film is more forgiving; it gives you extra cooling time before release, reducing the risk of lifting edges on unfamiliar substrates. Always finish with a second short press after the initial cool-down to drive the adhesive deeper into the fibers and significantly improve wash durability.
Troubleshooting Common Hat Pressing Issues
A shiny box mark around your transfer means the platen is scorching the fabric outside the design area. Lower your temperature by five to ten degrees or add a thin pressing cloth over the hat before closing. If the transfer isn't sticking at the seam, the fix is pressure, not heat; seam adhesion failures almost always trace back to insufficient tension rather than temperature, because the raised stitch line physically prevents the platen from making full contact with the transfer film directly above it. Increase pressure first, pre-heat longer second, and re-press that specific edge with focused tension.
When the dtf vs screen printing for hats debate comes down to execution, DTF rewards good technique with consistent, professional results every single time. Order custom DTF transfers from Iris DTF and press with confidence knowing your Richardson-made transfers are built to bond, flex, and last.
Order Custom Hat Transfers in Richardson: The Iris DTF Advantage
All the technique in the world doesn't matter if your transfers arrive late, color-shifted, or sized wrong for headwear. That's the gap national suppliers consistently leave open. Iris DTF closes it with over 10 years of expertise, a Richardson-based production facility, and a deep understanding of what DFW brands actually need when they're decorating hats under deadline.
Local pickup changes the math entirely. For businesses in Plano, Dallas, Frisco, and surrounding areas, skipping the shipping wait means you can place an order, pick up your transfers, and press finished hats the same week. No tracking numbers. No hoping the carrier doesn't fold your gang sheet in transit. Just ready-to-press transfers in your hands, on your schedule.
Color matching is another area where proximity pays off. When you're working with a DTF printer near you, you can verify colors against your actual hat blanks before committing to a full run. That's a conversation you simply can't have with a national fulfillment warehouse. For brand-sensitive logos where a slightly warm red or a muted navy would be unacceptable, local access to Iris DTF's production team is a genuine competitive advantage.
Texas summers also stress-test your transfers in ways that milder climates don't. Iris DTF's transfers are formulated for the heat, humidity, and repeated washing that come with real-world DFW wear, so the durability you need isn't an afterthought.
Optimizing Your Gang Sheet for Headwear
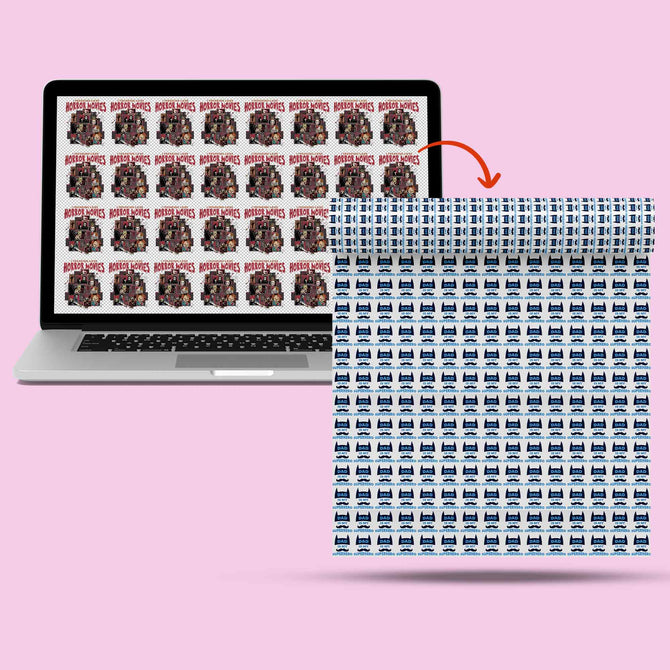
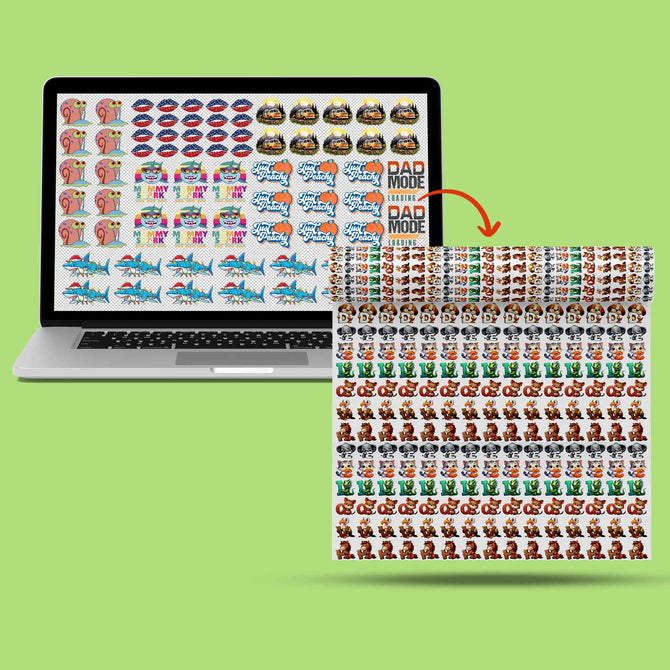
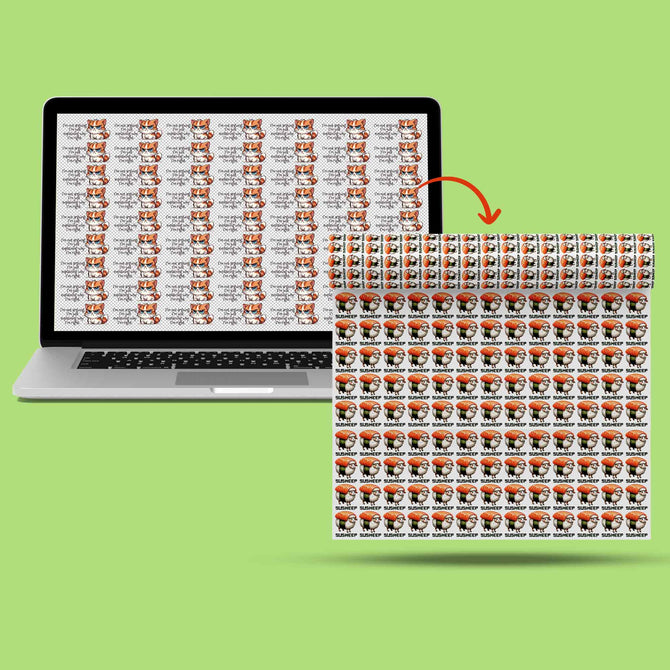
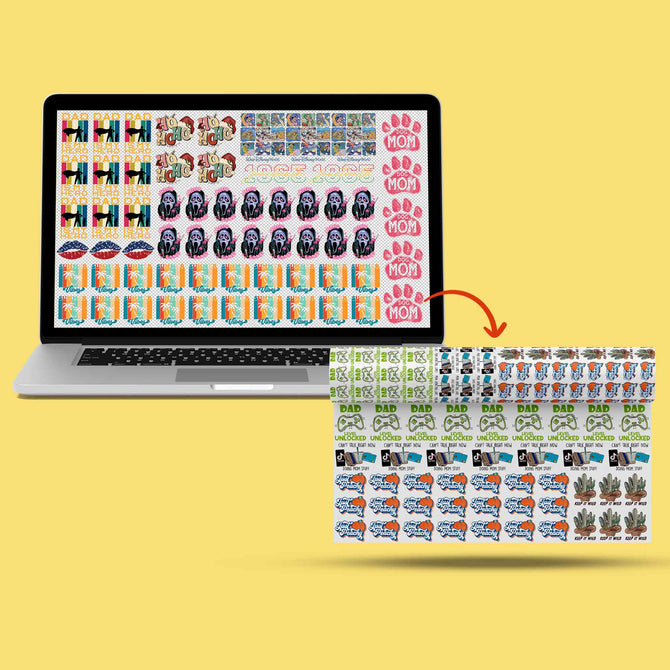
A standard 22-inch DTF gang sheet can comfortably fit 20 or more hat logos when sized correctly. The sweet spot for most structured cap fronts is 2.5 inches tall by 4.5 inches wide; this hits the usable panel area without crowding the brim or side seams. Mix in UV DTF stickers for hard-brim applications on the same sheet and you're maximizing every square inch of material across a single order. Efficient nesting, deliberate sizing, and combining hat logos with sticker artwork on one sheet cuts your cost per unit significantly.
Service Area and Local Support
Iris DTF serves the full Dallas-Fort Worth metroplex, with fast turnaround for businesses in McKinney, Mesquite, Carrollton, and beyond. When the dtf vs screen printing for hats decision comes down to execution and reliability, having a local production partner with a decade of proven expertise isn't a minor detail. It's the whole reason your hats come out right.
Start your custom hat transfer order today and press with confidence knowing Iris DTF is built for exactly this.
Make the Right Call and Press With Confidence
The dtf vs screen printing for hats debate doesn't need to be complicated. Screen printing was never built for curved headwear. DTF transfers are. Flexible adhesive, unlimited color, no setup minimums, and consistent results from hat one to hat fifty. That's the case in plain terms.
What makes the difference in practice is combining the right transfer with the right technique and the right production partner. Pre-heat your blanks, lock your transfer with heat-resistant tape, apply firm pressure, and peel cold. Get those fundamentals right and your logos stay sharp through real-world wear.
For DFW brands that need professional results without the wait, Iris DTF brings 10+ years of industry expertise, Richardson-based production, and high-vibrancy gang sheets built to perform. Local pickup means your transfers are in hand and ready to press faster than any national supplier can ship them.
Your next hat run doesn't have to be a gamble. Order your custom hat transfers from Iris DTF today and press knowing every detail is already handled.
Frequently Asked Questions About DTF vs Screen Printing for Hats
Can I use a regular t-shirt heat press for hats?
You can, but results will be inconsistent without the right setup. A flat platen doesn't conform to a curved crown, which means uneven pressure and partial adhesion, especially near the brim and side seams. The fix is a hat jig or foam pillow that raises and stabilizes the crown so the platen makes full contact. Without one, expect lifting edges and seam failures within a few washes.
A dedicated curved hat press is the cleaner long-term investment if you're decorating caps regularly. It matches the crown's contour and distributes pressure evenly across the entire design area. For occasional hat runs, a quality jig paired with your existing flat press gets the job done, provided you're dialing in your pressure settings correctly.
What size should a DTF transfer be for a standard baseball cap?
The standard sweet spot for a structured baseball cap front is 2.5 inches tall by 4.5 inches wide. That sizing fits comfortably within the usable panel area without crowding the brim edge or drifting toward the side seams. For low-profile caps with a more curved front panel, pull that width back to around 3.5 to 4 inches to stay within the flat printable zone.
Always measure your specific blank before finalizing artwork. Crown height varies noticeably between manufacturers, and a design sized for a high-profile snapback may feel cramped on a relaxed dad hat. When you're nesting hat logos on a gang sheet, consistent sizing also lets you fit significantly more transfers per sheet, which cuts your cost per unit on larger runs.
Will DTF transfers stay on a 6-panel hat with a center seam?
Yes, when pressed correctly. The center seam is the most common failure point for beginners because the raised stitch line creates a gap between the transfer film and the fabric, forming air pockets that become peeling points over time. A hat-specific foam pillow or curved platen pushes the crown panels flat from the inside, eliminating that gap before the heat plate closes. Firm, sustained pressure is non-negotiable here.
If you're new to pressing 6-panel caps, start with 5-panel hats first. No center seam means a more forgiving surface while you build your technique. Once your pressure settings and dwell time feel dialed in, move to 6-panel structured caps with confidence. The seam challenge is entirely solvable; it just requires the right equipment and deliberate pressure application.
Do DTF transfers on hats peel off in the sun or heat?
A properly pressed DTF transfer won't peel from sun exposure or ambient heat. The hot-melt adhesive bonds directly into the fabric's fiber structure rather than sitting on the surface, so it doesn't soften or lift under normal outdoor conditions. For Dallas-area brands, that durability matters; hats worn in Texas summers face real heat stress, and DTF adhesive is formulated to hold through it.
The caveat is application quality. Transfers that weren't pressed at full temperature, held for the complete dwell time, or pre-heated on a damp blank are far more vulnerable to edge lifting in hot conditions. Get the press settings right the first time and sun exposure simply isn't a factor. Cut corners on technique and heat becomes the first thing to expose the problem.
Can I apply DTF transfers to beanies and winter hats?
Absolutely. Beanies are one of the best DTF surfaces once you account for the stretch in the knit fabric. Use a double press technique: full temperature and dwell time on the first press, a thirty-second cool-down, then a shorter second press to drive the adhesive deeper into the knit fibers. That second pass is what separates a transfer that survives repeated washing from one that starts lifting at the edges after a few cycles.
Placement matters too. Crown placement gives you a clean, permanent result that doesn't distort with wear. Cuff branding sits in a high-visibility zone but compresses when the cuff folds, which can stress the transfer edges over time. For durability-first applications, crown placement is the stronger choice on ribbed knit beanies.
What is the best temperature and time for pressing DTF on hats?
Most DTF transfers press well at 300 to 320 degrees Fahrenheit with a dwell time of 15 to 20 seconds and firm pressure. That range works reliably for cotton twill and polyester foam front panels. Lightweight synthetic blends, particularly anything under 100gsm, need the lower end of that range to avoid scorching. Always check your blank's fabric content before setting your press.
One variable that changes the equation is buckram. The stiff interfacing in structured cap front panels distributes heat unevenly, creating cooler zones at the center and hotter spots near the edges. Pre-heating the crown for five to eight seconds before applying the transfer normalizes the temperature across the panel and prevents partial adhesion. That pre-heat step is one of the most consistently overlooked parts of the hat pressing process.
Can I use a home iron to put DTF transfers on hats?
A home iron can bond a DTF transfer in a pinch, but it's not a reliable production method for hats. Irons don't apply consistent pressure across a curved surface, and the temperature varies across the plate, which means some areas of the design bond properly while others don't. The result is usually lifting edges and reduced wash durability, especially across seams where even pressure is most critical.
For a one-off personal project, an iron with firm manual pressure and a full dwell time can work on flat-front trucker hats or foam panels. For anything you're selling or gifting, a proper heat press with a hat jig is the minimum equipment standard. The difference in bond quality and long-term durability is significant enough that skipping the press is a false economy.
Is DTF better than embroidery for small logo details on caps?
For fine detail, yes. Needles can't replicate thin strokes, smooth gradients, or small-scale typography without distortion or thread buildup. In the dtf vs screen printing for hats conversation, embroidery often gets lumped in as the premium option, but it's actually the weakest choice for logos with intricate linework, small text under half an inch, or multi-color gradients. DTF prints your design at full resolution with no digitization required.
Embroidery adds thread weight and stiffness to the crown, which affects how the hat sits and feels. DTF transfers cure as a flexible film that moves with the fabric, keeping the hat lightweight and comfortable. For brand logos with complex artwork or tight detail work, DTF consistently delivers a cleaner, sharper result at a lower cost per unit, with no minimum stitch count driving up your price.