Avoid Costly Blunders: 10 Common Gang Sheet Mistakes to Avoid in 2026

What Is This Article About?
A single pixel error on your digital file doesn't just stay on the screen. It translates to a pile of wasted film and a direct hit to your profit margins. You've likely felt that frustration. You open a fresh shipment of transfers only to find blurry edges or a mysterious white box around your logo. It's expensive. It's a momentum killer for any Richardson business trying to scale. These common gang sheet mistakes turn a simple print job into a costly technical nightmare that delays your customer orders and kills your efficiency.
You deserve flawless, high-resolution prints every single time. We've spent over 10 years perfecting the process at our Richardson facility; we know exactly where things go wrong. This guide will show you how to eliminate the technical errors that ruin DTF transfers and stop wasting your printing budget. We are diving into the top 10 blunders to avoid in 2026. From mastering DPI in Adobe Photoshop 27.8 to maximizing every square inch of your film, you'll get the blueprint for professional-grade results that withstand over 100 wash cycles. Let's get your production back on track.
Key Takeaways
- Master the 300 DPI rule and eliminate transparency halos to ensure your designs look sharp on every transfer.
- Implement the 0.25-inch spacing rule to prevent cutting catastrophes and maximize every square inch of your film.
- Use our professional pre-flight checklist to catch hidden layer errors before they turn into common gang sheet mistakes that drain your budget.
- Learn how to align your digital artboard with physical sheet dimensions for a seamless, ready-to-work production flow.
- Discover why 10+ years of local Richardson expertise makes Iris DTF the high-capacity partner your DFW brand needs for speed and precision.
The True Cost of Common Gang Sheet Mistakes
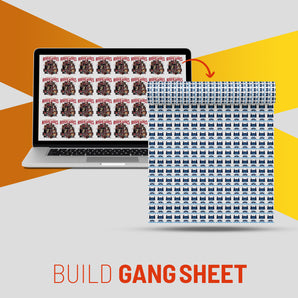
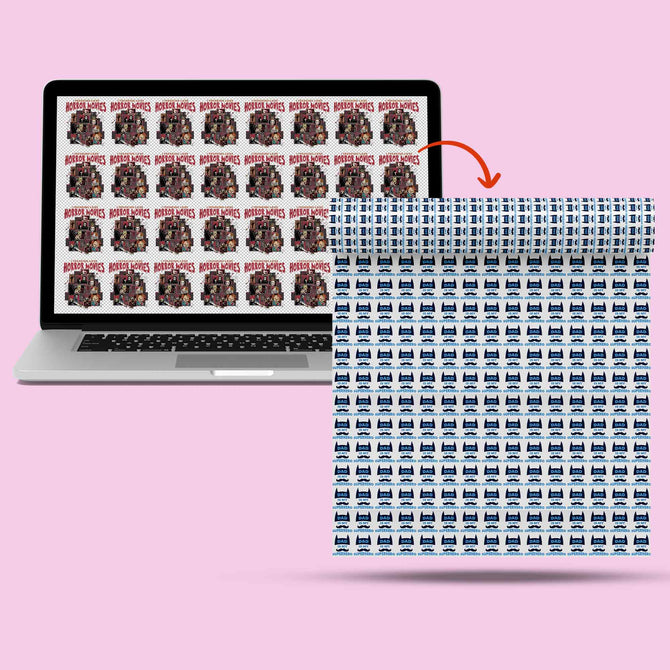
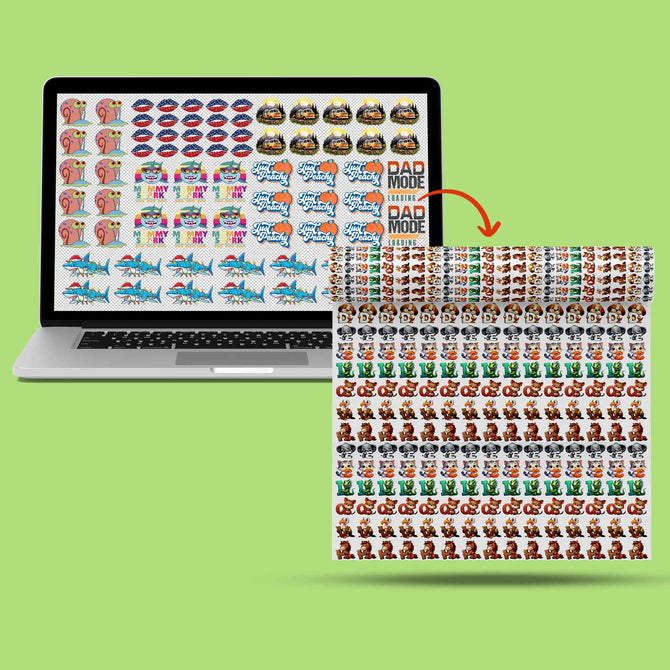
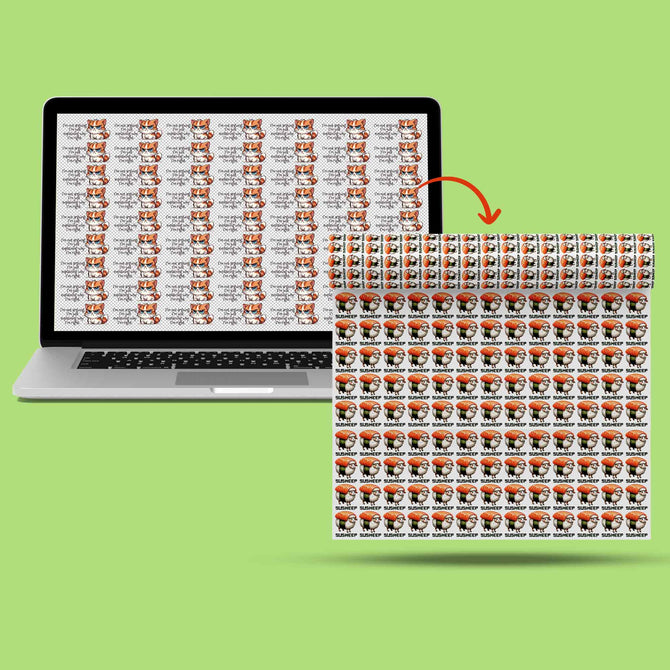
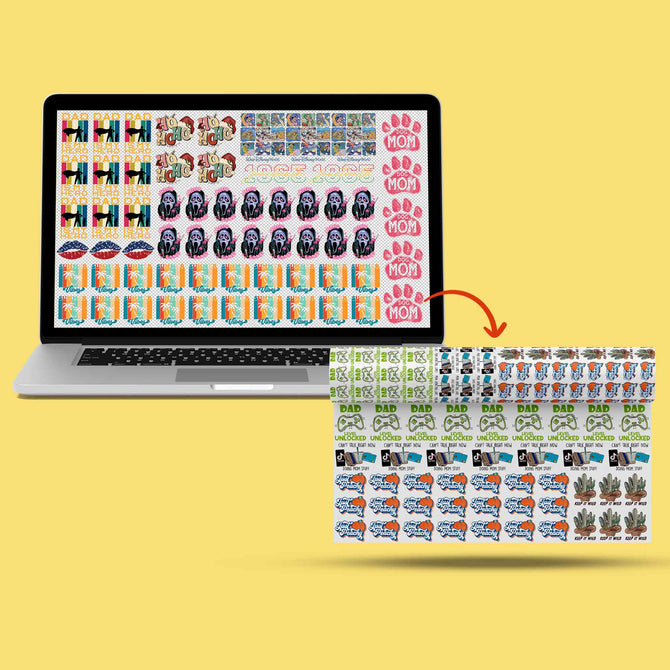
A gang sheet is a powerhouse of efficiency. It is a single digital file containing multiple designs, meticulously arranged to maximize every square inch of your print area. This strategy evolved from the traditional concept of gang-run printing, a method designed to slash production costs by sharing resources across different jobs. In the world of DTF, it's how you get the most "bang for your buck." But as layouts become more complex and designs get packed tighter, the margin for error shrinks. Transitioning from simple, single-image files to high-density layouts often leads to technical oversights that aren't visible until the film hits the printer.
Think beyond the wasted film. Common gang sheet mistakes carry hidden costs that can derail your entire week. When a file fails, you aren't just losing a few dollars in ink and plastic. You are risking your expensive blank apparel. One blurry logo or a stray pixel "halo" can turn a premium hoodie into a total loss during the heat press stage. You lose the shipping fees, the labor time spent prepping the garment, and the trust of your customer. Finding the balance between efficiency and quality is vital. If you pack designs too tightly, you face a "cutting catastrophe." If you leave too much white space, you're literally throwing money in the trash.
Why Proactive File Prep Matters for DFW Brands
Speed is the primary currency for brands in the Dallas-Fort Worth metroplex. Businesses in Richardson, Plano, and Dallas rely on Iris DTF for rapid turnarounds to meet tight event deadlines. A file error isn't just a technical glitch; it's a 24 to 48 hour delay in your production schedule. Professional reliability starts the moment you hit "upload." As an industry pioneer with over 10 years of expertise, we've seen how a few minutes of proactive file prep prevents days of frustration. We approach every job with a ready-to-work attitude. We know that your success depends on our precision. Catching common gang sheet mistakes before they reach our high-capacity printers keeps your momentum high and your costs low.
The Difference Between Fabric DTF and UV DTF Layouts
Don't fall into the trap of using the same template for every project. Fabric DTF transfers and UV DTF stickers require different layout logic. Fabric transfers need specific "breathing room" to accommodate heat press plates and manual cutting tools. If designs are too close, the heat from the press might accidentally activate the adhesive on a neighboring design. On the other hand, UV DTF stickers for hard surfaces often allow for tighter tolerances, but they require surgical precision regarding transparency and adhesive layers. Using a "one size fits all" approach to your gang sheets is a recipe for disaster. Tailor your spacing to your media to ensure a flawless application every time.
Technical Blunders: Resolution, Transparency, and Color
Your gang sheet is only as good as the raw data you feed into it. One of the most common gang sheet mistakes involves ignoring the 300 DPI rule. Most images found online are 72 DPI; this is fine for a smartphone screen but disastrous for a high-capacity printer. When you print at low resolution, the machine tries to guess the missing information. This results in pixelated edges and blurry details that ruin the professional look of your brand. Never settle for "good enough" on your monitor. If the file isn't high-resolution at the source, it won't look sharp on the garment.
Mastering Resolution and Scaling
Scaling up small files inside a gang sheet builder is a shortcut to failure. If you start with a two-inch logo and stretch it to ten inches, you destroy the clarity of your print. Vector files, such as PDF or EPS, are superior for gang sheets because they use mathematical paths rather than pixels, allowing for infinite scaling without any loss in quality. Use the "Zoom Test" before you export. Open your art in your design software and zoom in to 300%. If you see blurry edges or "noise" around the colors, your customers will see it too. Clean it up before you upload to ensure a sharp, retail-ready finish.
Transparency and the Infamous White Border
Stray pixels are the silent killers of DTF quality. Many users rely on automated "Remove Background" tools that leave behind semi-transparent "glows" or unrefined edges. These "ghost pixels" are invisible on a white screen but trigger the printer to lay down a white ink underbase. The result is an ugly white halo around your design. At Iris DTF, we specialize in producing custom dtf transfers with surgical precision, but even the best equipment can't ignore data that exists in the file. Professional masking is always better than a quick magic wand selection. This is especially critical for UV DTF stickers, where hard surfaces make any imperfection in the white underbase immediately obvious.
Color profiles represent another technical hurdle. Your screen displays colors in RGB, using light to create vibrant neons. Printers use CMYK, which has a smaller color gamut. If you don't synchronize your workspace with Adobe's color management workflow, those bright screen colors will look dull and muddy on the final transfer. Always design in CMYK or use a verified color bridge to manage expectations. Avoiding these common gang sheet mistakes ensures your physical product matches your digital vision. If you're ready to see the difference professional-grade prep makes, start your next project with our team today.
Layout Logic: Spacing, Overlapping, and Bleeds
Precision in layout is where high-volume printing succeeds or fails. One of the most common gang sheet mistakes is over-packing the film. While it is tempting to squeeze every last design into the space, you must respect the physical reality of the post-print process. We recommend the 0.25-Inch Rule. This means maintaining at least a quarter-inch of clear space between every design on your sheet. Without this buffer, you risk a cutting catastrophe. Your scissors or rotary cutter will inevitably nick the edge of a neighboring logo, rendering it unusable and wasting your investment.
Overlapping designs represent the most frequent cause of ruined multi-design sheets. Even a single pixel of overlap can cause the white underbase to bleed into the wrong area. This creates a messy, unprofessional finish that can't be fixed at the heat press. Similarly, you must account for edge bleed. Keep all critical artwork at least 0.5 inches away from the outer margins of the gang sheet. Most industrial printers have a non-printable safety zone. If your art sits too close to the boundary, the machine may clip the edges of your design, leaving you with incomplete transfers.
Spacing for the Heat Press Reality
Planning for individual cuts is essential for a smooth workflow. When you are managing dtf gang sheets meant for bulk production, you need enough room to maneuver your tools without damaging the ink. Tight spacing doesn't just make cutting difficult; it increases the danger of "ghosting." If designs are too close to the edge of the heat plate, the pressure might be uneven. This leads to partial adhesion or "cold spots" that cause the transfer to peel after the first wash. Give your designs room to breathe to ensure every press is a success.
Optimizing for Different Apparel Blanks
Your layout strategy should change based on the garments you are decorating. If you are prepping pocket logos for a small run, your spacing needs are different than if you are laying out massive full-back designs for heavy Shaka Wear tees. Grouping your designs by garment type on the sheet streamlines your Richardson production line. It allows you to cut and stack transfers for specific shirts all at once. If you master the art of "nesting" small designs inside the voids of larger ones, you can save up to 15% on film costs. This industrious approach maximizes your budget without compromising the integrity of the final product. Mirroring is also a key check. While most builders flip the art automatically, double-check your text orientation to avoid the "backward branding" blunder. Let's keep your production moving with precision.
The Iris DTF Pre-Flight Checklist for Flawless Prints
Success in printing is won or lost in the file preparation stage. Before you upload your art, you must run through a rigorous verification process. This checklist helps you dodge common gang sheet mistakes that lead to wasted time and resources. Start with your canvas size. If you ordered a 22 inch x 24 inch sheet, your artboard in Adobe Illustrator 30.6 must match those dimensions exactly. Mismatched dimensions cause the software to scale your art automatically. This distortion can ruin your designs or clip important edges. Precision is the foundation of professional results. It is the first step toward a ready-to-work production flow.
File hygiene is your next priority. Open your layers panel and delete every unused or hidden layer. Hidden layers can bloat file sizes and occasionally trigger unexpected elements in the print RIP software. To find "ghost pixels" or transparency errors, create a temporary background layer in a high-contrast color like neon green or bright pink. This "Transparency Mask" makes stray pixels and unrefined edges immediately obvious. Once you've cleaned the art, convert all text to paths. Missing font substitutions are a major headache for any print shop. Outlining your fonts ensures your branding remains consistent regardless of the machine used for production. It removes the intimidation factor from the technical hand-off.
Step-by-Step File Verification
Technical tools are your best friends for catching errors early. Use the 'Overprint Preview' feature in Illustrator to see exactly how the ink will lay down. Pay close attention to 'Thin Lines.' Anything under 1pt is unlikely to hold enough ink to bond with the adhesive powder. These tiny details often peel off during the first wash, compromising the durability of your product. Finally, perform the 'Squint Test.' Lean back and squint at your screen. If your color contrast looks muddy or your text is hard to read from a distance, it will be even harder to see on a moving garment. Adjust your values now to ensure maximum visibility and impact.
Exporting for Success
The final export is the moment of truth. We recommend 300 DPI PNGs with transparency for most Richardson small businesses. This format balances file size with high-resolution detail. When saving, name your files clearly with the date and job name. This makes tracking and reordering a seamless, one-step action. Before you hit send, check the final file size. It should logically correspond to your gang sheet length. If a 120 inch sheet results in a tiny file, something went wrong during the export process. Taking these steps helps you avoid the common gang sheet mistakes that happen when files are rushed. Ready to get started? Upload your perfected gang sheet to Iris DTF and let our high-capacity team handle the rest with speed and precision.
Why Richardson Brands Choose Iris DTF for Gang Sheets
Local brands in the Dallas-Fort Worth metroplex don't have time for shipping delays or technical failures. You need a partner that understands the high-stakes nature of apparel decoration. Iris DTF brings over 10 years of industry expertise to every project. We operate as a high-capacity powerhouse from our specialized Richardson facility. Whether you are handling a massive commercial contract or a small custom run, we apply the same level of surgical precision to your film. Our pioneer status means we've already solved the problems you're just now encountering. We have refined our internal processes to catch common gang sheet mistakes that automated online mills simply ignore. This proactive approach protects your budget and your reputation. It ensures your designs look exactly how you envisioned them.
The speed of local business requires a "ready-to-work" attitude. We provide fast local pickup for brands in Plano, Irving, and Dallas. Why wait for a courier when you can have your transfers in hand the same day? This local advantage eliminates the uncertainty of transit times. It allows you to say "yes" to last-minute customer orders with total confidence. We are more than a vendor. We are a reliable engine for your creative and commercial success. Our commitment to accuracy, durability, and speed is what sets us apart in the DFW market.
Beyond the Print: A Reliable Partner
We do more than just put ink on film. We provide professional dtf printing services that act as a safety net for your brand. Our team possesses a deep understanding of the technical hurdles involved in complex layouts. We treat your deadlines as our own priority. If we spot a resolution issue or a transparency trap in your file, we don't just hit print. We alert you. This professional reliability is why seasoned pros trust us over national competitors. We catch the common gang sheet mistakes that cause reprints and wasted garments. Our goal is a flawless press on the first try, every single time.
Ready to Start Your Next Project?
Efficiency is just a click away. Our streamlined portal makes uploading your designs a simple, one-step action. You can manage your entire production in one local DFW stop. Order your high-resolution transfers and premium blank apparel at the same time. This integrated approach eliminates the guesswork of matching transfers to fabrics. It keeps your production line moving at full speed without the friction of multiple suppliers. Stop worrying about technical blunders and start focusing on your creative growth. Our facility is equipped to handle your most demanding projects with ease. Upload your gang sheet and get printing today!
Take Command of Your Printing Workflow
Technical errors shouldn't be the bottleneck in your business growth. By mastering the 300 DPI rule and respecting the vital 0.25-inch spacing margin, you eliminate the technical friction that leads to wasted film and ruined apparel. These proactive steps ensure your branding remains sharp, vibrant, and durable across every garment you produce. You now have the definitive checklist needed to dodge common gang sheet mistakes and protect your profit margins from unexpected reprints. Professional results are no longer a matter of luck; they are the result of your refined process.
Iris DTF is ready to act as the engine for your success. With over 10 years of industry expertise and professional-grade UV and fabric transfers, we handle the heavy lifting so you can focus on your customers. Our Richardson facility offers fast DFW local pickup to keep your momentum high and your deadlines secure. It's time to stop guessing and start printing with total confidence. Your vision deserves the precision we deliver every day. Let's get to work on your next project.
Build Your Perfect Gang Sheet with Iris DTF
Frequently Asked Questions
What is the most common gang sheet mistake?
The most frequent error we see is low-resolution artwork that results in pixelated or blurry prints. Many users pull images from social media or websites that are only 72 DPI. These files lack the technical data needed for a sharp finish. Avoid these common gang sheet mistakes by starting with high-resolution vector files or 300 DPI raster images to ensure your brand looks professional.
Why do my DTF transfers have a white border around the designs?
White borders usually occur because of "ghost pixels" or semi-transparent edges in your digital file. The printer detects these faint pixels and applies a white ink underbase beneath them. This creates a visible halo on the final transfer. Use a professional masking tool instead of a quick magic wand selection to ensure your backgrounds are 100% transparent before export.
What DPI should I use for a DTF gang sheet in 2026?
You should always use 300 DPI at the final print size for your gang sheets. While some software allows for higher settings, 300 DPI provides the perfect balance of detail and file manageability. Anything lower will cause visible blurring on the garment. Stick to this industry standard to guarantee that every fine line and small text element holds its integrity during the heat press.
Can I mix UV DTF and fabric DTF on the same gang sheet?
No, you cannot combine UV DTF and fabric DTF on a single sheet. These two products use entirely different chemical processes, films, and adhesive powders. Fabric transfers are designed for porous textiles, while UV stickers are made for hard surfaces like glass or metal. You must create separate files for each media type to maintain the quality and durability of the prints.
How much space should I leave between designs on a gang sheet?
Maintain a minimum of 0.25 inches of clear space between every design on your artboard. This buffer prevents your cutting tools from accidentally damaging neighboring logos during production. It also ensures that the heat from your press doesn't inadvertently activate the adhesive on a design you haven't cut yet. Proper spacing is a simple, effective way to protect your printing budget.
Why do the colors on my gang sheet look different when printed?
Printed colors often look different because computer screens use light (RGB) while printers use ink (CMYK). Some vibrant neons seen on a monitor simply cannot be reproduced with standard inks. We recommend designing in a CMYK workspace to get a more accurate preview of the final result. This alignment helps you manage expectations and avoid color shock when you pick up your order.
What file format is best for uploading to Iris DTF?
We recommend uploading 300 DPI PNG files with a transparent background for the most reliable results. This format preserves your transparency settings and prevents the infamous white box error. Flattened PDF/X-4 files are also excellent for vector-heavy layouts. Clear file naming that includes your business name and the date helps our Richardson team track your order with surgical precision.
Can I use low-resolution images if I shrink them down?
Shrinking a low-resolution image does increase its effective DPI, but it remains a risky shortcut. If the original image has compression artifacts or digital noise, those imperfections will still be visible in the final print. It is always safer to start with high-quality source files. Professional-grade results require professional-grade inputs from the very beginning of your design process to ensure customer satisfaction.